
Last updated November 17, 2026
 Bathroom remodeling
 Kitchen remodeling
 Home additions & ADU
 Roofing
 Windows & doors
 Driveway & pavers
 Fence
Free written scope consultation - allowances, timeline, and change-order rules on paper before a single trade is scheduled
Bathroom Remodeling Troubleshooting: Common Problems and How to Fix Them
Grout cracking within six months of a tile installation isn’t a grout problem. It’s almost always a substrate deflection problem or a waterproofing membrane failure, and the contractor who tells you “grout just does that” is counting on you not knowing the difference. That distinction matters more than anything else in this guide, because the fix for tired grout is a two-hour re-grout, and the fix for a deflecting subfloor is a rebuild. We’ve walked into Irvine bathrooms where a homeowner had paid for a re-grout twice before anyone opened up the floor and found the actual cause. This guide teaches you how to diagnose what went wrong, document it properly, and hold the right party accountable without getting talked out of it.
Quick Answer
Most post-remodel bathroom problems fall into four buckets: moisture intrusion from a failed shower pan or bad caulk joints, tile failures from substrate or membrane errors, ventilation that doesn’t actually move the rated CFM, and plumbing or fixture defects. Diagnosing which bucket you’re in determines who pays and which warranty applies. In California, you generally have a documented escalation path through the contractor first and the Contractors State License Board second, but the timeline runs on when you notified the contractor in writing, not when you got frustrated.
Styles & brands we work with
- Kitchen remodeling
- Bathroom remodeling
- Home additions & ADU
- Roofing
- Windows & doors
- Driveway & pavers
- Fence
Table of Contents
- How to Tell Whether Moisture Damage Came From the Shower Pan, Caulk Joints, or Ventilation
- What Lippage, Efflorescence, and Grout Erosion Tell You About Tile Installation
- Exhaust Fan Performance Testing: Is Your Fan Moving the CFM It’s Rated For?
- Workmanship Warranty vs. Manufacturer Warranty: Which Do You Pursue First?
- How to Document and Escalate Defects in California
- Plumbing, Fixture, and Drain Problems That Surface After the Tile Goes In
- Irvine-Specific Issues: Hard Water, Clay Soil, and Coastal Humidity
- How to Prevent These Problems on Your Next Remodel
How to Tell Whether Moisture Damage Came From the Shower Pan, Caulk Joints, or Ventilation
Three different causes produce three nearly identical symptoms: soft drywall near the shower, a musty smell, peeling paint on the adjacent wall, or a stain on the ceiling below. Homeowners and even some contractors lump them together and treat the visible damage instead of the source. That’s why the problem comes back. Here’s how to separate them.
Shower pan failure. A shower pan is the waterproof basin beneath your tile floor, and it fails in a specific pattern. Look for moisture at the base of the shower on the walls opposite the drain, discoloration that’s worst in the center of the floor, or a soft spot when you press on the tile near the drain. A properly built pan has a pre-slope under the waterproof membrane and a weep hole system at the drain. If the pre-slope was skipped, water pools under the membrane and wicks sideways into the framing. A flood test (plugging the drain and holding two inches of water for 24 hours) done before tile goes down catches this. If it wasn’t done, you’re finding out the expensive way.
Caulk joint failure. Caulk fails at the inside corners where wall tile meets floor tile, at the seam between tile and tub, and at the shower valve escutcheon. The pattern is telltale: localized moisture right at the joint line, mold growing in a straight line, and damage that’s worst at the edges rather than the center. Caulk is a maintenance item, not a structural one. If a joint was grouted instead of caulked where two planes meet, it will crack within a year because the two planes move independently. That’s a workmanship error, and it’s covered.
Inadequate ventilation. Ventilation failure looks different. The moisture damage is spread across the whole room, not concentrated near the shower. You’ll see fogged mirrors that stay fogged for 20 minutes after a shower, paint peeling on the ceiling in a broad area, and often mildew on the grout lines across the entire floor. The exhaust fan is the suspect. We’ll cover how to test it below.
In Irvine, where many homes were built in the 1970s through 1990s, we regularly see the original builder-grade exhaust fans still in place behind a remodeled bathroom. The tile is new, the fan is 30 years old, and the fan is the real reason the paint is peeling.
What Lippage, Efflorescence, and Grout Erosion Tell You About Tile Installation
Tile is honest. It telegraphs installation errors through three specific symptoms, and each one points to a different mistake.
Lippage is the height difference between adjacent tile edges. You feel it when you run your hand across the floor. A small amount is unavoidable and within industry tolerance. Noticeable lippage across an entire floor almost always means one of three things: the substrate wasn’t flat to begin with (tile needs flat within 1/8 inch in 10 feet, and a lot of subfloors aren’t), the installer used the wrong trowel size or didn’t back-butter, or they set tile over an uneven substrate without a self-leveling compound. Lippage that appears only in one area usually points to a low spot in the floor that should have been leveled.
Efflorescence is the white, powdery residue that appears on grout and tile. It’s salt drawn to the surface as moisture evaporates. On a new install, a light bloom in the first few weeks can be normal. Efflorescence that keeps returning after cleaning means there’s a moisture source feeding it. In a shower, that’s usually a membrane failure or a missing pre-slope. On a bathroom floor outside the shower, it can point to a slow leak from the toilet flange or a supply line. Don’t seal it and hope. Find the water.
Grout erosion is grout washing or crumbling out of the joints. In a shower, erosion in the floor grout means water is sitting in the assembly. Erosion on the walls, particularly near the bottom, means the waterproofing behind the tile isn’t doing its job and moisture is finding the path of least resistance. Grout is not waterproof. It’s a spacer. The membrane behind it is the waterproofing. If grout is doing the waterproofing work, the assembly was built backward.
Here’s what to say to a contractor who wants to just re-grout: ask them, in writing, whether the substrate was checked for deflection and whether a waterproofing membrane was installed per the manufacturer’s spec. If they can’t answer, you have your answer. If you’re starting fresh and want a contractor who builds to spec the first time, our Groundwork Construction Co. of Irvine home page lays out how we handle full-scope bathroom work.
Exhaust Fan Performance Testing: Is Your Fan Moving the CFM It’s Rated For?
A fan rated at 110 CFM does not move 110 CFM in your ceiling. It moves 110 CFM in a laboratory with short, straight, smooth duct. Real installations lose airflow to long duct runs, elbows, flex duct, and undersized duct. You can test what yours is actually doing in about ten minutes.
Step 1: Measure the room. Multiply length by width by height in feet, then divide by 7.5. That’s the minimum CFM you need for a bathroom. A 5-by-8-foot bathroom with 8-foot ceilings is 320 cubic feet, so 43 CFM minimum. A larger primary bath with a soaking tub needs more, and the rule of thumb for a bathroom with a tub is to size up.
Step 2: Read the fan label. Pull the grille and find the model number. The rated CFM is printed on the housing or available from the manufacturer. If the fan is older than about 15 years, assume it’s moving far less than rated even if it’s spinning.
Step 3: Do the tissue test. Hold a single square of toilet paper against the grille. A properly sized fan will hold it flat and tight. A fan that lets it flutter or drop is underperforming. This test catches gross failure, not marginal performance, but it’s a useful first pass.
Step 4: Check the duct. This is where most Irvine installs fail. Flexible corrugated duct, common in attic retrofits, cuts airflow dramatically when it’s crushed or has multiple 90-degree bends. A 4-inch duct is only adequate up to about 50 CFM. A 110 CFM fan should have a 6-inch duct with the shortest, straightest run possible. If the fan terminates in the attic instead of through the roof or wall, it’s dumping moist air into the attic, which is worse than no fan at all.
Step 5: Check the termination. A clogged exterior vent hood flap or a bird nest in the termination stops airflow. Walk outside and look. It’s a five-minute check that solves a lot of mysteries.
If the duct is right and the fan is undersized, replacement is the fix. Modern fans with DC motors move more air at lower noise levels. A quiet fan gets used more, and a used fan prevents the whole round of ventilation-related damage above.
Workmanship Warranty vs. Manufacturer Warranty: Which Do You Pursue First?
This is the single most common point where homeowners lose leverage. They call the tile manufacturer about a cracked tile, the manufacturer sends them to the installer, and by the time they get back to the contractor, months have passed and the position has changed. Know which warranty covers what before you call anyone.
- Workmanship warranty covers installation errors: substrate preparation, waterproofing, setting methods, plumbing rough-in, tile layout, caulk and grout technique, and fan installation. This is the contractor’s responsibility, and it’s the one you pursue first.
- Manufacturer warranty covers product defects: a tile that’s out of calibration, a fixture with a casting flaw, a fan motor that fails, a shower valve cartridge that fails prematurely. This is the product maker’s responsibility.
Pursue the workmanship warranty first in almost every case, for two reasons. First, most post-remodel failures are installation-related, not product-related. Cracking, efflorescence, moisture damage, lippage, and grout erosion are almost all installation stories. Second, the manufacturer’s warranty often depends on proof that the product was installed per their written instructions. If your contractor skipped the membrane specification, the manufacturer can deny the claim and point back to the installer. Your contractor’s warranty is the one with no such escape hatch.
Read the workmanship warranty language before you sign the contract, not after the problem shows up. The key questions: How long is the coverage period? Does it cover labor and materials, or only labor? Does it transfer if you sell? Does it require you to use the original contractor for the repair? Groundwork Construction Co. of Irvine backs every bathroom project with a 730-Day Done Right Promise, which is one of the longest workmanship guarantees in residential construction. That’s what to look for: a warranty period measured in years, not months.
How to Document and Escalate Defects in California
California gives homeowners real leverage, but only if the paper trail starts early. The California Contractors State License Board (CSLB) investigates workmanship complaints, and its process is heavily weighted toward documented notice. Here’s how to build a case that survives review.
- Notify the contractor in writing immediately. Email or certified letter, not a phone call. State the problem, the date you noticed it, and request a written response within 10 business days. Quote the warranty language from your contract if it applies.
- Photograph everything with a scale reference. Put a ruler or a coin next to the defect. Photograph wider context and close-up detail. Date-stamp the images. Take a video walking through the room.
- Get an independent inspection if the contractor disputes or delays. A licensed inspection service or a second licensed contractor can provide a written opinion on cause. This is your strongest evidence if the case escalates.
- Keep all receipts and correspondence. Any contractor you hire to repair, any materials, any temporary protective work. CSLB and small claims courts both want to see the money trail.
- File with the CSLB if the contractor doesn’t respond or refuses to fix. The CSLB’s complaint process has defined timelines, and the contractor’s license is the leverage. Filings are filed online. Keep it factual and specific.
- Consider the California small claims court option. The limit is $12,500 for individuals, and you cannot be represented by an attorney, which keeps the process approachable for homeowners.
One caution: don’t let the contractor talk you into a verbal “we’ll take care of it” that never happens. Get written acknowledgment. That written record is what protects you if the timeline stretches. And if you’re within the warranty period and the defect is genuine, you should not be paying a second contractor to fix the first contractor’s error. That’s the whole point of the warranty.
If you’ve been through a bad remodel and are preparing to start over correctly, our Home Additions & ADU in Irvine page shows the standard we build to on larger structural work, and the same standards apply to bathrooms.
Plumbing, Fixture, and Drain Problems That Surface After the Tile Goes In
Plumbing defects often hide for months. A slow leak from a shower valve body, a toilet flange set slightly below the finished floor, or a badly installed supply line can drip quietly into the framing until the ceiling below stains. Here’s the diagnostic shortlist.
- Loose toilet is almost always a flange problem, not a wax ring problem. If the toilet rocks, tightening the bolts won’t fix it. The flange should be flush with or above the finished floor. If it’s below, the wax ring has nothing to compress against and will fail. The right fix involves a flange extender or replacement, done before the toilet goes back down.
- Water staining at the ceiling below points to a supply line, valve body, or drain connection. Shower valve leaks often show up as a stain on the ceiling of the room below, offset from the shower by several feet because water travels along the subfloor.
- Slow drain after a remodel is often construction debris in the trap or the line, not a plumbing design issue. It’s a simple fix but a serious one to catch early, because debris can cause a backup that damages the new bathroom floor.
- Pressure problems at a new fixture can mean the cartridge is clogged with debris from the supply lines during construction. Removing and flushing the cartridge usually restores flow. If it persists, the issue is upstream.
- A musty smell with no visible leak is often a shower drain connection that’s leaking at the joint under the pan. A licensed plumber can use a smoke test or a camera to find it without pulling the floor.
All of these are the contractor’s responsibility if they happened during the remodel. The key is timing. Report any water where it shouldn’t be within days of noticing it. Moisture damage gets worse fast, and delay can be used to argue the problem was pre-existing or caused by homeowner use.
Irvine-Specific Issues: Hard Water, Clay Soil, and Coastal Humidity
Irvine has a particular set of conditions that make bathroom problems show up in particular ways, and understanding them helps you tell a real defect from a local condition.
Hard water. Irvine’s municipal water runs hard, in the range that leaves white scale on glass and fixtures quickly. That scale isn’t a defect, but it accelerates grout erosion and can mask efflorescence. If a homeowner blames a fixture for scale, the right fix is a water softener or a regular descaling routine, not a warranty claim. But hard water also attacks cementitious grout, which is why epoxy grout in wet areas holds up longer in Irvine than in softer-water markets.
Expansive clay soil. Large parts of Irvine sit on expansive clay, which swells and shrinks with moisture. That movement translates into floor tile cracking and grout joint widening in bathrooms, especially in first-floor bathrooms. It’s not a tile installation defect in those cases. It’s a structural movement issue, and the fix is a crack isolation membrane under the tile, which should have been part of the original install.
Coastal humidity. Irvine’s proximity to the coast means humid air for much of the year. That raises the baseline moisture load on a bathroom and makes exhaust fan performance more important than it would be in a dry inland climate. A fan that’s adequate in Riverside is marginal in Irvine.
Age of housing stock. Irvine has neighborhoods from the 1960s through new construction. In the older neighborhoods, we regularly see original cast iron drains, original galvanized supply lines, and builder-grade fans still running. A bathroom remodel that doesn’t address those underlying systems will have problems later, and the homeowner will blame the remodel. If your home is in an older Irvine neighborhood, ask your contractor specifically whether the rough plumbing and ventilation are being updated, not just the visible surfaces.
How to Prevent These Problems on Your Next Remodel
Most of what this guide covers is preventable at the contract stage, before a single tile is set. Here’s the short version of what to insist on.
- A written waterproofing specification. The membrane system, the manufacturer, and the details for the pan, curb, and wall transitions should all be named in the contract. A contractor who can’t name the system is guessing.
- A flood test before tile. Twenty-four hours with water in the pan, witnessed and photographed. This is cheap insurance against the most expensive failure in a bathroom.
- A deflection check on the subfloor. The floor joist system has to be stiff enough for the tile. If it isn’t, the fix is structural, and it happens before the tile, not after.
- A flat substrate. Ask whether self-leveling compound will be used. If the answer is “we’ll float it,” ask how they verify flatness.
- A right-sized fan with a proper duct. Six-inch rigid duct, shortest run, terminating outside the building. Not flex duct stuffed through an attic.
- A workmanship warranty measured in years. Read the language before signing. Two years is a floor for a properly built bathroom. Groundwork Construction Co. of Irvine backs bathroom work with our 730-Day Done Right Promise: if it’s not done right, we make it right.
We pair that promise with brand partners like Fence Installation in Irvine service counterparts in our other trades, meaning the materials in every category come from makers with real product warranties behind them. The same is true in bathrooms: fixtures and finishes from established brands, backed in writing. If your project is exterior rather than interior, our Driveway & Pavers in Irvine page covers the parallel conversation about hardscape durability.
Common Mistakes to Avoid
- Accepting a re-grout as a fix for a structural problem. If the grout keeps cracking, the problem is behind it. Re-grouting hides the symptom for six months and doubles your eventual cost.
- Failing to put the notice in writing. A verbal complaint to your contractor has almost no weight if the case escalates. A dated email does.
- Waiting past the warranty window. The contractor’s workmanship warranty is the strongest position you’ll ever have. Waiting to see if the problem gets worse can put you outside it. Report early and in writing.
- Assuming the manufacturer is at fault. Manufacturers deny claims when the install doesn’t follow spec, and most failures are install-related. Pursue the workmanship warranty first.
- Skipping the flood test to save time. It’s a day of project schedule. A failed shower pan is a full tear-out. In Irvine, where schedules are tight around the school calendar, this is the shortcut that costs the most.
- Hiring a repair contractor who isn’t licensed. If you hire an unlicensed company to fix your original contractor’s work, you can complicate the CSLB process and lose some of your leverage. Verify the license on the CSLB website, every time.
- Sealing efflorescence instead of finding the water source. A sealer traps the moisture inside the assembly, which accelerates the damage. Efflorescence always has a source.
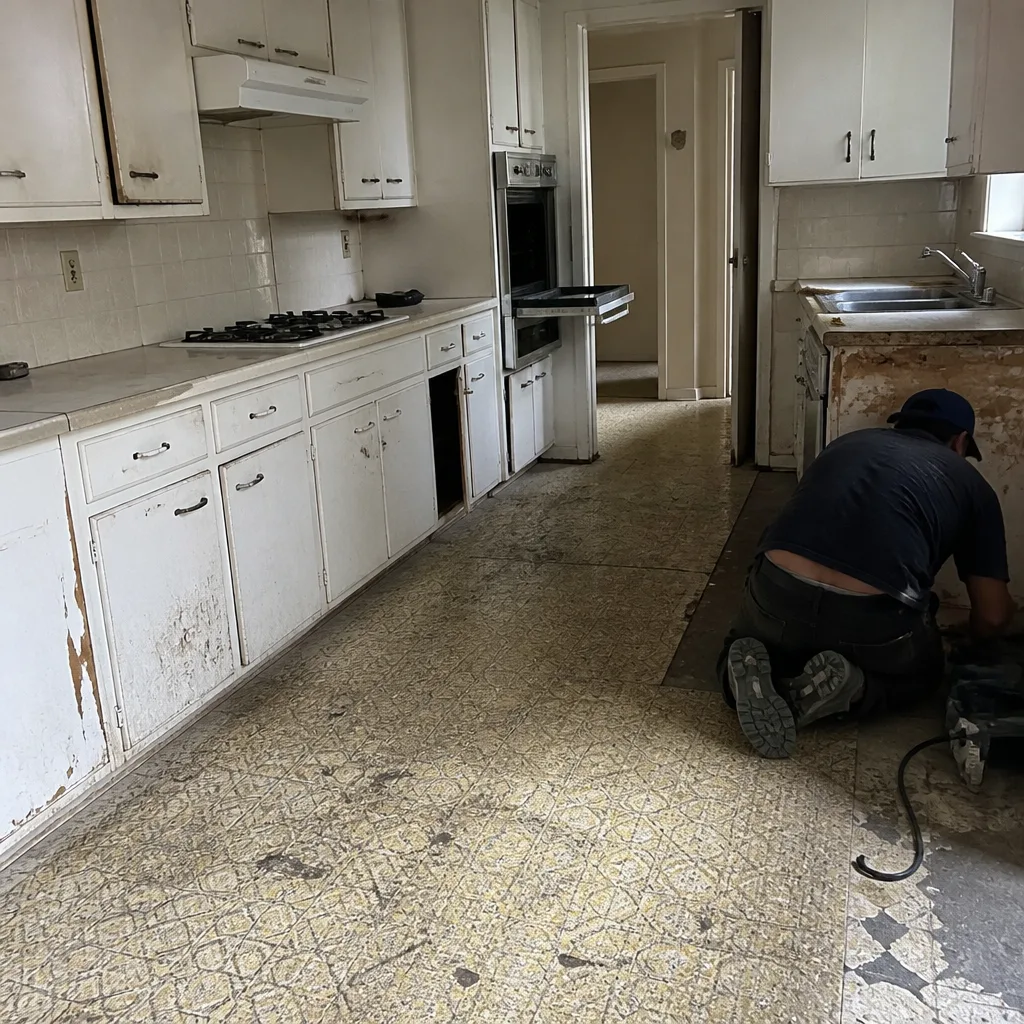
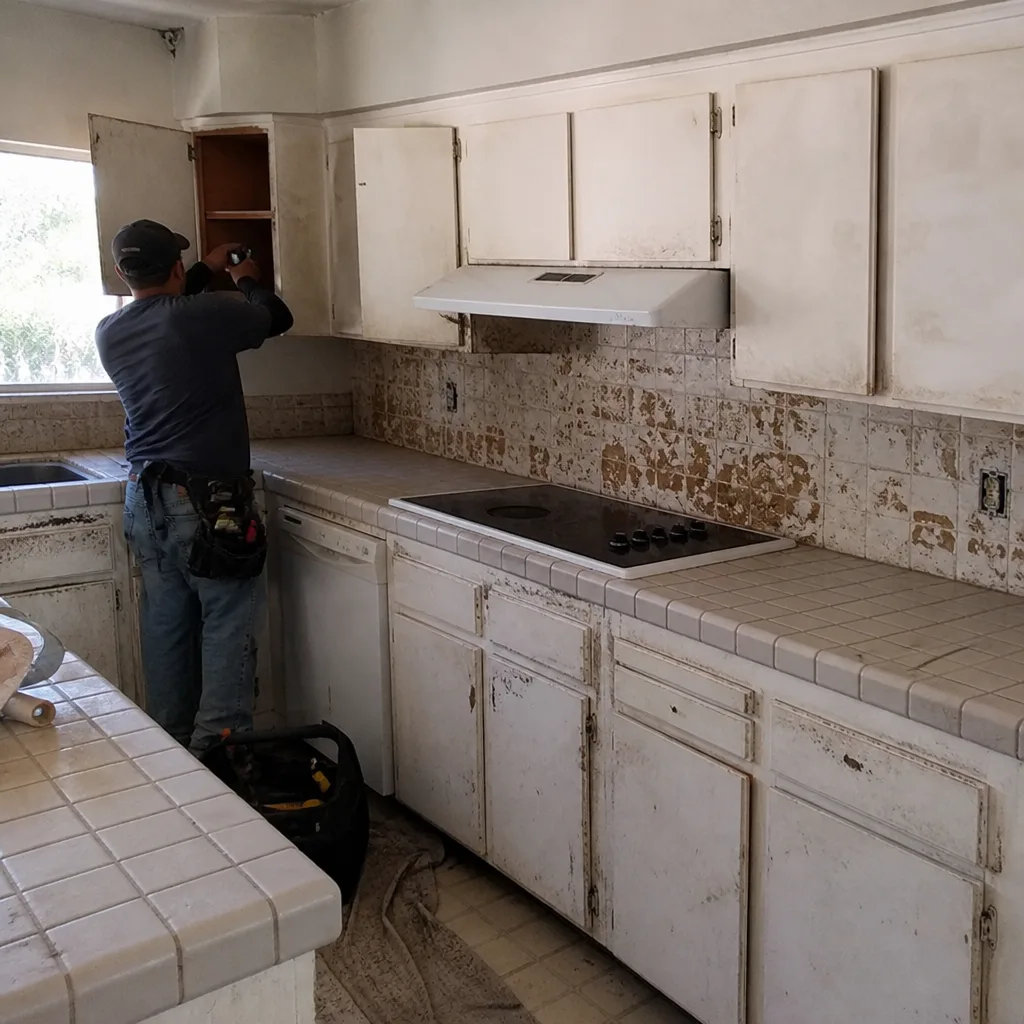
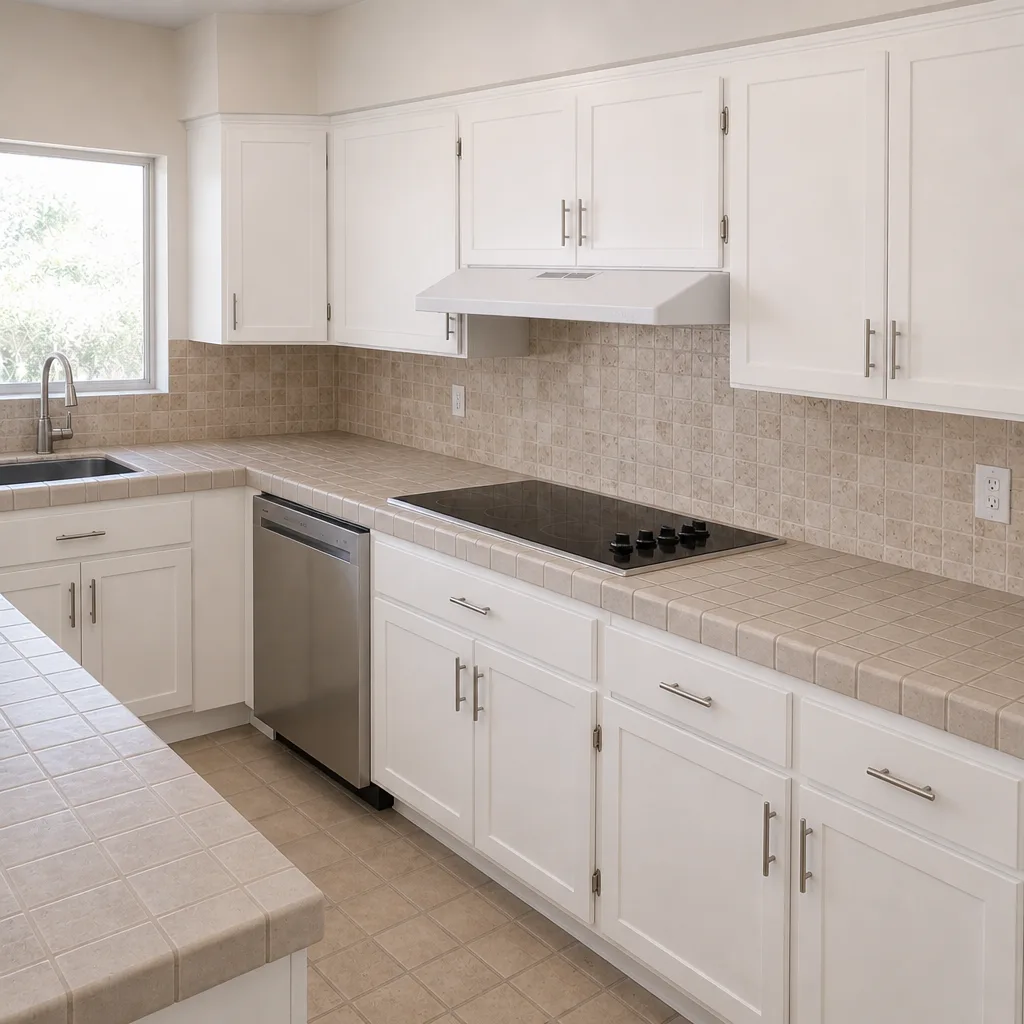
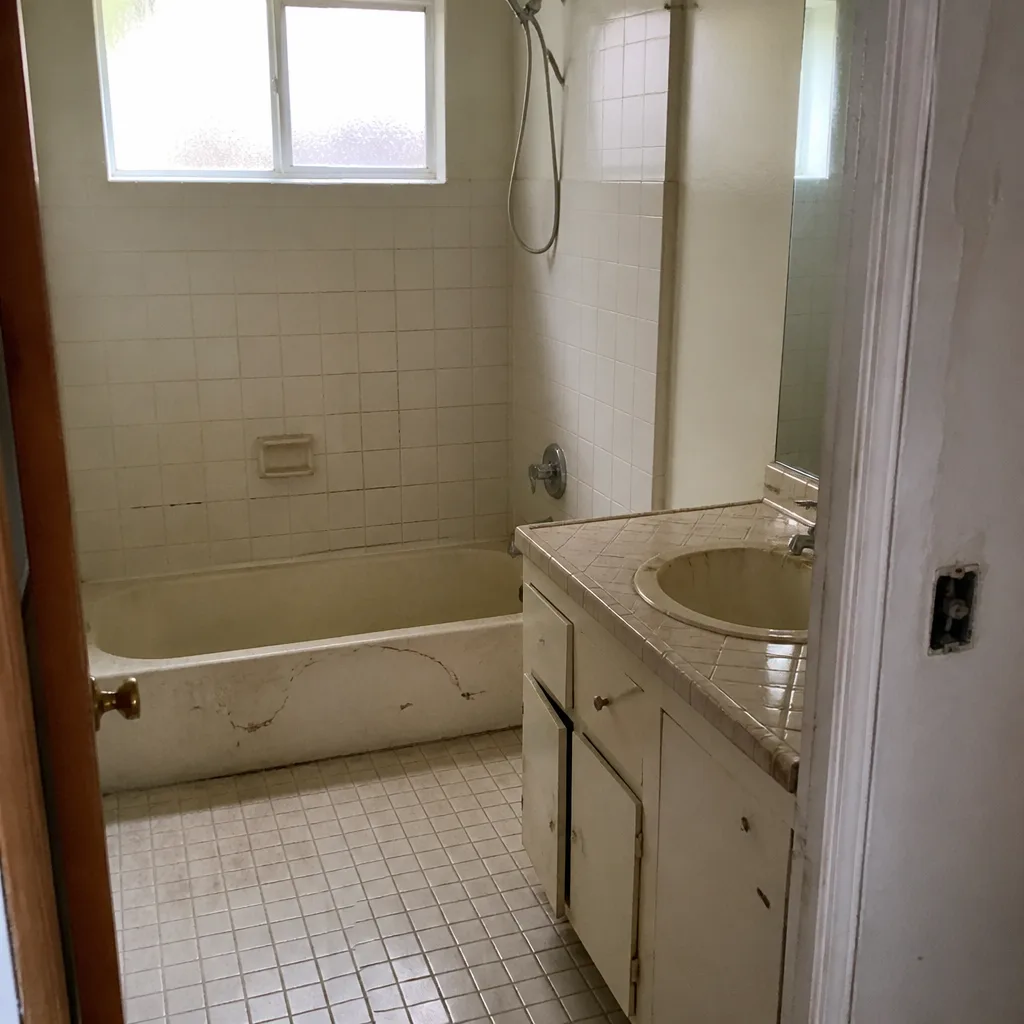
See the difference
 Before
 After
 Before
 After
 Before
 After
When to Call a Professional
Call a licensed contractor when you see active water where it shouldn’t be (staining on the ceiling below, soft drywall, standing water under the shower pan), when tile is lifting or hollow-sounding, when grout is repeatedly eroding after re-grout, when the toilet rocks after tightening, when the exhaust fan fails the tissue test and replacement is beyond your comfort level, or when you’re within the warranty period and the original contractor is delaying or denying a legitimate claim. Some of these are simple fixes; the diagnosis is what requires a professional. A defective shower pan isn’t a maintenance item, it’s a structural rebuild, and it pays to get the read right the first time. Groundwork Construction Co. of Irvine offers free estimates in Irvine with written line-item pricing and no surprises. Our technicians have up to 12 years of experience, and calls are answered by a live person, 24/7.
Frequently Asked Questions
Grout cracking within the first year almost always means the substrate is moving or the waterproofing membrane failed, not that the grout is defective. Grout is a relatively rigid material over a substrate that flexes, and if the tile assembly wasn’t built to handle that movement, the grout takes the strain. In Irvine bathrooms we often see it in first-floor installations over expansive clay, where the floor itself moves. Call a licensed contractor for an assessment before you re-grout, because re-grouting alone won’t fix the cause.
The classic signs are soft spots in the shower floor tile, a musty smell that doesn’t clear with cleaning, staining on the ceiling below, or grout that stays wet for hours after a shower. A licensed contractor can confirm with a moisture meter and, in some cases, a partial demolition to inspect the pan. Don’t rely on a visual inspection alone. Call (888) 578-4462 if you want a free estimate on a diagnosis and repair.
A workmanship warranty covers how the product was installed, and it’s the contractor’s responsibility. A manufacturer warranty covers the product itself and is the maker’s responsibility. Most post-remodel failures are installation-related, so pursue the workmanship warranty first. Groundwork Construction Co. of Irvine backs every project with our 730-Day Done Right Promise, and that’s the standard to hold a contractor to.
The CSLB accepts complaints for work performed within the last four years in most cases, though the specifics depend on the type of defect and the contract. The clock that matters most is your written notice to the contractor, which should happen immediately when you spot a defect. Waiting to see if the problem resolves itself weakens your position, even if you’re inside the CSLB window. Call us for a free estimate on a repair while you work through the original contractor’s warranty process.
A noisy or vibrating fan motor isn’t necessarily failing, but it’s a signal to test performance. Hold the tissue test described above, then check the duct routing and termination. If the fan is over 15 years old and the bathroom still fogs heavily after showers, replacement with a modern DC-motor fan is the practical fix. Irvine’s coastal humidity makes a correctly sized fan more important than it would be inland. We include ventilation scoping in every free estimate.
In most cases, no. A shower pan is a waterproof assembly, and once it’s failed, the fix requires removing the shower floor tile, the setting bed, and often several courses of wall tile to rebuild it correctly. Attempting a spot repair on the surface without addressing the membrane underneath will fail again. A licensed contractor should assess the full scope before quoting. Call (888) 578-4462 for a free estimate; our written line-item quotes show exactly what’s being replaced and why.
The Bottom Line
Almost every bathroom remodel problem you’ll encounter after the fact was knowable during construction. Grout that cracks is usually a substrate or membrane story. Moisture damage traces to one of three sources, and knowing which one you’re looking at determines the fix and the warranty. Tile failures announce themselves through lippage, efflorescence, and erosion. Ventilation problems show up as a fan that fails the tissue test. And a written workmanship warranty, backed by a contractor who stands behind it for years rather than months, is the single strongest protection you can buy. In Irvine, those standards are achievable with a trained contractor who writes the specification into the contract and honors it when something goes wrong.
If you’re starting a remodel and want it built right the first time, or you’re dealing with a problem that needs an honest diagnosis and a written repair quote, call Groundwork Construction Co. of Irvine at (888) 578-4462 for a free estimate. Calls are answered by a live person, 24/7, and every project is backed by our 730-Day Done Right Promise. Ask about our $1,000 off projects over $10,000 and 0% financing for 18 months.
Written by the team at Groundwork Construction Co. of Irvine.