
Last updated November 17, 2026
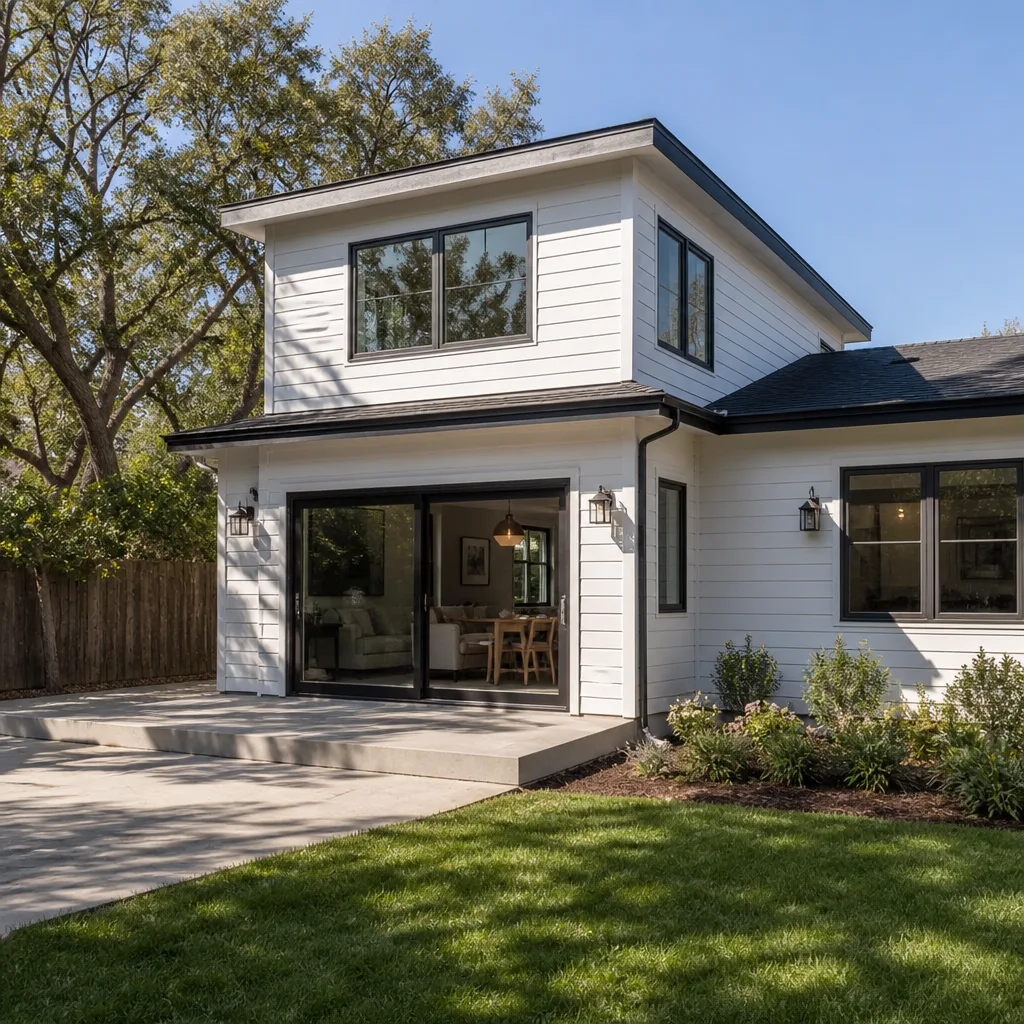 Home additions & ADU
 Kitchen remodeling
 Bathroom remodeling
 Roofing
 Windows & doors
 Driveway & pavers
 Fence
Free written scope consultation - allowances, timeline, and change-order rules on paper before a single trade is scheduled
Home Additions & ADU Troubleshooting: Common Problems and How to Fix Them
The number-one complaint from homeowners after an addition is finished isn’t a leaking roof or a cracked slab. It’s that the new space feels disconnected, underperforming, and nothing like what was sold to them on paper. The room is there, but the air is stuffy, the hallway pinches, the crack over the door keeps coming back, and nobody can quite explain why. In our experience reviewing finished and half-finished additions across Irvine, most of these problems aren’t construction failures at all. They’re coordination failures that could have been caught at the design stage. This guide shows you how to tell the difference, diagnose what’s actually wrong, and fix it before a repair turns into a rebuild.
Quick Answer
Most home addition and ADU problems trace back to design-stage coordination errors – undersized HVAC load calculations, incomplete framing specs, and inspection plans that don’t account for how Irvine’s coastal climate behaves – rather than bad workmanship. Diagnosing whether an issue is cosmetic settling or a structural failure early is the difference between a targeted repair and a full rebuild, and the fastest path is a documented walkthrough against the approved plans with your contractor before the walls close.
Styles & brands we work with
- Kitchen remodeling
- Bathroom remodeling
- Home additions & ADU
- Roofing
- Windows & doors
- Driveway & pavers
- Fence
Table of Contents
- How do you know if a crack in a new addition is serious?
- Why is your new addition always hot or cold?
- Where is that moisture coming from in your ADU?
- What do you do when your addition fails inspection?
- How do you hold a contractor accountable mid-project?
- Why is a garage-to-ADU conversion the highest-risk category?
- Why does the new space feel disconnected from the house?
- What paperwork protects you before and after the build?
How Do You Know If a Crack in a New Addition Is Serious?
A hairline crack that appears in drywall within the first year is usually normal settling, especially in a new addition where fresh lumber is still losing moisture. A crack wider than a credit card, one that grows over a few weeks, or one paired with a sticking door or a sloping floor is a different story. Those are signals that the foundation or framing may be moving, and they deserve a professional look before you patch anything.
Here are the visual tests we walk homeowners through, in order:
- The width test. Measure the crack in millimeters with a cheap feeler gauge or a piece of paper. Anything under 1.5mm and stable is typically cosmetic. Anything that keeps widening is a red flag.
- The straight-edge test. Lay a 4-foot level against the wall on both sides of the crack. If the wall is bowing in or out by more than a quarter inch, the framing is moving, not just the drywall.
- The door-and-window test. Open and close every door and window in the new space. Racking in the frame shows up as doors that rub or latches that miss, long before a crack gets wide.
- The floor-slope test. Drop a marble in a few spots on the new floor. A slight roll toward a drain is fine. A consistent roll toward one wall is not.
- The tape-line test. If a crack runs diagonally from the corner of a door or window, note the angle. Diagonal cracks near openings are the ones that most often point to foundation movement rather than drywall shrinkage.
In Irvine, the soil conditions under a lot of the newer development – particularly in areas built on former agricultural land or near the older ranch tracts – can shift more than the original 1960s and 70s homes did. A new addition sitting on a pier-and-beam or post-tension slab needs its foundation checked against the original house’s movement, not treated as an independent structure. We’ve seen additions in Irvine where the framing was perfect but the connection to the existing slab wasn’t detailed properly, and the crack showed up right at that seam.
Cracks that pair with any of these patterns are worth professional eyes before you spend money on cosmetic repair, because the repair budget gets smaller the earlier you catch the real cause.
Why Is Your New Addition Always Hot or Cold?
HVAC underperformance in a new addition almost always traces back to a load calculation error made before framing started. The system was sized for the original house, the contractor tied the new space into the existing ductwork, and nobody recalculated how many BTUs the enlarged footprint actually needs. The result is the classic complaint: the addition is a few degrees off from the rest of the house, the thermostat fights itself, and running the system longer just makes the original rooms uncomfortable.
The fix starts with a real Manual J load calculation for the whole house as it now stands, not just the addition. A few things to check before you assume the equipment is the problem:
- Duct sizing. A new room tied into an existing duct run with undersized flex can lose half its airflow before the air reaches the register. Look at the duct diameter against the room’s square footage.
- Return air. New additions often get supply registers with no matching return. A room with pressure but nowhere to relieve it will always feel stale and either too hot or too cold depending on the season.
- Insulation and air sealing at the transition. The seam between the original house and the addition is the hardest place to seal. If you feel air moving at the ceiling line where the two roofs meet, that’s a coordination gap, not an HVAC failure.
- Window spec. Irvine gets intense afternoon sun and cool coastal mornings. A new addition spec’d with basic dual-pane glass will outperform a bad single-pane window, but a west-facing room with no overhang still bakes. Brands like Andersen and Marvin are in our material lineup for exactly this reason – the right glazing package is a load-calculation input, not an afterthought.
In our experience, the homeowners who get this right are the ones who insist on the load calculation before the framing package is finalized. Once the addition is framed and the ducts are run, the fix is a mini-split, extra insulation, or a rebalancing of the existing system – all of which cost more than getting the spec right the first time. If you’re still in the design phase and your contractor hasn’t mentioned a load calculation, that’s your signal to ask.
Where Is That Moisture Coming From in Your ADU?
Moisture intrusion in an ADU is usually a vapor-management problem, not a waterproofing failure on the surface. Water shows up as a stain, a musty smell, or a peeling paint edge, but the source is often a missing vapor barrier, a reversed house wrap lap, or an improperly flashed door threshold – all issues that were decided before the drywall went up. The mistake most homeowners make is treating the visible spot with paint or sealant instead of tracing the path the water actually travels.
Here’s how we trace moisture, in order of likelihood:
- Start at the roof-to-wall transition. This is the highest-failure junction on any ADU. A lack of proper step flashing or kick-out flashing above a sidewall lets water in behind the siding, where it shows up as an interior stain far from the roof.
- Check the door and window sills. Especially on the south and west elevations in Irvine, sun-driven rain and irrigation overspray can force water past a threshold that was flashed with caulk instead of a proper pan.
- Inspect the foundation-to-wall joint. Grading that slopes back toward the ADU, a missing capillary break, or stucco that touches grade all let water wick up through the sill plate. This is a structural concern, not just a cosmetic one.
- Look at the bath and kitchen exhaust. An ADU bathroom fan ducted into the attic or terminated too close to a wall can push humid air back into the assembly. It needs to vent outdoors through a properly flashed wall cap.
- Check the ventilation of the crawlspace or slab edge. Garage conversions often have less ventilation than a purpose-built structure, and the slab edge is where condensation shows up first.
Garage-to-ADU conversions are the highest-risk category because the original garage was never designed as living space. There’s often no vapor barrier under the slab, the walls were finished with materials that trap moisture, and the garage door opening – now infilled – is the single most vulnerable wall in the structure. A proper conversion includes a new vapor barrier, a framed and flashed infill wall, and a ventilation strategy for the whole envelope. When we spec an ADU infill or a small entry door for these builds, we lean on Therma-Tru for the exterior door systems and ViewLux for the glazing – both hold up to the marine-layer moisture that settles over Irvine in the mornings and add a real moisture-management layer that a bargain door won’t.
If you can’t find the source with the five steps above, get a moisture meter on the assembly before any repair. Painting over an active leak is the most expensive mistake in this category.
What Do You Do When Your Addition Fails Inspection?
An electrical or plumbing failure after the walls are closed is recoverable, and it’s more common than homeowners expect. Most failures come down to a detail the inspector couldn’t see, a code requirement that changed during the project, or a coordination gap between the trades. The recovery path is methodical – pull the correction notice, get the exact deficiency in writing, and only then open the wall.
Here’s the step-by-step recovery path we walk through with Irvine homeowners:
- Get the correction notice in writing. The inspector’s report specifies the code section and the location. Don’t rely on a verbal description from a subcontractor – the notice is the only thing the reinspection will be graded against.
- Confirm what’s behind the wall before you open it. Locate the exact circuit or pipe, and confirm there’s no structural or finish issue in the same path. A small, precise opening beats a guess-and-demolish approach every time.
- Fix the deficiency, not the symptom. If a plumbing vent was too close to a window, moving the vent is the fix. If an electrical panel wasn’t bonded properly, the bonding is the fix. Patching the inspection by covering a defect is a guaranteed reinspection failure.
- Re-inspect and document. Get the corrected inspection passed and keep a copy with your plans. When you sell the home, the ADU’s legal status depends on that paper trail.
- Close the wall with the same assembly. Same drywall, same insulation, same vapor barrier detail. In Irvine, the city’s building division is used to seeing well-documented ADU inspections – the file is what makes the next one go faster.
Plumbing failures in additions often trace back to venting and drain slope, and those are best checked before the rough-in inspection rather than after. Electrical failures most commonly come from panel capacity – an addition that adds a bathroom, a kitchenette, or a laundry needs its load calculated against the existing service, and an undersized panel is a repairable problem, but only if it’s caught early. If your contractor is doing the work under a permit, the correction path is straightforward. If the work was done without a permit, the fix is more expensive because the whole scope has to be brought into compliance at once. That’s the argument for pulling permits even when a contractor says you don’t need them.
How Do You Hold a Contractor Accountable Mid-Project?
Hold a contractor accountable by putting the gap in writing, tying it to the approved plans and the contract, and asking for a specific remedy with a deadline – not by escalating to anger or withholding payment in a way that stalls the job. The goal isn’t to win a fight. It’s to get the work back in line with the drawings before the next trade covers it up. Done right, this conversation takes a scheduled site walk and one follow-up email, and the timeline barely moves.
Here’s the sequence that works:
- Walk the site weekly with the plans in hand. The homeowner who catches a missing header or a moved window opening on a Friday walk saves a rebuild. An addition is a moving target for about 12 weeks – walk it while the work is visible.
- Document with photos and a short note. A dated photo of a framing gap next to the approved drawing is more persuasive than any phone call. Send it in a single message that says what’s wrong, what the plan calls for, and what you’d like done.
- Ask for the remedy, not the apology. “This wall is framed 6 inches off from the plan – can we schedule the correction before the drywall goes up?” keeps the conversation on schedule and off the personal side.
- Reference the contract and the change-order process. Every change to the approved scope should be a written change order. If a subcontractor is deviating, the change order is the mechanism that aligns everyone.
- Escalate to the project manager, then the company, in that order. Most issues resolve at the PM level when the documentation is clear. If they don’t, the written record travels well.
In our experience, the projects that go smoothly are the ones where the homeowner and the contractor agree on written checkpoints at the start – a framing walk, a rough-in walk, and a pre-drywall walk. It’s much easier to have a hard conversation at a checkpoint than in the middle of a wall. And it’s one of the reasons we put every project on a fixed price with a written scope, so there’s a shared document to point at when the work drifts. That’s the backbone of the Home Additions & ADU in Irvine work we do, and it’s the reason a pre-drywall walk is on every schedule we run.
Why Is a Garage-to-ADU Conversion the Highest-Risk Category?
A garage-to-ADU conversion is the highest-risk category because the original garage was built to a completely different code standard than a dwelling unit. It has no vapor barrier under the slab in most Irvine builds, the walls were never insulated as living space, the slab was poured with no thought to finish floor height, and the garage door opening is a wall that has to be infilled, flashed, and framed to structural standards. Every one of those is a coordination decision, and each one has a failure mode that shows up 6 to 18 months after the permit closes.
The specific patterns we see in Irvine garage conversions:
- Slab moisture under the floor. Without a vapor barrier, moisture wicks up through the new flooring. The fix is a vapor-retarding underlayment and a dehumidification strategy – not just a new floor.
- Infill wall leaking at the header. The beam over the old garage door is the weakest flashing detail. Water finds it within the first rainy season.
- Undersized electrical service. A garage was wired for a garage. An ADU needs a kitchenette, a bath, and often a dedicated HVAC circuit – the panel has to be sized for the dwelling, and the service upgrade has to be permitted.
- No return air for the new HVAC. The same problem as any addition, but worse because the converted space has less wall area for duct runs.
- Egress window placement. A converted garage bedroom needs an egress window that meets the clear-opening requirement. If the window lands where the old garage door was, that’s a framing detail that must be designed, not improvised.
When we build a garage conversion, we treat the door opening as the critical path: Therma-Tru exterior door plus a properly flashed infill panel, ViewLux glazing in the living areas, and a vapor barrier under the finish floor before the drywall goes up. Barrette and Master Halco enter the picture on the exterior fencing and gates that enclose an ADU – a detail that matters in Irvine where many ADU lots are behind a shared driveway or a detached garage, and the fence line is part of the usable privacy envelope. Each of those is a design-stage decision. Get them right and the conversion holds up. Skip one and you’ll be opening a wall in year two.
Why Does the New Space Feel Disconnected from the House?
The new space feels disconnected when the design treats the addition as a separate box bolted onto the house instead of a room that belongs to the plan. The problem shows up as a hallway that pinches, a ceiling height that changes abruptly, a floor material that changes too soon, or a new room you have to walk through the kitchen to reach. It’s the most common and least-discussed complaint because it’s not a leak or a crack – it’s just a space that never feels right.
Four things drive this, and each is fixable in design rather than after the fact:
- Structural transitions. The beam that carries the new roofline often forces a soffit or a dropped ceiling right at the opening. If that soffit lands in the middle of the sight line, the addition feels like a separate building. Designing the beam line into the plan early avoids it.
- Ceiling height continuity. A new addition with a flat 8-foot ceiling butting into an 8-foot vaulted original house reads as a step down. Matching heights or designing a deliberate transition makes the space feel intentional.
- Floor continuity. The junction between the original subfloor and the new slab is a height difference of sometimes an inch. A continuous finish floor that crosses the seam in one material reads as one room. Changing materials at the doorway reads as two.
- Circulation. If the only way into the new space is through a laundry room or a kitchen, it will always feel like a back room. The door location is a design-stage decision that costs almost nothing to get right and a lot to fix later.
This is the problem the plans usually hide. A floor plan shows the walls but not the ceiling heights, the beam lines, or the transition details. In our experience, the homeowners who end up happiest with their Irvine additions are the ones who asked to see a section drawing at the junction – not just a plan view – before signing off on the framing. That’s a free question and it’s the one that prevents the “it feels like a separate box” outcome.
What Paperwork Protects You Before and After the Build?
The paperwork that protects you is the approved permit set, a written scope with fixed pricing, the change-order process, the inspection records, and a written workmanship warranty – and each of them needs to be in hand before the first shovel goes in, not after. In Irvine, additions and ADUs are permitted through the city’s building division, and the inspection record is what makes the finished ADU legal to rent or count as living space. A finished space without that paper trail is a liability when you sell, insure, or refinance.
Here’s the short list we hand every homeowner at kickoff:
- Approved permit set – stamped plans, permit number, and the inspection card, all in one folder.
- Written scope with fixed pricing – a line-item scope you can compare against the drawings at every walk.
- Change-order process – nothing leaves the approved scope without a signed change order and a price.
- Inspection records – framing, rough-in, and final, with signed-off correction notices if any.
- Written warranty – coverage on workmanship, in writing, independent of the manufacturer’s warranties on the products.
On our side, every project is backed by the 730-Day Done Right Promise – if it’s not done right, we make it right – and every quote is upfront pricing with the number you see being the number you pay. That’s a paperwork standard, not a marketing line. If your current contractor won’t put the fixed price and the warranty in writing, that’s the first thing to fix.
Common Mistakes to Avoid
- Approving the framing without a pre-drywall walk. The pre-drywall walk is the single cheapest checkpoint on the job. Skip it and every deviation is hidden for the life of the addition.
- Tying the new space into the existing HVAC without a load calculation. In Irvine, the swing between cool marine air and hot inland afternoons makes an undersized system obvious within the first summer. Recalculate the whole house, not just the addition.
- Treating a garage conversion like an addition. A garage was never a dwelling. It needs a vapor barrier, an upgraded panel, an egress window, and a flashed infill wall – all of it permitted.
- Letting the finish floor change at the doorway. It’s the fastest way to make the addition feel like a separate building. Match the floor across the seam or design the transition on purpose.
- Skipping the permit because “you don’t need one.” An unpermitted ADU can’t be counted as living space, insured as a rental, or financed as part of the home’s value. The permit is what makes the space real.
- Choosing materials on availability alone. A bargain door or window saves a thousand dollars up front and costs more than that in moisture repair within two winters. Spec quality on the assemblies that touch the weather.
- Waiting until the walls close to raise a concern. A dated photo to the project manager on a Friday beats an argument in month three. Documentation at the checkpoint is the entire game.
See the difference
 Before
 After
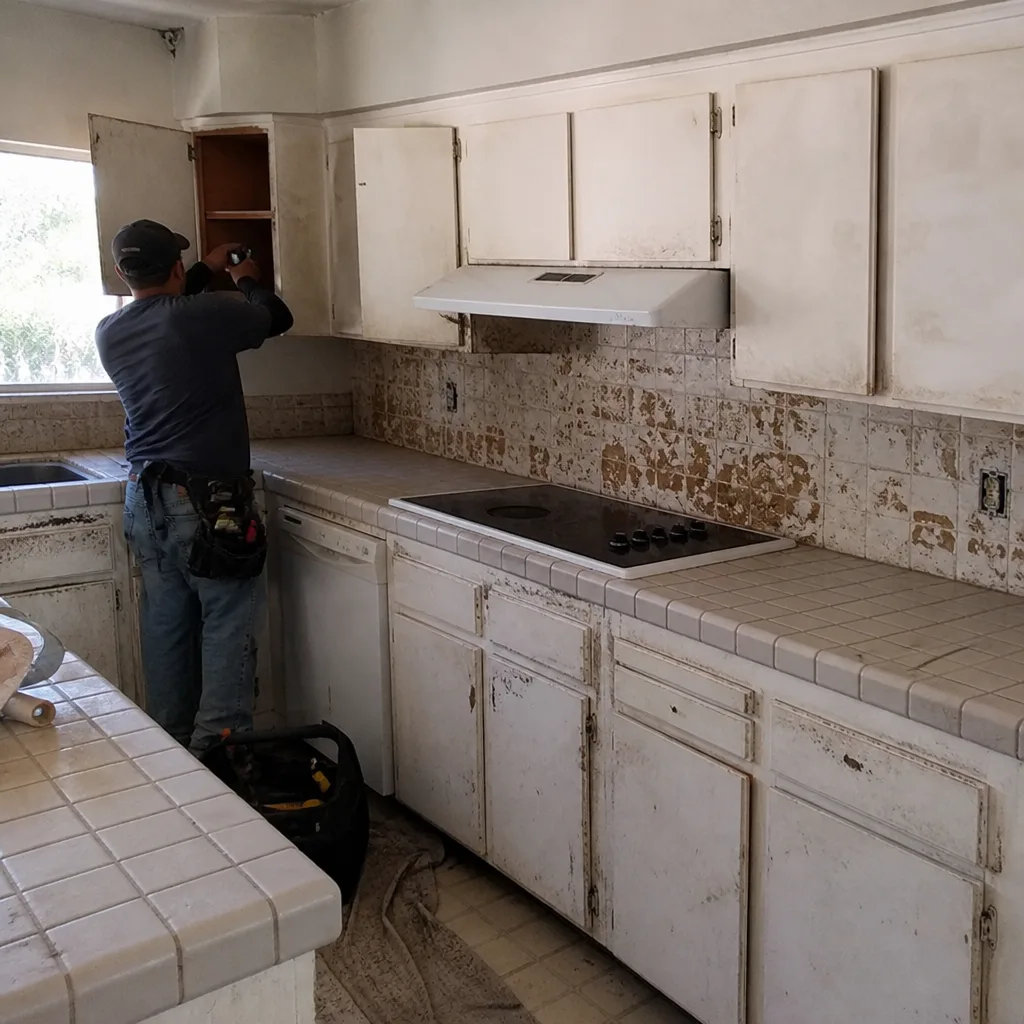 Before
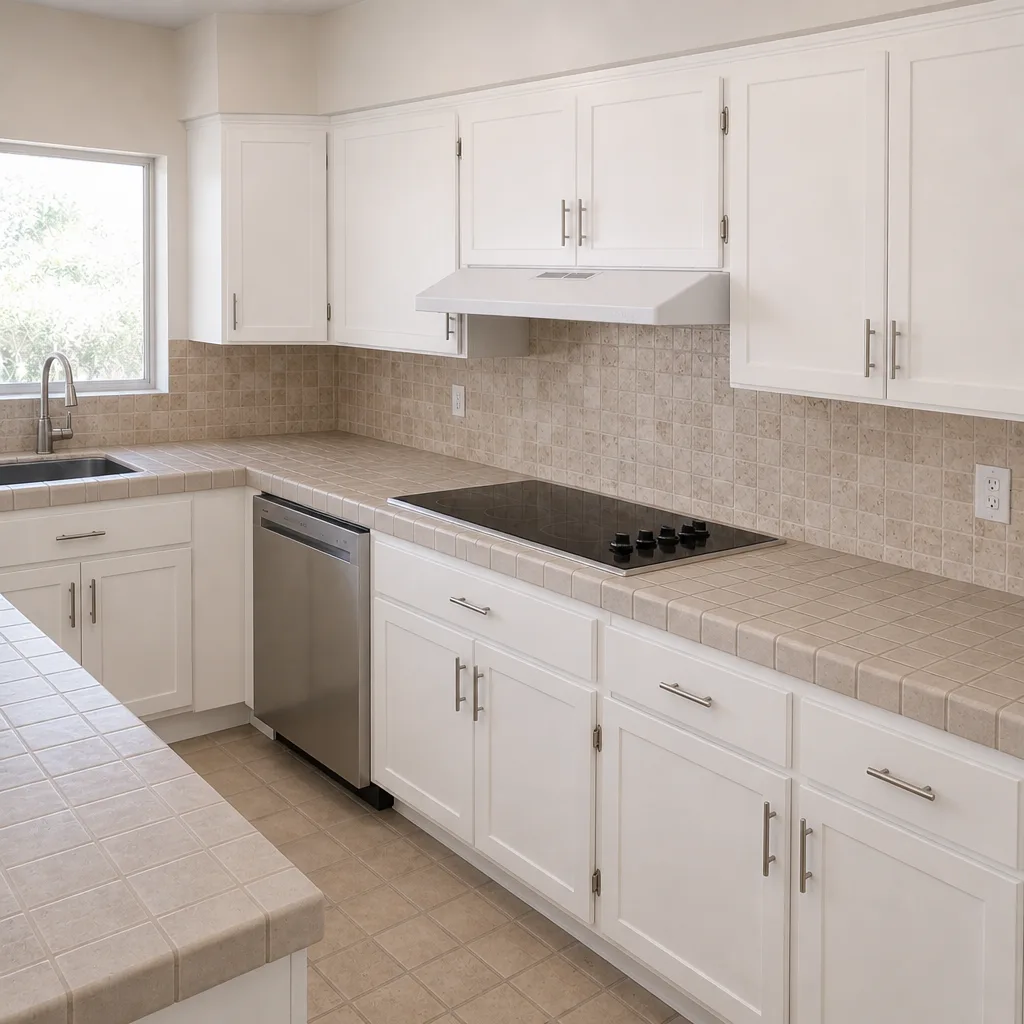 After
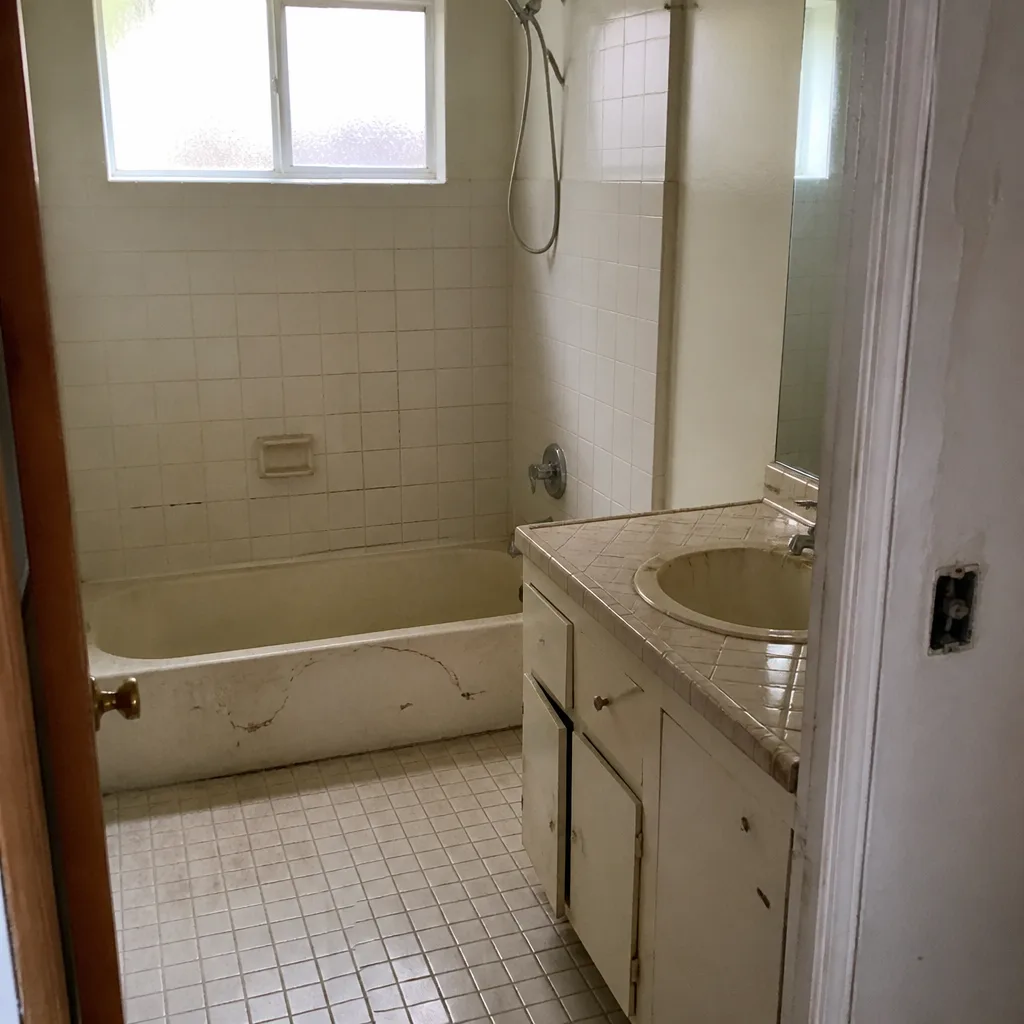 Before
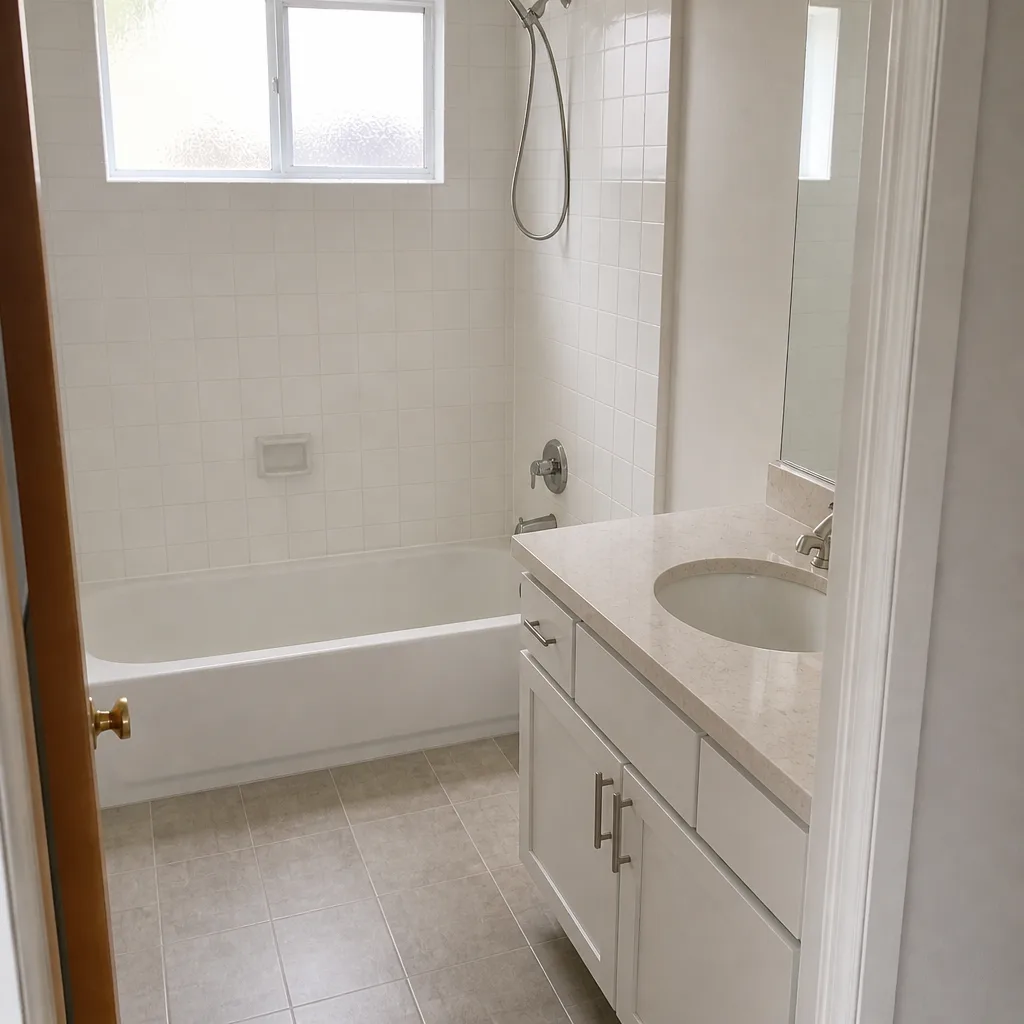 After
When to Call a Professional
Call a professional when the diagnosis isn’t obvious from the five tests, when a crack is growing or paired with a sticking door, when moisture comes back after a sealant repair, or when an inspection has failed and the wall is already closed. Call sooner if the work was done without a permit, if the contractor has gone unresponsive, or if the electrical panel is undersized for a new ADU. Those are the situations where a documented walkthrough and a written scope save the most money. Groundwork Construction Co. of Irvine offers free estimates in Irvine – call (888) 578-4462, and a live person answers around the clock. Our technicians have up to 12 years of experience, arrive in uniform, and are background-checked, so the person at your door matches the name on the quote. We’d rather be the second opinion that stops a rebuild than the contractor who caused one.
Frequently Asked Questions
A targeted fix – correcting a load calculation with a mini-split, re-flashing a door threshold, or patching a settling crack – usually runs a few hundred to a few thousand dollars and is a minor scope. A structural or framing correction that requires opening walls costs more, and an unpermitted ADU that has to be brought into compliance costs the most because the whole scope is re-inspected at once. The earlier you catch it, the smaller the number. Call (888) 578-4462 for an exact quote – estimates are free.
Yes. Every ADU in Irvine needs a building permit, and the inspection record is what makes the space legal as a rental or as living space on the home’s value. A finished garage conversion without permits can be insured as a garage and nothing more, and a buyer’s lender will treat it the same way. Pull the permit before the first trade starts.
Almost always a load-calculation error: the existing HVAC was sized for the original house and the new space was tied in without recalculating. Undersized ducts, missing return air, or an unsealed transition at the roof line all make it worse. The fix is a Manual J load calculation for the whole house as it now stands – not a bigger system guessed at.
A typical addition runs 12 to 20 weeks from permit approval, and a garage-to-ADU conversion runs 14 to 24 weeks depending on the electrical service upgrade and the inspection schedule. The design and permitting phase is the unpredictable part – the build itself follows the plan if the plan is complete. Ask for a written schedule with the walk checkpoints marked.
It shouldn’t. A fixed-price contract with a written scope means the number you see is the number you pay, and anything outside the approved scope goes through a signed change order first. If a bid came in low and vague, expect it to grow. Get the scope in writing before you sign. Call (888) 578-4462 to schedule a free estimate.
Walk the site with the plans in hand, photograph the gap, and send one message that ties the issue to the approved drawing with a specific remedy and a date. Escalate to the project manager if it isn’t resolved at the walk. Documentation wins these conversations; anger prolongs them. If it’s already gone sideways, a second opinion with a fixed-price scope is the fastest reset.
The Bottom Line
Most addition and ADU problems are coordination failures caught too late, not construction failures nobody could avoid. The crack is a signal, the stuffy room is a load-calculation decision made before framing, the moisture is a vapor-management detail from the design stage, and the disconnected feel is a beam line and a floor transition that were never drawn. Fix them at the checkpoint and you spend hundreds; fix them after the walls close and you spend thousands. Keep the permit set, the written scope, and the inspection record in one folder, walk the site at every checkpoint, and ask the load-calculation question before the framing package is final. Groundwork Construction Co. of Irvine builds this way from foundation to finish line, backed in writing by the 730-Day Done Right Promise. Call (888) 578-4462 for a free estimate on your addition or ADU – live person, 24/7.
Related reading around Irvine: the Groundwork Construction Co. of Irvine home page for a full view of what we build, Driveway & Pavers in Irvine for the exterior work that often accompanies an addition or ADU, and Fence Installation in Irvine for enclosing the private yard an ADU needs.
Written by the team at Groundwork Construction Co. of Irvine.