
Last updated November 17, 2026
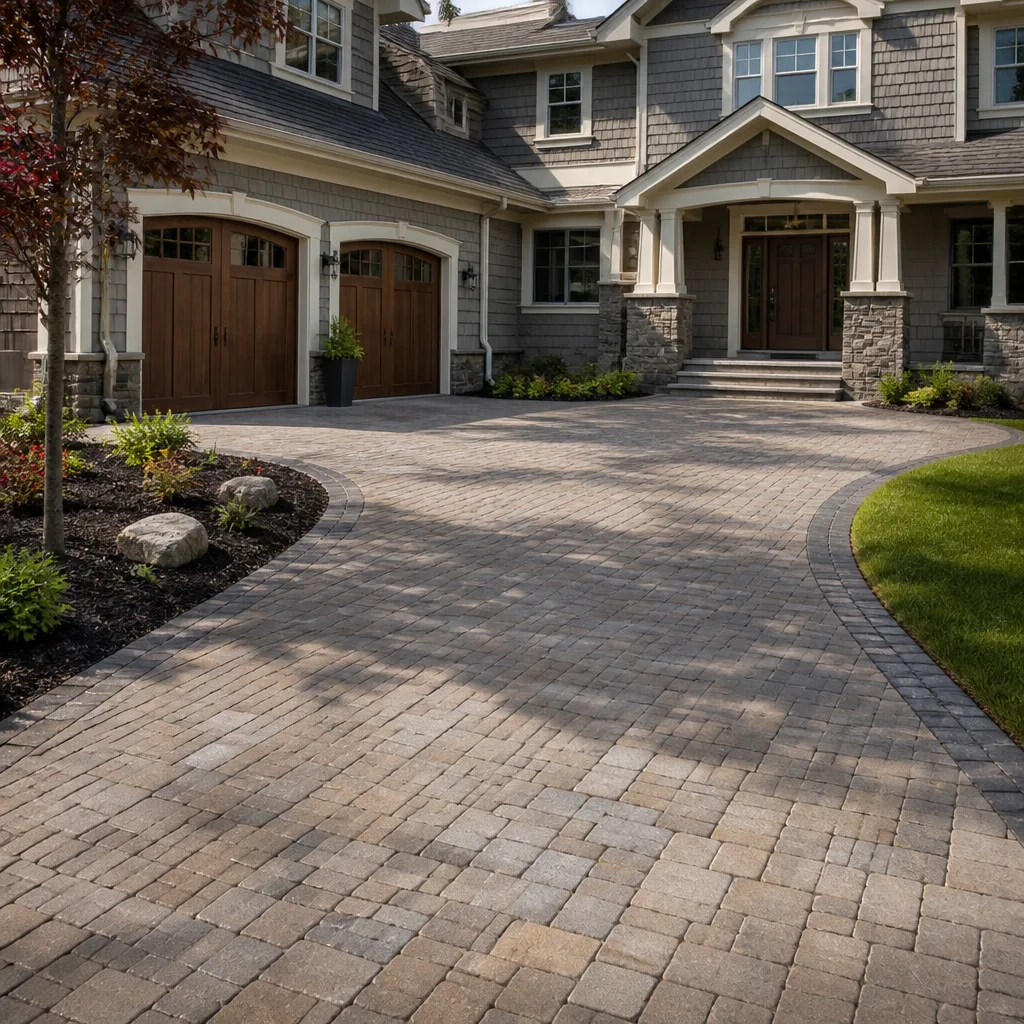 Driveway & pavers
 Kitchen remodeling
 Bathroom remodeling
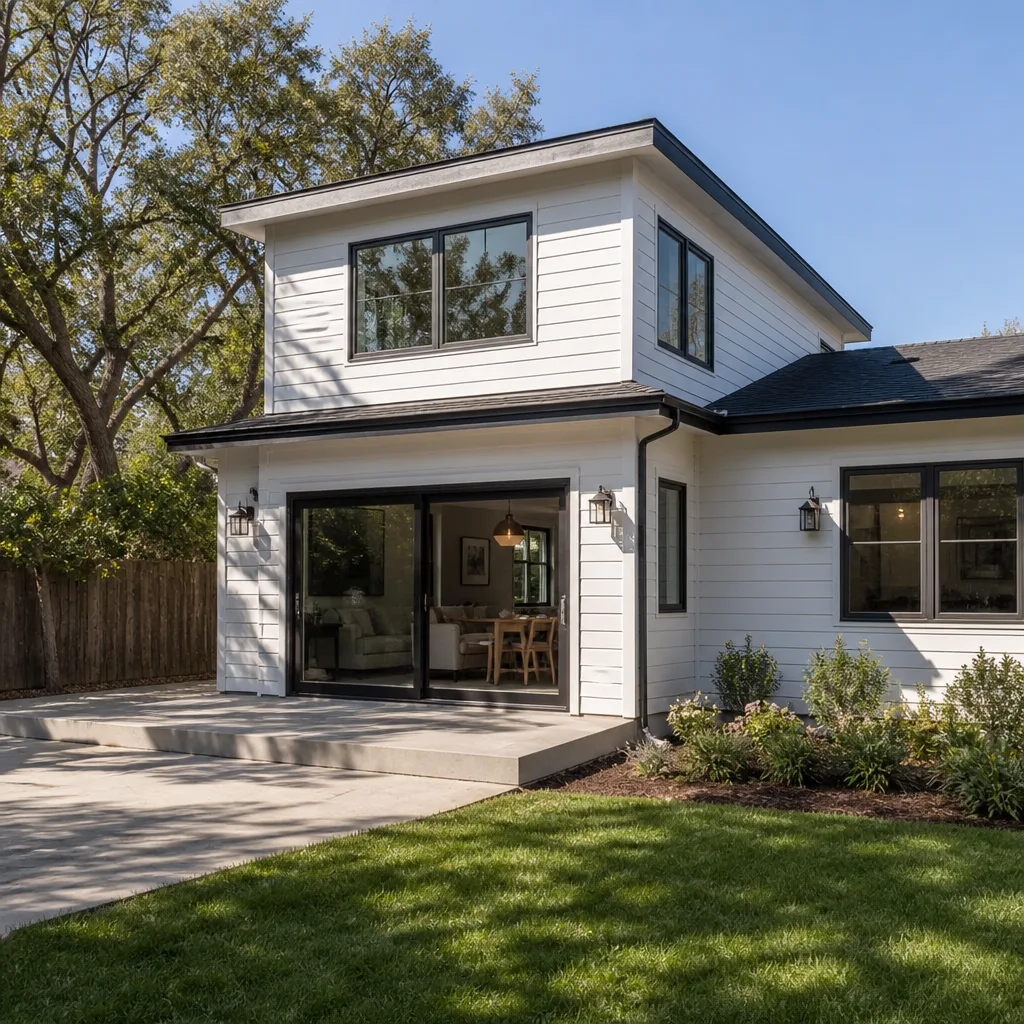 Home additions & ADU
 Roofing
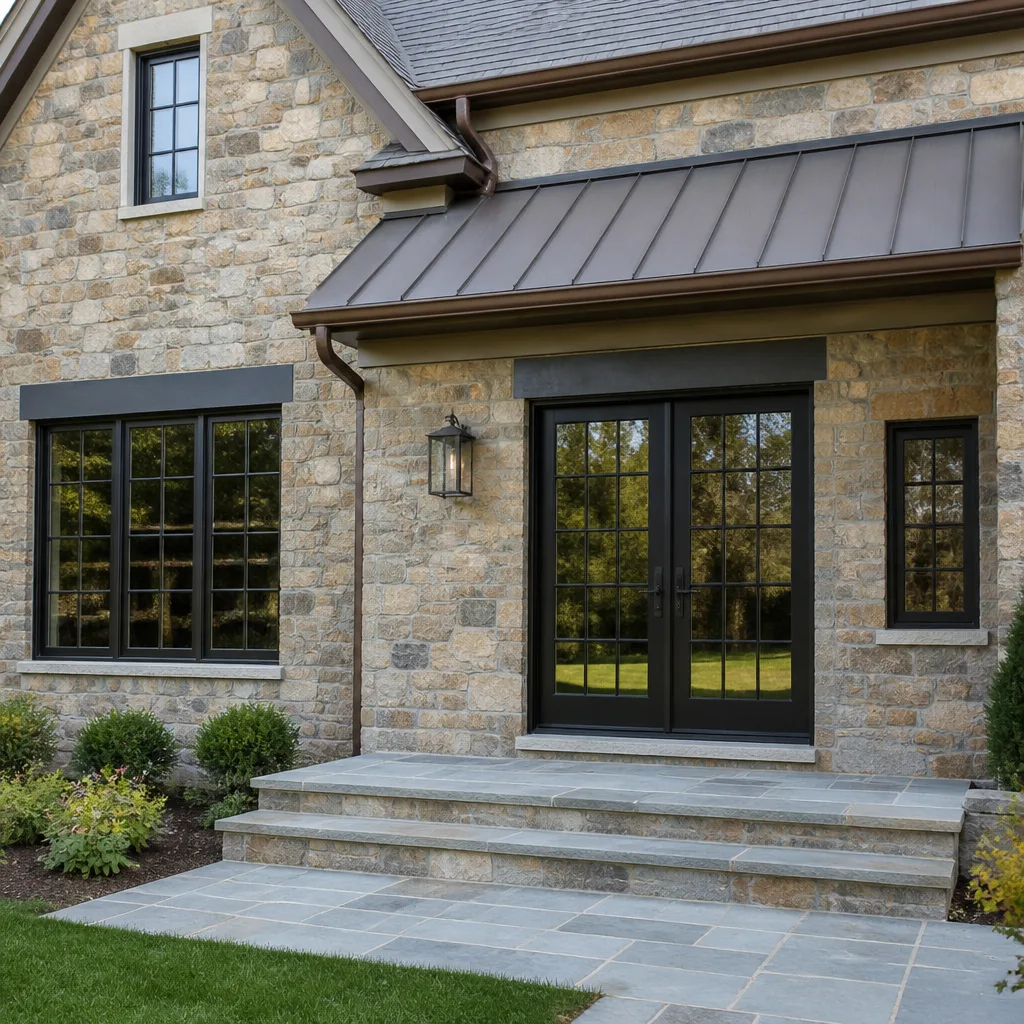 Windows & doors
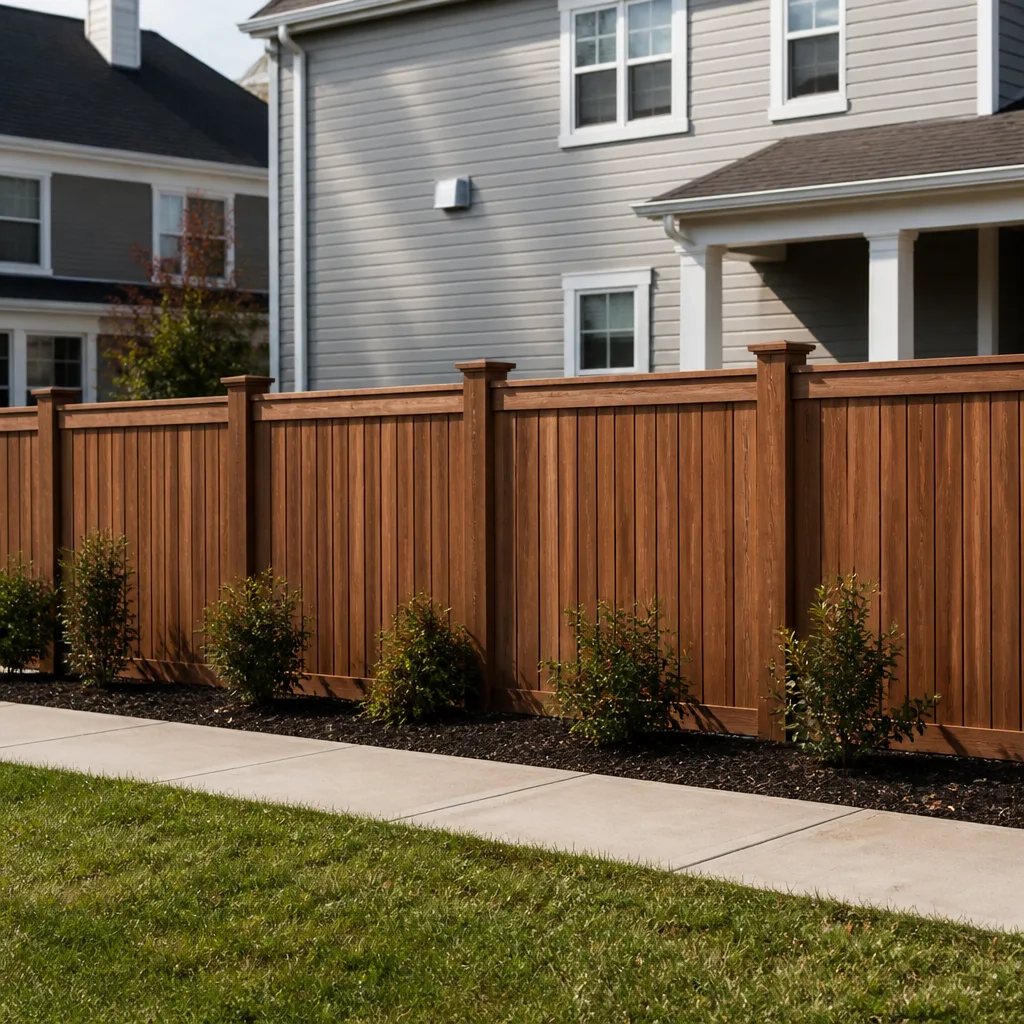 Fence
Free written scope consultation - allowances, timeline, and change-order rules on paper before a single trade is scheduled
Driveway & Pavers Maintenance Checklist for Irvine Homeowners
The number-one reason Irvine driveway pavers fail before their tenth birthday isn’t the material. It’s polymeric sand. Specifically, it’s the washout nobody warns you about, driven by marine layer condensation that soaks the joints overnight and bakes dry by afternoon. That cycle repeats hundreds of times a year in Irvine, and each pass pulls a little more binder out of the joint. We’ve walked dozens of Irvine driveways where the pavers themselves were still sound but the joints had turned into gravel and the edges were lifting. This checklist intercepts each failure point in sequence, before a $300 re-sand becomes a $9,000 re-lay.
Quick Answer
Irvine pavers need joint-sand inspection twice a year, a full re-sand every three to five years, and resealing every three to four years with a film-forming sealer rated for high UV. The two highest-risk windows are the May-September marine layer moisture cycle (joint erosion) and the late-summer clay expansion period (edge lifting). Most failure happens in the joints and edges, not the paver face, which means a homeowner checking the right things at the right time can defer replacement by a decade or more.
Styles & brands we work with
- Kitchen remodeling
- Bathroom remodeling
- Home additions & ADU
- Roofing
- Windows & doors
- Driveway & pavers
- Fence
Table of Contents
- Why Irvine’s Marine Layer Eats Paver Joints
- The Clay Soil Expansion Calendar
- Choosing a Sealer for Irvine’s UV Load
- Month-by-Month Maintenance Checklist
- The Three Signs DIY Has Run Out
- How to Inspect Your Driveway in 15 Minutes
- What Irvine Paver Maintenance Costs
Why Irvine’s Marine Layer Eats Paver Joints
Irvine sits in a peculiar microclimate band. It’s far enough inland that it doesn’t get the steady onshore flow of Huntington Beach, but close enough that the marine layer drifts over the San Joaquin Hills most mornings, especially from May through September. That means your driveway is subjected to a daily moist-dry cycle that most California paver guides completely ignore.
Here’s what actually happens to the joint sand. Overnight, condensation forms on the paver surface and wicks into the joint. Polymeric sand is designed to harden when it cures, but repeated wetting and drying with a slight temperature swing causes micro-fractures in the binder matrix. By morning, the top millimeter of joint sand has gone soft. The UV then hits it and cures the surface into a brittle crust. Repeat that 140 times over a summer and you have a joint that looks intact from above but crumbles when you drag a hose across it.
We’ve seen the pattern so often in Irvine that it’s almost diagnostic. By year two, homeowners in Northpark and Woodbridge start noticing sand in the gutter after rain. By year three, the joints are visibly 4-5mm lower than the paver face. By year four, weeds are sprouting through what should be a fully sealed system. None of that means the pavers were installed wrong. It means the marine layer was doing exactly what marine layers do, and nobody put it on a maintenance schedule.
The fix isn’t exotic. It’s a twice-yearly joint sand top-up and a proper re-sand every few years, timed so the new binder cures during a low-moisture window (usually late September and early March). Doing that keeps the joint system viable, which is what protects the base beneath. For a fuller look at what sturdy paver installation actually involves in this market, see our Driveway & Pavers in Irvine page.
The five-minute gutter check
If you want a fast read on joint health, walk to the storm drain at the low end of your driveway after the first rain of the season. A light dusting of sand is normal. A visible accumulation of sand in the gutter, or sand staining on the curb line, means the joints have already shed their binder and are running on borrowed time. That’s the cue to schedule a re-sand, not to wait another year.
The Clay Soil Expansion Calendar
Irvine’s soil is heavy in expansive clay, particularly in the older neighborhoods built before the grading codes tightened in the late 1990s. Clay expands when wet and shrinks when dry. That movement transfers directly into a paver system, which is flexible by design but not infinitely so. The failure mode you’ll actually see is edge lifting: the perimeter pavers push up or spread outward as the base beneath them swells.
The expansion calendar in Irvine runs on a predictable loop:
- January-March: Winter rains saturate the clay. Expansion is at its peak. This is when edge restraint failures first appear.
- April-May: Gradual drying. The clay shrinks and pavers settle. Watch for hairline gaps opening along the perimeter.
- June-September: Full dry shrinkage. This is when lifted corners and popped edges become obvious to the eye. The morning marine layer briefly re-wets the surface but doesn’t penetrate to the base.
- October-December: Transition. The system moves again, and any paver that’s gone loose over the summer will rock visibly here.
Some borders are at higher risk than others. The sun-exposed south and west edges of a driveway dry out fastest and shrink the most between wettings, so they move more dramatically. Shaded edges on the north side (common in tree-heavy areas of Turtle Rock) tend to stay damp and swell longer. Both can fail, just in different seasons and different ways.
When we inspect Irvine driveways, we spend most of our time at the perimeter, particularly where the driveway meets the garage apron and where it meets the sidewalk. Those transition points concentrate stress and typically fail first. If you have a driveway that runs to a fence line, the border nearest that fence is worth checking every spring as well. The surrounding Fence Installation in Irvine work can disturb the adjacent paver edge if it’s rebuilt poorly, so it’s worth keeping an eye on that line item.
How to check for edge lifting without a tool
Stand at the perimeter of your driveway with your heel on the edge paver. Rock your weight gently side to side. If you feel the paver move more than a millimeter or hear a distinct click, it’s already lifted. Do the same test on three or four interior pavers at random for comparison. Those should feel as solid as concrete. Movement on edges is normal wear. Movement in the center field is a base problem and needs a professional look.
Choosing a Sealer for Irvine’s UV Load
Sealer selection in Irvine is where most homeowners get it wrong, and the mistake isn’t obvious for two or three years. Products formulated for the Central Valley or the Pacific Northwest often underperform here because they’re tuned for a different UV and moisture profile. Irvine gets intense direct sun most of the year, but with the constant morning condensation, which means the sealer has to resist both photo-degradation and repeated wet-dry cycling. Most generic acrylic sealers handle one or the other well but not both.
What we’ve seen hold up in this climate:
- Solvent-based acrylic urethanes with UV stabilizers – these are the most durable option for Irvine sun exposure. Film thickness matters more than brand names; you want a 25-30% solids product applied at the manufacturer’s specified wet-mil rate, which is usually two coats.
- Water-based acrylics – easier to apply and lower VOC, but they need reapplication every two to three years in Irvine instead of three to four. Reasonable for homeowners who don’t mind the shorter cycle.
- Penetrating siloxane sealers – good for stain resistance and joint stability but they don’t build the protective film that guards against UV surface chalking. Better as a supplement than a standalone.
What to avoid: cheap sealers with solids content below 20%, products marketed as “lifetime” (no sealer is), and any film-forming sealer that hasn’t been tested specifically for high-UV climates. In our experience, the sealer failure mode you’ll see most in Irvine is chalking – the surface turns white and flaky under UV within two summers. That white haze isn’t cosmetic; it’s the sealer breaking down and providing no protection at all beneath it.
Film thickness is the number that matters. A sealer applied too thin (the temptation when you’re trying to stretch a bucket) will fail in half the time of a correctly applied one. Follow the label coverage rate exactly. When in doubt, two lighter coats beat one heavy one, because heavy single coats trap moisture in the joint and cause the milky blushing you see on badly sealed Orlando and Phoenix driveways too.
Timing the reseal
Reseal when the old film starts to lose its sheen on the sunward side, when water no longer beads on the surface (test with a cup of water – if it soaks in within 30 seconds, it’s time), or every three years, whichever comes first. In Irvine, most driveways hit all three triggers nearly simultaneously by year three.
Month-by-Month Maintenance Checklist
Here’s the calendar we hand to Irvine homeowners on every paver job. Bookmark it or print it. Each task is small; the point isn’t the individual effort, it’s that skipping three of them in a row is what turns a maintenance driveway into a replacement driveway.
- January – post-rain inspection. Walk the perimeter after the first big rain of the year. Check for edge shifting, sand in gutters, or new cracks in the joint lines. Take a phone photo of any area that looks off so you have a baseline.
- February – weed pull. Any weed that’s survived winter is rooted deep. Pull by hand, don’t spray (sealer films hate herbicide drift). Re-sand any joints the weed pulled loose.
- March – spring joint top-up. Add polymeric sand to any joint that’s sitting 2mm below the paver surface. Water it in per the manufacturer’s instructions. This is your single most important task of the year.
- April – sealer check. Water bead test. If your driveway doesn’t bead, plan the reseal for the first dry stretch in May or June.
- May – pre-summer edge scan. Heel-test the perimeter. Any rocking or lifted edge should be routed or re-set now, before summer movement makes it worse.
- June – reseal window. Apply sealer during a three-day dry stretch with no rain forecast. Two coats, following coverage rates. Avoid mid-day heat (early morning is best).
- July – joint inspection. The marine layer moisture cycle is at its peak. Check for soft joint binder, especially on the shaded side of the driveway.
- August – drainage check. Make sure water still sheets off the driveway and doesn’t pool. If you see ponding after a hose test, the base has shifted and needs a pro.
- September – late-summer joint top-up. Second-sand any joints that have lost material over the summer. This is the ideal time because the clay is shrinking and the pavers are settling; you’re locking in a good tight state.
- October – fall perimeter check. Repeat the heel test. Any new movement from the summer should be visible now.
- November – pre-rain gutter clearing. Clear the storm drain and the low end of the driveway so winter rain can’t back up. Standing water is the enemy of the base.
- December – deep clean. Pressure wash on low power (under 1,500 PSI) to remove the organic staining that builds up over a year. Don’t get close to the joints with the wand.
Total time commitment across twelve months: about six to eight hours. Total cost of DIY consumables (sand, sealer, weed puller): probably $200-400. Compared to $9,000-15,000 for a full re-lay in Irvine, the math is obvious.
The Three Signs DIY Has Run Out
There’s a line in every driveway’s life where a homeowner-led maintenance routine stops being sufficient. Crossing that line without recognizing it is where most expensive Irvine paver damage starts. Here are the three signs we see most often.
Sign 1: Polymeric sand won’t hold
If you’ve properly re-sanded a joint in spring and again in fall, and within three months the sand has washed out again, the joint itself has developed a channel that’s too wide for polymeric sand to bridge. This happens when joints have been eroded past 8mm wide. DIY sand will just disappear into the gap. A professional re-sand with coarse-grit base sand and a proper polymeric topcoat is required to build the joint back up.
Sign 2: Sub-surface rocking
When pavers move underfoot without rain or temperature changes, the base beneath them has lost compaction. In Irvine, this typically follows a wet winter where the clay swelled and never fully recovered. You can’t fix that from the surface. The paver has to come up, the base has to be re-compacted (sometimes rebuilt with a layer of crushed stone aggregate), and the paver goes back down. That’s a professional job with a plate compactor and a laser level, not a Saturday morning.
Sign 3: Edge restraint failure
The edge restraint is the concrete or plastic curb that holds the perimeter pavers in place against lateral movement. When it cracks or lifts (common on Irvine driveways older than 15 years), the whole driveway perimeter starts to spread. You can’t fix that with a tube of adhesive. It’s a full perimeter re-set with new restraint and, usually, fresh base material at the edge. Left alone, the spreading accelerates through the summer clay-shrink cycle, and by fall you have a driveway that’s visibly wider at the street than at the garage.
If any two of those three signs appear at once, we’d recommend a professional assessment rather than more DIY. At that stage, the intervention cost is usually $600-1,800 in Irvine. Waiting another year pushes it to $3,000-6,000. Waiting three years and you’re in full replacement territory. The same logic applies broadly to any exterior system on the property, which is why we think of it the same way we do for Home Additions & ADU in Irvine – catch the substrate work early, or pay double later.
How to Inspect Your Driveway in 15 Minutes
You don’t need a special tool set to do a meaningful inspection. Here’s the routine we recommend every spring and fall.
- Walk the perimeter first (3 minutes). Heel-test every 2-3 feet along the edge. Note any movement with a photo.
- Scan the center field (3 minutes). Look for paver-to-paver height differences greater than 2mm. Slight height variance is normal; a step-off of 4-5mm means the base is shifting.
- Check the joints (3 minutes). Look at joint depth. A healthy joint sits 1-2mm below the paver face. If you can see daylight down 5mm or more, that joint needs sand.
- Water test (2 minutes). Pour a cup of water in the center. It should bead and pool. If it soaks in, the sealer has failed.
- Drainage check (2 minutes). Hose the low end of the driveway. Water should sheet off and stay out of the joint lines. Any pooling is a base problem.
- Note and file (2 minutes). Take overview photos and label them by date. Next inspection, you can see the change at a glance.
Any single issue from that list can usually be addressed on the next scheduled maintenance. Two or more at once, or any issue in a category you’ve never seen before, warrants a call.
What Irvine Paver Maintenance Costs
Line-item ranges based on typical Irvine residential driveways (roughly 600-1,200 square feet). Prices vary with access, paver size, and how much base repair is needed.
| Service | Typical Irvine Range | Frequency |
|---|---|---|
| Joint sand top-up (DIY or hired) | $150-$400 | Twice yearly |
| Full re-sand (professional) | $400-$900 | Every 3-5 years |
| Reseal (single coat, professional) | $350-$800 | Every 3-4 years |
| Reseal (two coat, high-UV-rated product) | $600-$1,400 | Every 3-4 years |
| Perimeter re-set (edge restraint) | $700-$1,800 | As needed (often 15+ years) |
| Localized re-lay (10-20 pavers) | $400-$1,200 | As needed |
| Full replacement (600-1,200 sq ft) | $9,000-$18,000 | Every 20-30 years if maintained |
The pattern to notice: total maintenance spend over 10 years runs roughly $2,000-4,000. Full replacement runs $9,000-18,000. Maintenance costs 20-30% of replacement and defers the replacement by a decade or more. That math is the entire argument for the checklist.
When we quote paver maintenance in Irvine, we always break out the job into line items, so a homeowner can see exactly what they’re paying for and decide what to defer. Upfront pricing, no surprises. If you’re considering a re-lay or a first-time installation, our Driveway & Pavers in Irvine service line walks through the base work and material choices.
Common Mistakes to Avoid
- Pressure washing the joints at full power. A 3,500-PSI wand will blow out polymeric sand in three passes. If you’re going to pressure wash, use a wide fan tip, keep it under 1,500 PSI, and never aim directly at a joint.
- Skipping the fall joint top-up. Spring is when most homeowners remember to re-sand. Fall is when it actually matters, because the clay is shrinking and the joints are at their widest. Fall top-up locks in the good state before winter rain.
- Sealing over a wet driveway. In Irvine, morning marine layer moisture can linger until 10 AM in spring. Sealing before the surface is bone dry traps the moisture under the film and causes the milky haze we mentioned earlier. Wait for a dry afternoon, not a dry morning.
- Using “one-size-fits-all” sand. The bagged polymeric sand at the big-box store is fine for touch-ups, but it underperforms on Irvine’s wider-than-average joint lines (typically 12-18mm on the popular Catalina and Belgard patterns). Ask for a sand graded for wider joints or you’ll be redoing it in a year.
- Ignoring a single rocking paver. One rocking paver gives the neighbors two rocking pavers within a year, because the movement transfers through the joint system. Get it fixed at the first sign, not the tenth.
- Planting trees too close. Ficus and jacaranda roots are the two leading causes of Irvine paver lift we see on established properties. If you’re planting, keep the trunk at least 15 feet from the driveway edge. If a mature tree is already there, budget for root pruning or barrier installation.
- Skipping the perimeter check. Ninety percent of homeowner inspections focus on the center field because it’s what you see. The perimeter is where the failure actually starts. Check the edges first.
See the difference
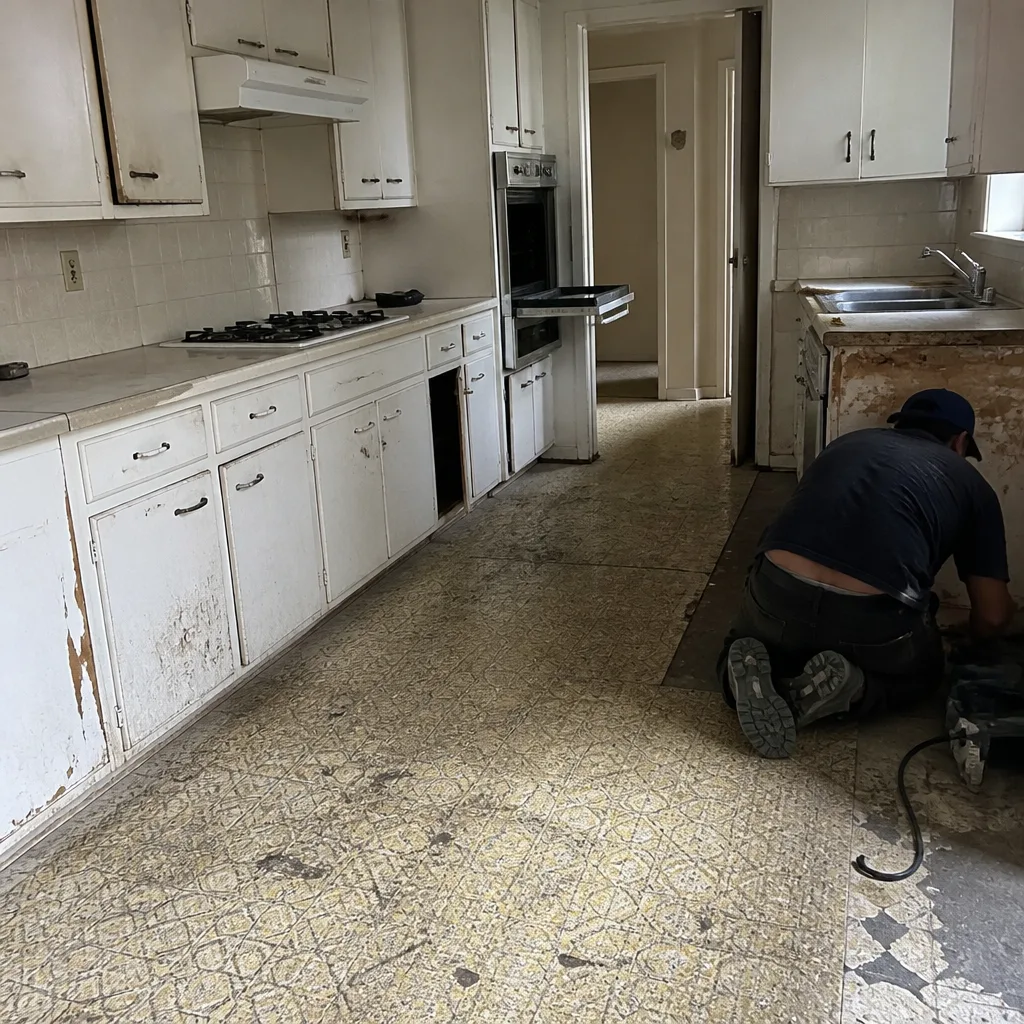 Before
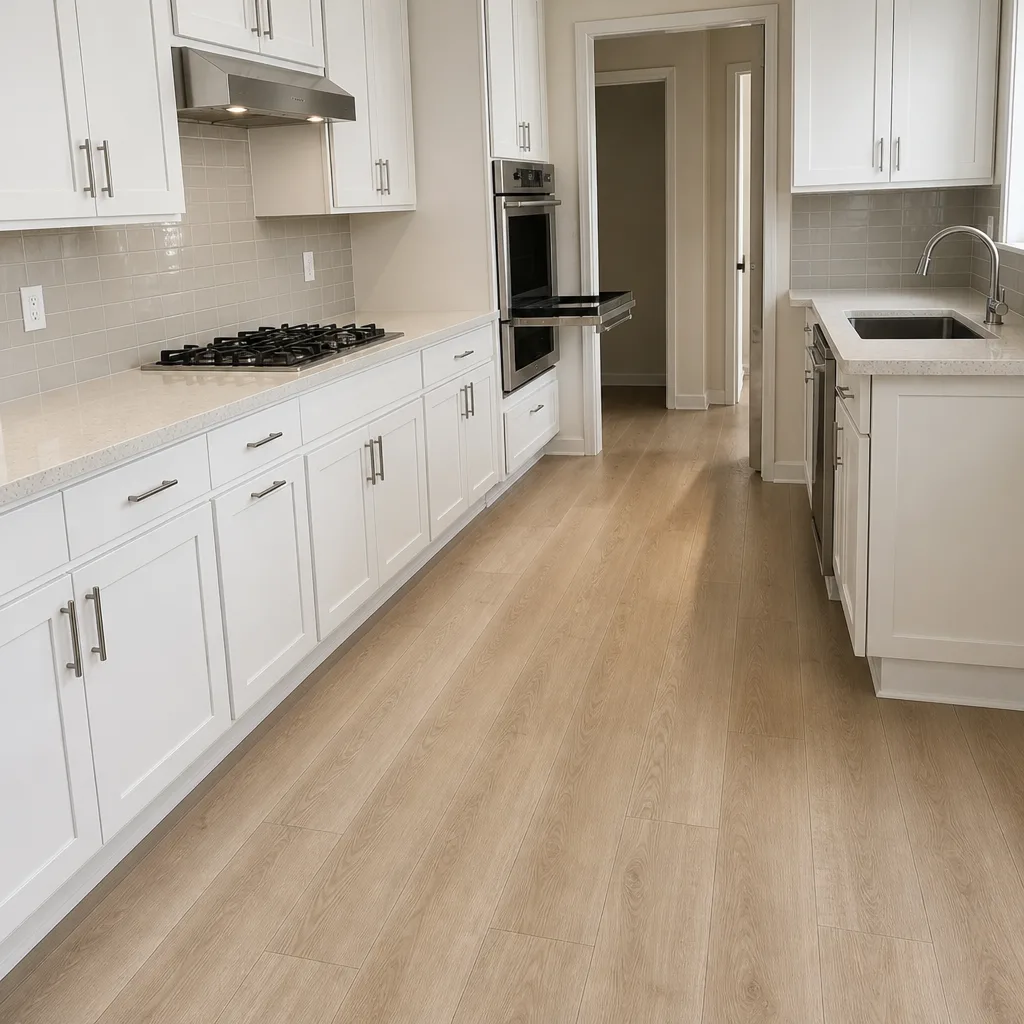 After
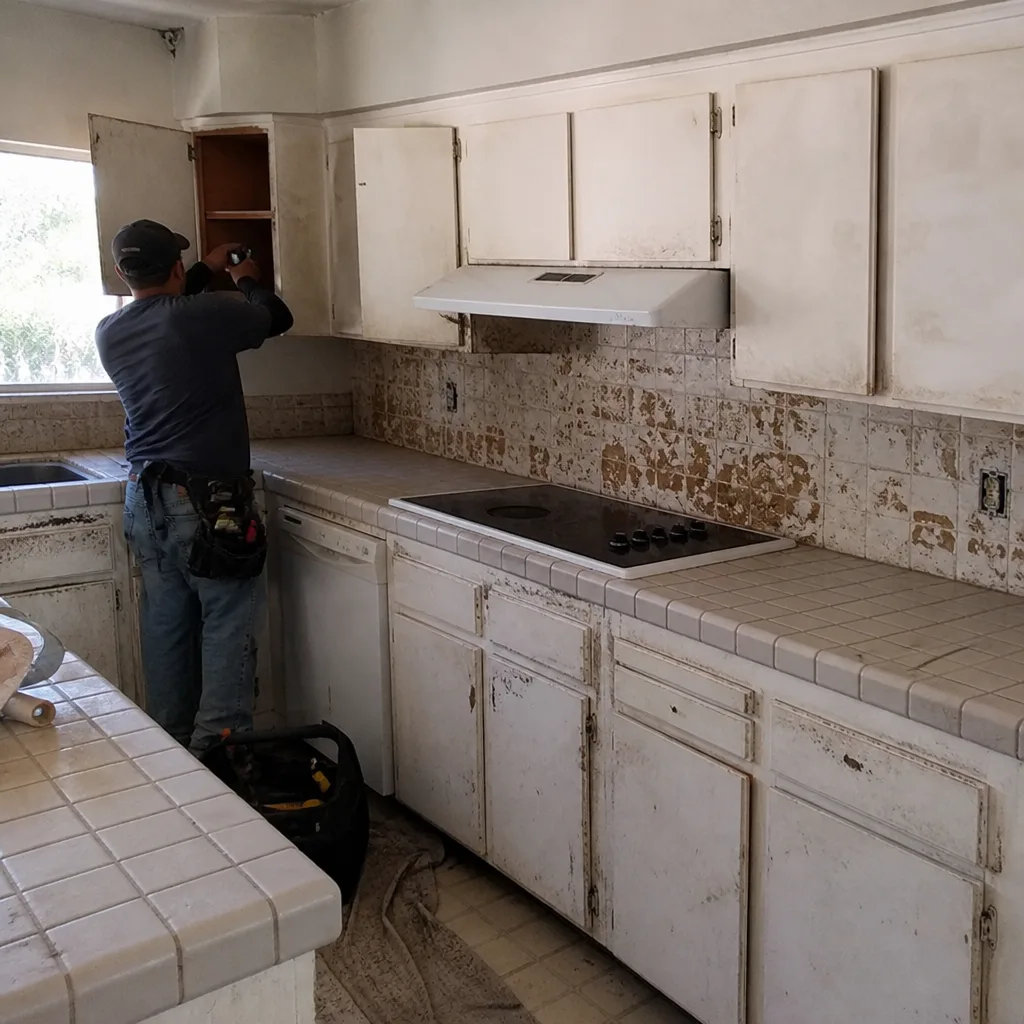 Before
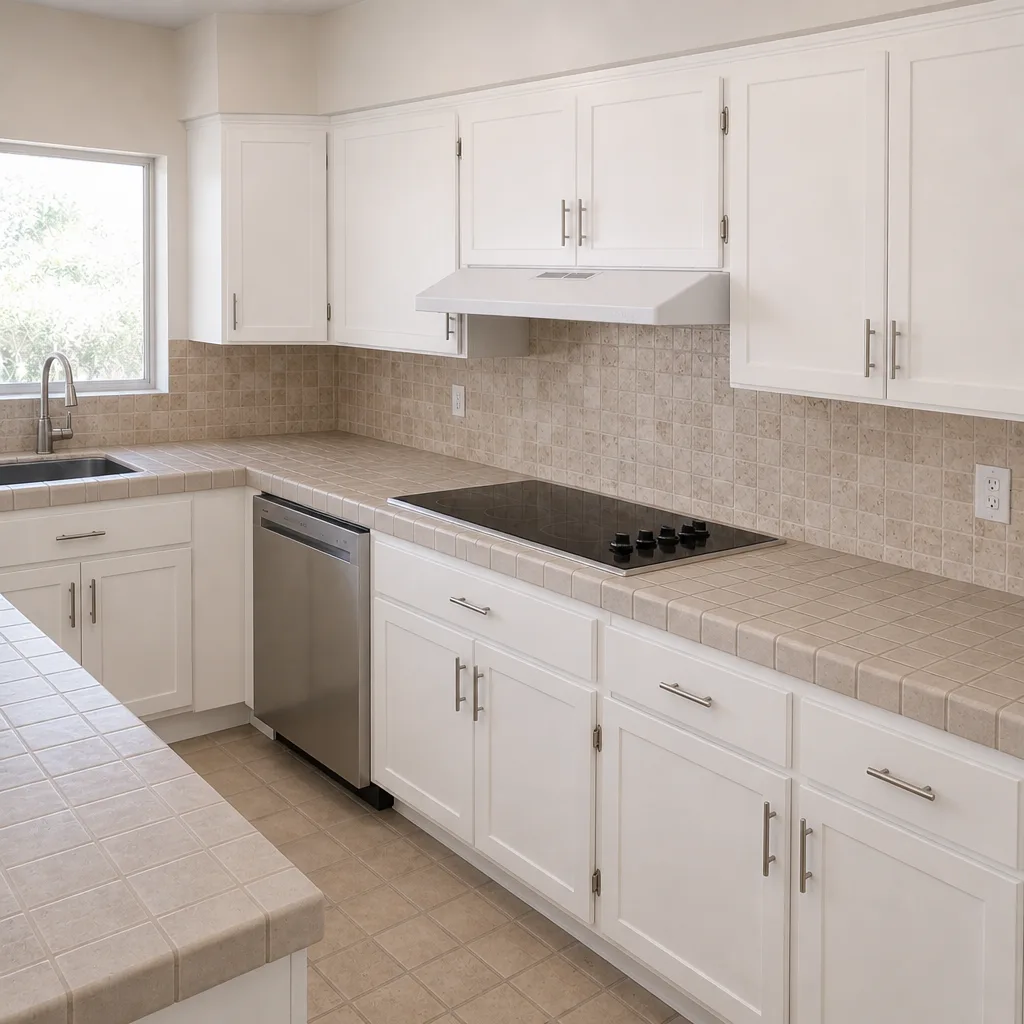 After
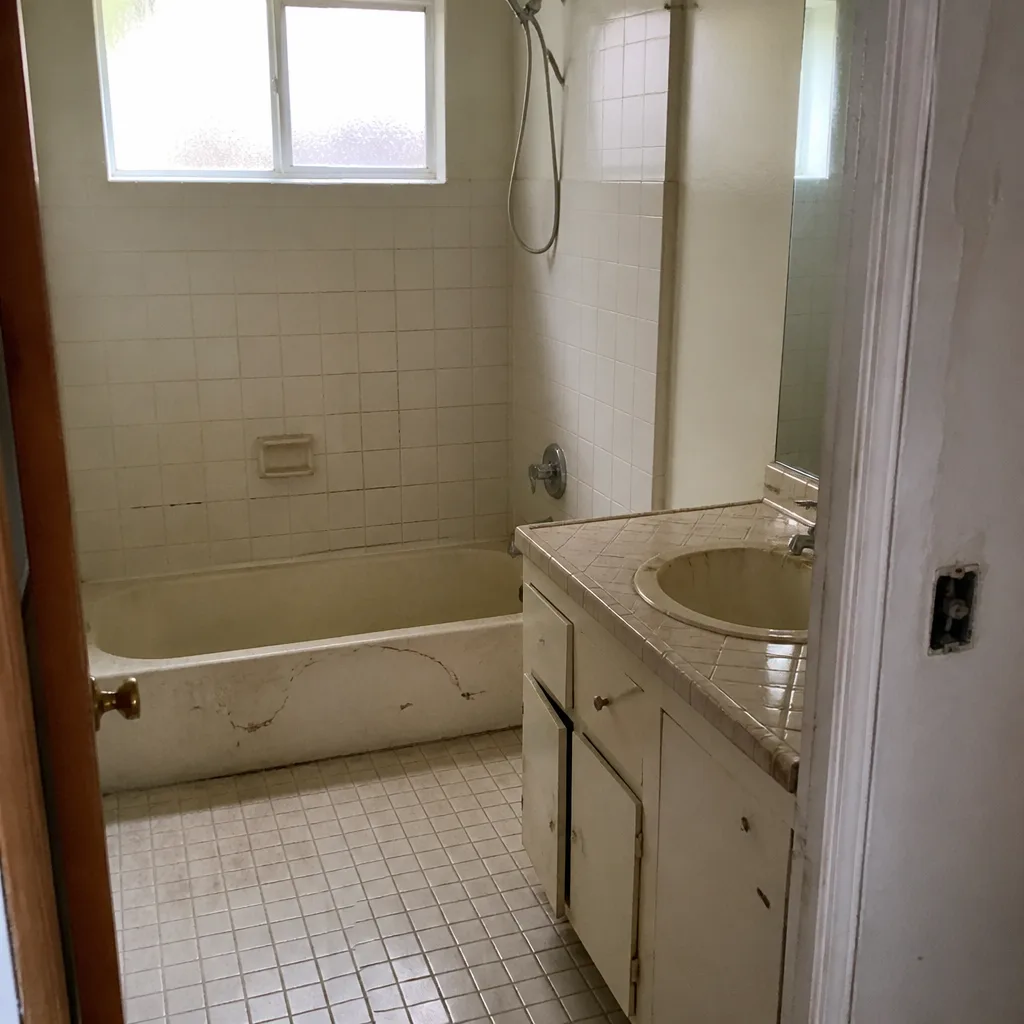 Before
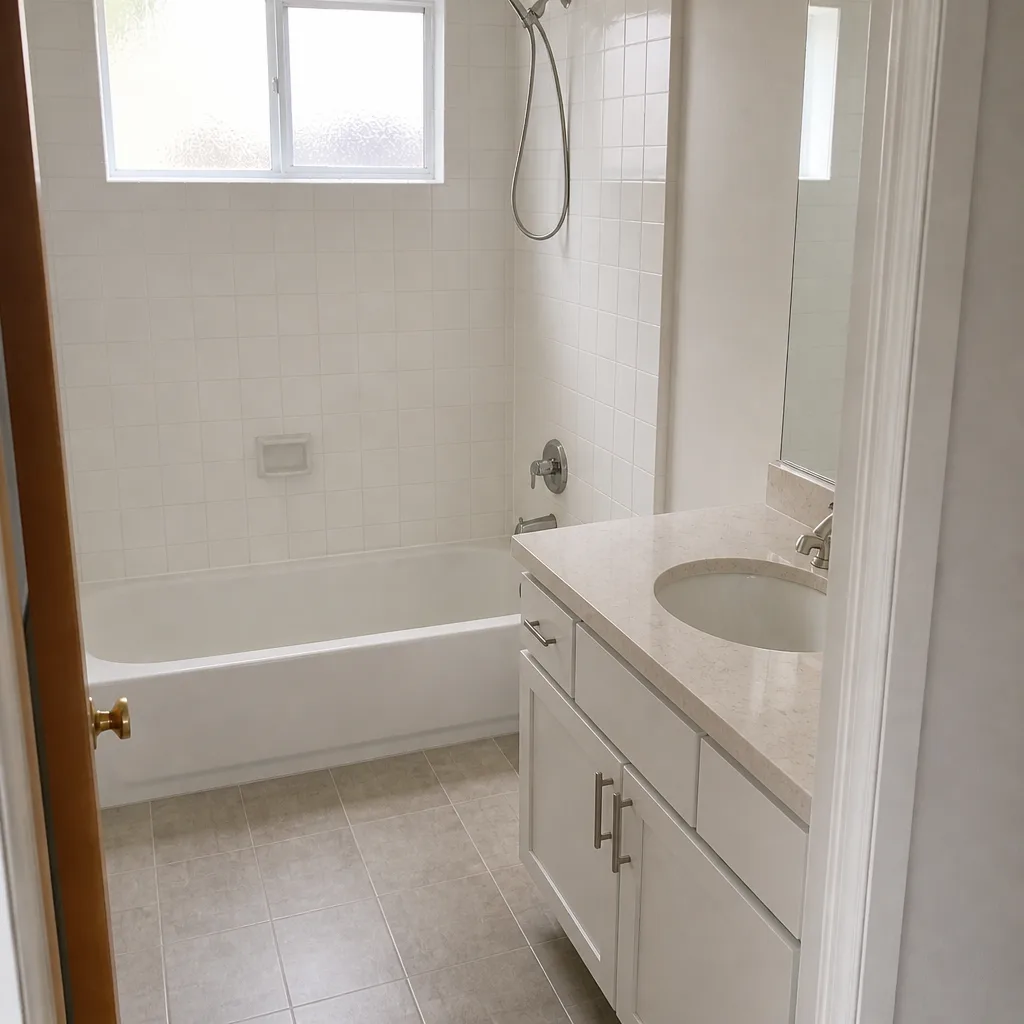 After
When to Call a Professional
Call in a professional when the joints have eroded past what sand can fill, when pavers rock underfoot in any season, when the edge restraint is visibly cracked or the perimeter is spreading, or when two or more warning signs show up in the same inspection. These are signs that the base system is compromised and surface fixes will only delay the inevitable. The earlier we get involved in an Irvine driveway, the less of it we have to replace.
Our team handles re-sanding, re-leveling, edge restraint replacement, and full re-lays across Irvine, with a 730-Day Done Right Promise on the workmanship behind every job. If it’s not done right, we make it right. Our technicians have up to 12 years of experience on paver systems specifically, and we bring verified brand partners on the material side so the pavers, sand, and sealers that go down are rated for this climate. We also pull the proper permits where required and stand behind the work in writing.
Groundwork Construction Co. of Irvine offers free estimates in Irvine – call (888) 578-4462.
Frequently Asked Questions
Every three to four years, using a high-UV-rated film-forming sealer. Irvine’s UV load degrades cheaper products in two summers, so a three-year cycle with a proper product is the safest rhythm. Test with a cup of water each year – if it soaks in within 30 seconds, it’s time to reseal early. Call (888) 578-4462 for a free seal-and-inspect estimate.
Two reasons dominate in Irvine: marine layer condensation that softens the binder overnight, and joint widths that have eroded past the 8mm threshold where polymeric sand can hold. If your joints are washing out within 90 days of a proper re-sand, the joint itself needs professional re-building rather than another DIY top-up. Call us for a free assessment before the next rain.
Yes, but only below 1,500 PSI with a wide fan tip and never aimed directly at the joints. Higher pressure blows out polymeric sand in three or four passes and removes the sealer film. If the driveway hasn’t been sealed in three years, consider resealing within a month of pressure washing.
If the paver faces are intact, the joints still take sand, and the base isn’t rocking underfoot, the system is maintainable. Replacement territory starts when more than 20% of the field is rocking or when edge spreading has moved the perimeter more than an inch. Most Irvine driveways that get annual maintenance last 20-30 years without replacement. Call (888) 578-4462 for a free inspection if you’re unsure which category you’re in.
Yes, especially on properties built before the late-1990s grading changes. The clay expands in wet winters and shrinks in dry summers, which moves the base under your pavers twice a year. The visible symptom is edge lifting and perimeter spreading. The predictive check is a spring and fall heel-test on the perimeter pavers, which we recommend as part of every maintenance routine.
Routine maintenance – re-sanding, sealing, joint top-ups – does not require a permit. Full re-lays or base rebuilds typically do, depending on the scope and whether the driveway footprint or drainage pattern is changing. We handle the permit pull when it’s needed, so you’re covered before work starts. Call (888) 578-4462 to talk through your specific project.
Late September through early November, and again in March through April. Those windows combine dry weather with moderate temperatures, so the polymeric sand cures properly and any sealer applied has time to set before the extreme sun and marine layer cycles kick in. Mid-summer work is possible but requires careful scheduling around the morning moisture window.
In our view, yes – the maintenance is real but small (six to eight hours a year), and well-maintained pavers in Irvine outlast asphalt and stamped concrete by a wide margin. The trick is that pavers reward attention and punish neglect, whereas other surfaces degrade silently and then fail all at once. If you’re considering a new install, our Driveway & Pavers in Irvine page has the full scope. For broader property planning – additions, ADUs, driveway redesigns together – start with Groundwork Construction Co. of Irvine home.
The Bottom Line
Irvine’s paver failure pattern is predictable: it starts with joint sand erosion from the May-September marine layer cycle, moves into edge lifting during the clay expansion months, and ends with a full replacement job if maintenance is skipped for three or four years in a row. Every task in this checklist intercepts one of those failure points before it compounds. Twelve tasks a year, six to eight hours total, $200-400 in DIY consumables, and your Irvine driveway lasts a full generation. Skip them and you’ll be looking at a $9,000-$18,000 replacement instead. The 730-Day Done Right Promise we put behind every job exists because we’d rather fix a maintenance issue once, properly, than re-do a driveway twice. Live person, 24/7, when you’re ready.
Call Groundwork Construction Co. of Irvine at (888) 578-4462 for a free estimate, or to schedule a paver inspection before the next season shift. From foundation to finish line, and backed in writing.
Written by the team at Groundwork Construction Co. of Irvine.