
Last updated November 17, 2026
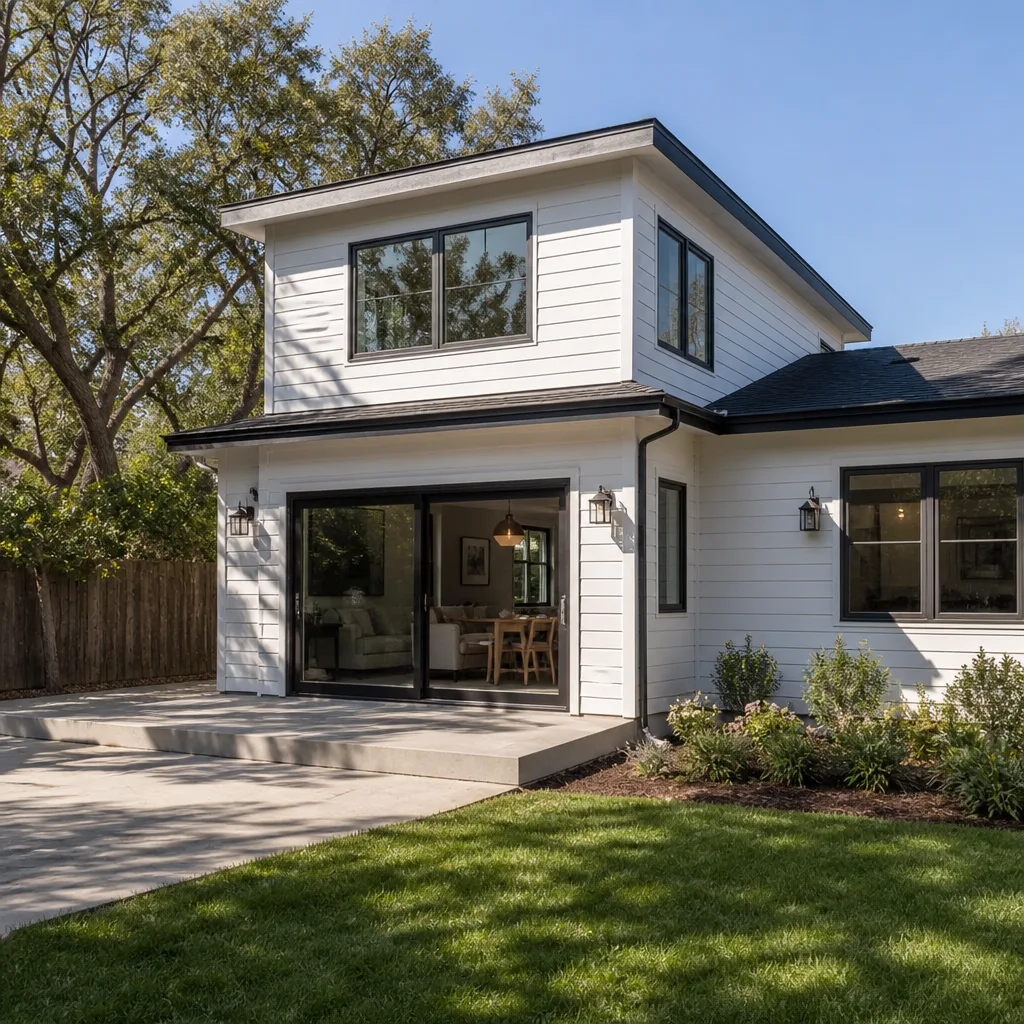 Home additions & ADU
 Kitchen remodeling
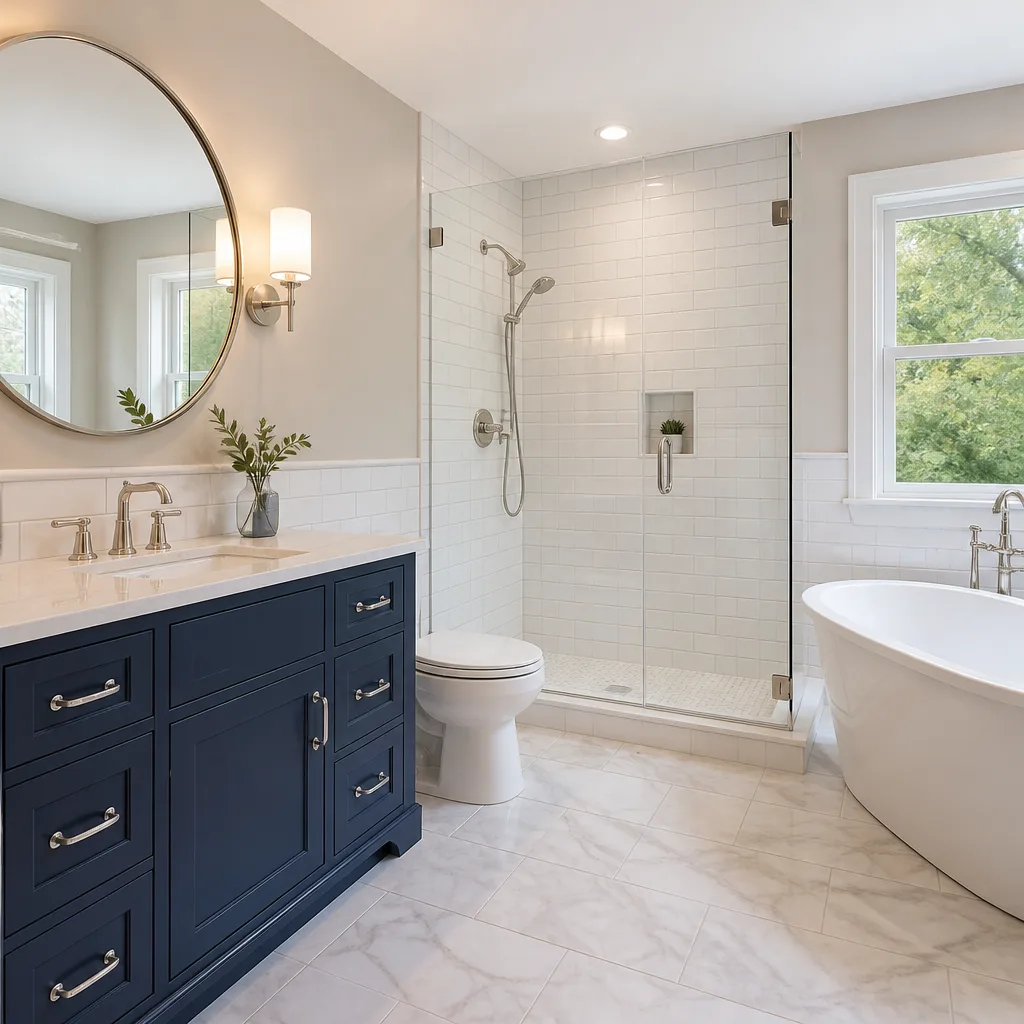 Bathroom remodeling
 Roofing
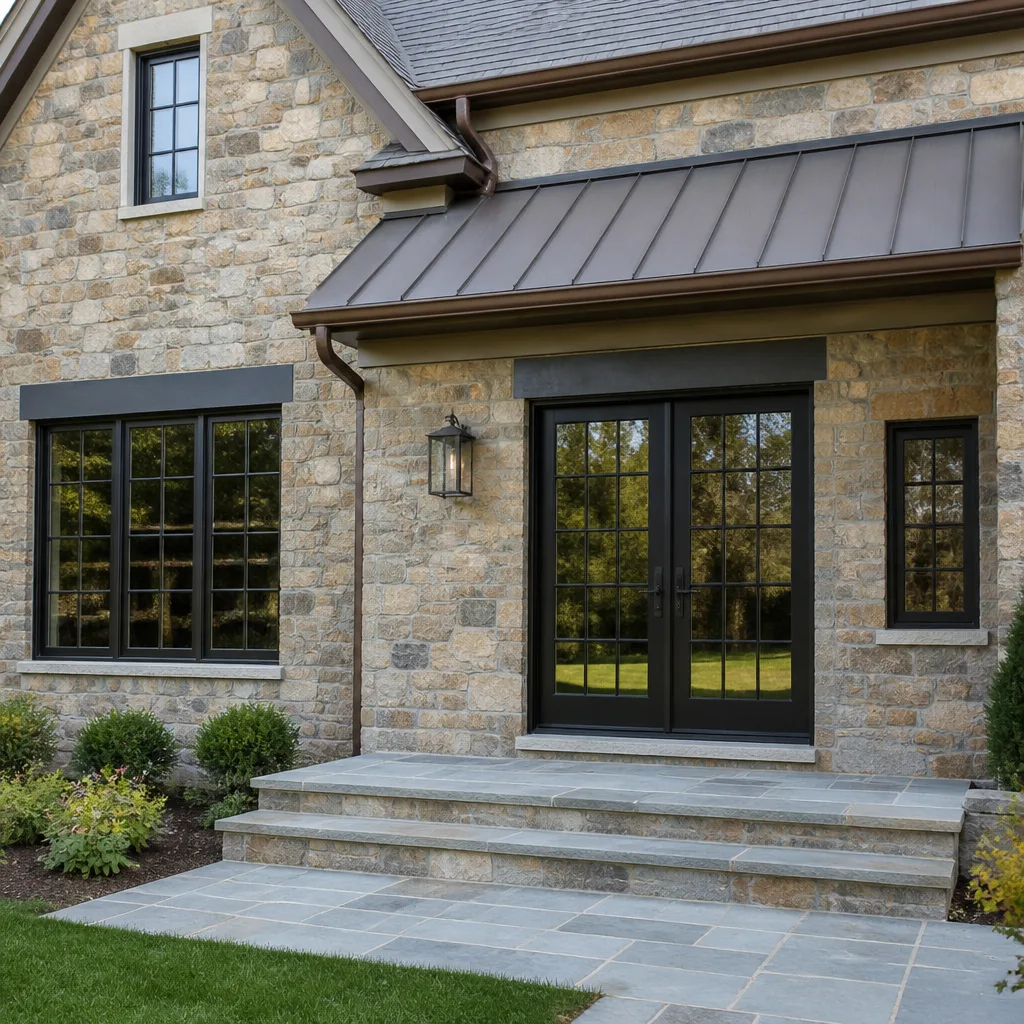 Windows & doors
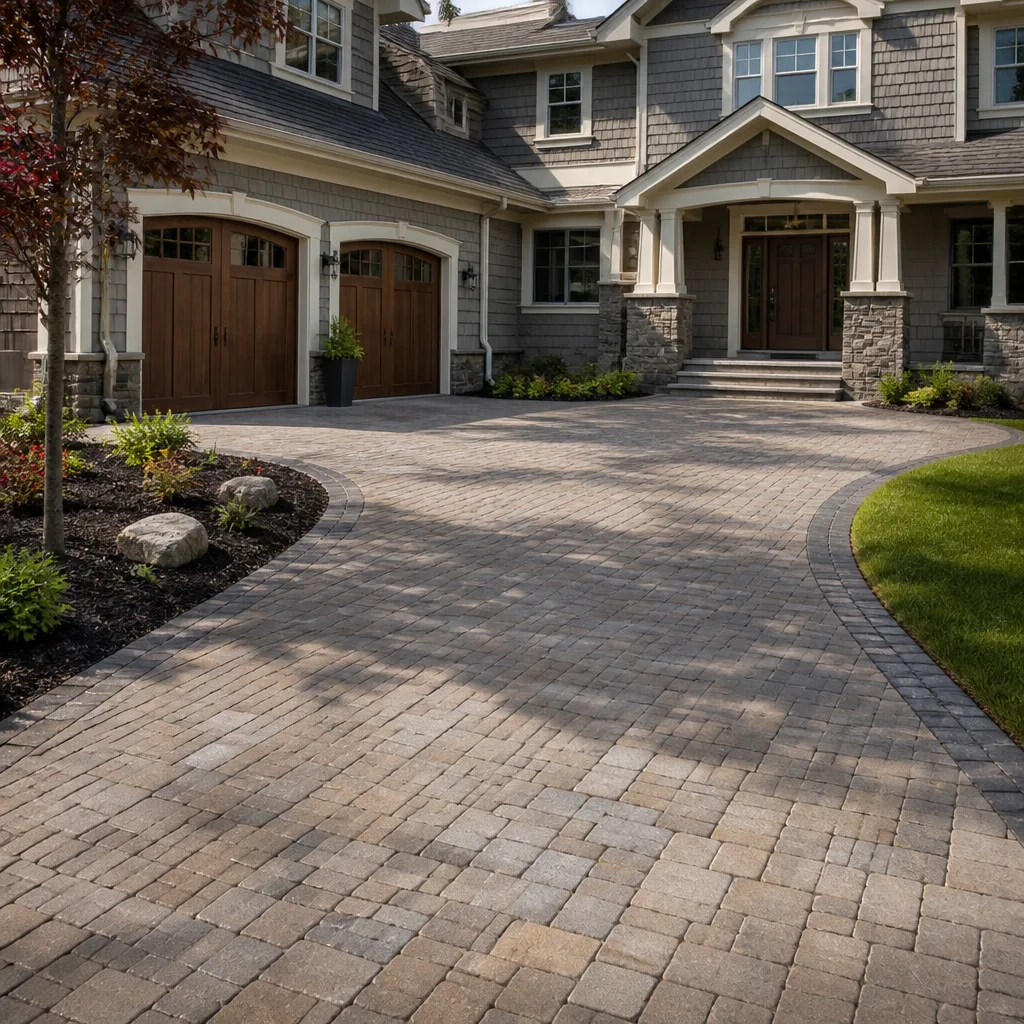 Driveway & pavers
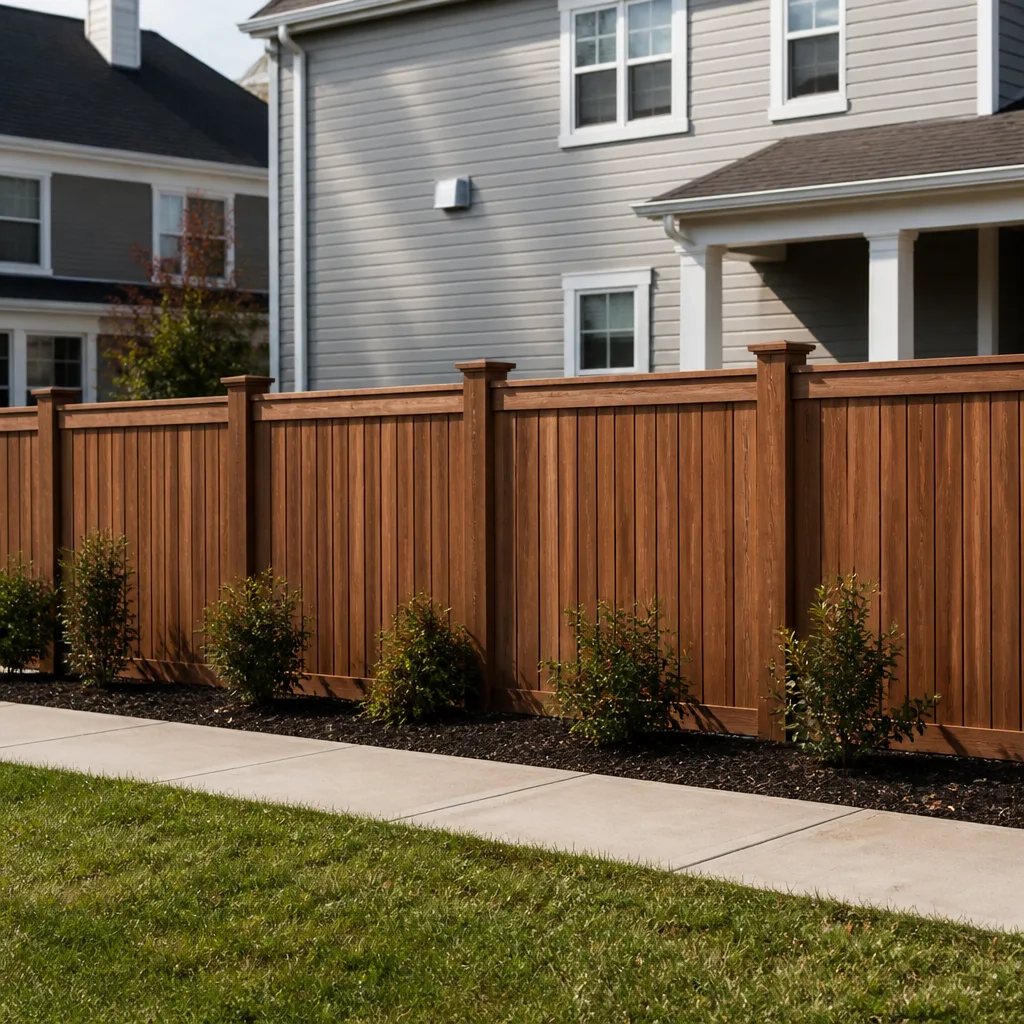 Fence
Free written scope consultation - allowances, timeline, and change-order rules on paper before a single trade is scheduled
Home Additions & ADU Maintenance Schedule: What to Do and When
A detached ADU has a separate roof, its own water heater, an independent electrical panel, and usually a mini-split system doing the work of a furnace and central air in one wall-hung unit. That’s four major systems most homeowners are maintaining on the same schedule as a garden shed. We’ve walked into Irvine backyard units where the tankless heater had never been flushed, the mini-split coils were packed with cottonwood, and the flashing at the tie-in to the main house had been quietly leaking for two winters. None of it showed up on a generic home maintenance checklist. This guide gives you the schedule that actually fits the building you added.
Quick Answer
An ADU or home addition needs its own maintenance calendar: monthly filter and condensate checks on mini-splits, annual descaling on tankless water heaters, biannual roof-to-wall flashing inspections at the tie-in, and a full structural walkthrough at 11 months post-completion, before your contractor’s workmanship warranty window closes. Irvine’s UV load, dry rot cycles, and occasional overnight freezes set a stricter exterior inspection cadence than most of the country. Everything below breaks it down month by month and system by system.
Styles & brands we work with
- Kitchen remodeling
- Bathroom remodeling
- Home additions & ADU
- Roofing
- Windows & doors
- Driveway & pavers
- Fence
Table of Contents
- Why an Addition or ADU Needs Its Own Schedule
- The Month-by-Month ADU Maintenance Calendar
- How Irvine’s Climate Sets Your Inspection Cadence
- Roof-to-Wall Flashing: The Highest-Failure Junction
- Rental ADU Compliance: Landlord vs. Tenant Responsibility in Irvine
- The 11-Month Structural Walkthrough and What to Document
- System-by-System Reference: ADU vs. Main House
- Common Mistakes to Avoid
- When to Call a Professional
- Frequently Asked Questions
Why an Addition or ADU Needs Its Own Schedule
The main house on your lot has systems that were sized, specified, and serviced as a package by a builder decades ago, and every subsequent owner has been folded into the same servicing rhythm. The addition isn’t in that rhythm yet. It’s a newer, tighter envelope with higher-performance equipment, and it’s often sitting in a part of the yard exposed to more sun, more wind, and more splash-back from hardscape than the main structure ever sees. In Irvine, where lots are tight and many ADUs are tucked behind the garage, that exposure difference is real.
Here’s what we mean by “four major systems” in practice:
- A separate roof assembly. Its own underlayment age, its own flashing terminations, its own debris catchment if it sits under a mature tree.
- An independent water heater. Almost always tankless in newer Irvine builds because of space and energy code, and tankless has a hard annual descaling requirement most people skip.
- Its own electrical sub-panel. A feeder run from the main panel with breakers that serve the unit only, and torque and corrosion checks that belong to nobody’s routine.
- A mini-split or two. Wall-hung heads with filters, coils, condensate drains, and line-set insulation that rack up wear faster in dusty, high-UV conditions.
The rest of your house has a rhythm. The addition doesn’t. This guide builds one for it. If you’re still in planning mode rather than maintenance mode, the Home Additions & ADU in Irvine page covers design and build sequence, and our Groundwork Construction Co. of Irvine home page lays out how we scope a project from foundation to finish line.
The Month-by-Month ADU Maintenance Calendar
This is the working calendar we hand to homeowners after an addition wraps. It assumes a detached or semi-attached ADU in Irvine with a tankless water heater and at least one mini-split. Adjust seasonally if the unit is heavily rented or sits under trees.
January through March
- January: Descale the tankless water heater. Irvine’s water runs moderately hard, and mineral scale is the number one killer of tankless units. Flush with a vinegar or manufacturer-approved descaler.
- February: Pull the mini-split filters and rinse them. Check the condensate drain for slow flow, especially if the head is in a closet or hall.
- March: Roof and flashing inspection after the rain season. Look at the tie-in to the main structure and any wall-to-deck transitions.
April through June
- April: Walk the exterior. Look for paint failure, caulk cracking at penetrations, and dry rot at the base of the siding near grade.
- May: Clean out gutters and scuppers on the addition’s roof section. Irvine’s spring winds push a surprising amount of debris into valley sections.
- June: Mini-split coil cleaning and a full filter change before cooling season. Check the line-set insulation wrapping for UV breakdown.
July through September
- July: Trim any vegetation within 3 feet of the addition’s walls. In Irvine this matters for both fire hardening and termite pressure.
- August: Look at the sub-panel breaker labels. Confirm nothing added (a pool pump, EV charger, exterior outlet) has exceeded the panel’s original scope. Torque and corrosion checks should be done by a licensed electrician.
- September: Inspect window and door seals. UV and heat cycling open gaps in the sealant lines around frames.
October through December
- October: Fall flashing inspection at the roof-to-wall junction. This is the most important exterior checkpoint of the year.
- November: Test the smoke and CO detectors in the unit. Service the water heater anode if the unit has one.
- December: Document everything you did this year with photos and dates. You’ll need the record if you rent the unit or sell the house.
The whole calendar is roughly 6 to 10 hours of homeowner time per year. Skipping any single item is cheap. Skipping the tankless descale twice in a row is usually a $1,400+ replacement.
How Irvine’s Climate Sets Your Inspection Cadence
Irvine sits in a hybrid climate zone. We don’t have the coastal fog of Newport or the desert heat of Riverside, but we do get three forces that push maintenance cadence harder than people expect. First, UV intensity. The sun angle here bleaches sealant, cracks line-set insulation, and degrades exterior paint on south and west-facing walls faster than the national average. Second, a dry rot cycle tied to our wet-winter, dry-summer rhythm. Wood that stays above roughly 20% moisture content combined with warm temperatures is the recipe for dry rot, and if the weep screed or siding-to-grade transition on an addition is wrong, that moisture cycle starts the year after completion. Third, occasional freeze events.
Those freeze nights, typically a handful of January mornings in the low 30s, matter because the addition’s exposed plumbing may run through an uninsulated wall cavity or a soffit. A single freeze crack in a supply line behind drywall becomes a $4,000 repair if it goes unnoticed through a slow leak. Our recommendation: on any forecast night below 35°F in Irvine, drip the furthest faucet in the unit overnight and open the cabinet doors under sinks.
For the exterior, that means checking paint and sealant on the south and west faces every year, not every three. For roof flashing, it means the fall inspection is non-negotiable, not optional. If your addition included hardscape elements like a paved patio or a fence defining the ADU’s yard, the same UV and freeze drift applies to those materials. We cover that cadence on our Driveway & Pavers in Irvine and Fence Installation in Irvine pages, because a Belgard or Unilock surface exposed to that same cycle needs a joint sand top-off and a wash-down cadence of its own.
Roof-to-Wall Flashing: The Highest-Failure Junction
If you take one thing from this guide, take this: the roof-to-wall junction where the addition ties into the main house is the highest-failure junction in any tied-in structure. It’s also the one most likely to leak invisibly for a full rain season before showing up as a stain. The reason is that this junction carries the water from the main house roof, the addition roof, and the wall above it, all into one metal flashing channel. If the counter-flashing isn’t properly lapped, if the step flashing wasn’t woven correctly at the shingle courses, or if the sealant on the vertical leg dried out over one summer, water gets behind the siding.
The inspection protocol we use, twice a year:
- Look from the ground first. Any stain, bubbling, or discoloration on the interior ceiling or wall near the tie-in is a warning.
- Look from above if you can do it safely. If it requires roof access, call a pro. Do not put yourself; no homeowner should be walking a pitch above 5:12. Have someone inspect the flashing from a ladder or roof-safe position.
- Check the counter-flashing termination. Look for lifting metal, popped fasteners, or gaps at the wall leg.
- Check the kick-out flashing at the base of the run. Missing kick-outs send water into the wall cavity, and this is the number one cause of dry rot at an addition’s tie-in.
- Check the interior at the same spot within a week of heavy rain. A moisture meter reading above 20% in drywall or framing near the junction needs attention.
- Photograph everything. Photos taken now become evidence for your warranty or insurance claim later.
On our jobs, flashing is done with GAF or CertainTeed system components matched to the main roof – not generic peel-and-stick – and the counter-flashing leg is set in a bed of sealant rated for UV exposure. That’s the difference between a 5-year flashing repair and a 30-year one. If you’re still specifying the roof assembly on a new addition, our roofing team works the same standard.
Rental ADU Compliance: Landlord vs. Tenant Responsibility in Irvine
If you rent your ADU, the maintenance line splits cleanly and it’s worth writing it into the lease so nobody argues in month three. Under California’s habitability law and Irvine’s rental housing rules, the landlord is legally required to keep the unit habitable: working plumbing, water heating, functioning heat (which for a mini-split means the unit has to actually heat, not just cool), weather-tight roof and exterior, no pest infestation, and functioning smoke and CO detectors. That’s a legal floor, not a maintenance wish list. A ceiling leak from bad flashing is a habitability issue. A clogged mini-split filter is not.
Here’s how we’d draw the line:
- Landlord: Roof and flashing, exterior paint and sealant, water heater and its servicing, HVAC and mini-split system servicing, sub-panel and electrical, plumbing leaks, pest and termite treatment, smoke and CO detectors at move-in.
- Tenant: Filter rinsing (monthly), condensate drain visual check, keeping drains and vents clear, reporting leaks and heating failures promptly, not modifying the mini-split wiring or the sub-panel.
- Shared: Yard and hardscape upkeep, depending on how the lease is structured.
In Irvine specifically, the rental inspection and habitability framework puts the burden on the owner of record for life-safety systems. Detectors have to be working. Heat has to be working. Water has to be hot. If you’d rather not run that servicing yourself across multiple rental ADUs, this is exactly the kind of ongoing service a full-scope construction partner can schedule for you.
The 11-Month Structural Walkthrough and What to Document
Every structure settles. An addition or ADU settles more than the main house in its first year because the new foundation and framing are moving through their first full annual weather cycle. The important thing is that you walk the unit before the workmanship warranty window closes. That means month 11 post-completion, not month 13.
What to document at the walkthrough:
- Photos of every room’s drywall at ceiling and corner junctions. Cracked drywall at a corner that’s less than 1/8 inch and hasn’t changed since month 6 is normal. Growing cracks or diagonal cracks radiating from a window or door corner are not.
- Door alignment throughout the unit. Doors that stick in summer and swing free in winter are settling. Doors that stick year-round are a framing issue.
- Window operation. Every window should open and close freely at month 11.
- Floor transitions. Any gap between floor covering and baseboard is worth noting with a photo and a date.
- Caulk joints at the perimeter of the unit. The interior-exterior junction at every window and door should still be tight.
- Written log of any prior issues and their resolution. If something was fixed between month 1 and month 11, write down what, when, and by whom.
Send that documentation to your contractor in writing, with a list of anything you want looked at under warranty. This is exactly what the 730-Day Done Right Promise is designed for: if something isn’t right, it gets fixed. Doing this walkthrough by month 11 means you’re inside an active warranty window regardless of the contractor. Doing it at month 25, after most workmanship warranties expire, means you’re paying for the repair.
System-by-System Reference: ADU vs. Main House
Here’s the quick-reference table we’d pin to the wall of the unit. Compare it against the maintenance schedule you keep for the main house and you’ll see where the rhythms diverge.
- Roof: Main house is inspected once a year and replaced every 20 to 30 years. ADU roof is inspected twice a year (spring and fall) because it’s typically smaller, more exposed, and has its own flashing tie-ins.
- Water heater: Main house tank is flushed annually. ADU tankless is descaled annually and has its filter cleaned every six months. Skipping tankless descaling is a $1,400 to $2,200 replacement.
- HVAC: Main house has a single system serviced annually. ADU mini-splits need filter cleaning monthly during cooling season and coil cleaning annually, plus a condensate drain check.
- Electrical: Main panel is inspected every few years. ADU sub-panel is inspected annually for breaker labeling, torque, and corrosion, and any new load (EV charger, patio heater) has to be checked against its original capacity.
- Exterior envelope: Main house siding is inspected for paint failure and caulk cracking every three years. ADU’s south and west faces need that same inspection every year because of higher UV exposure.
- Plumbing: Main house supply lines are checked after any freeze event. ADU plumbing runs through thinner walls and is more freeze-vulnerable – inspect and drip faucets on any forecast below 35°F.
None of this is complicated. It’s just different from what a generic home maintenance checklist assumes. That difference is the whole point of having a separate schedule for the addition.
Common Mistakes to Avoid
- Maintaining the ADU on the main house’s schedule. We’ve seen Irvine owners flush the main tank water heater every spring and skip the ADU tankless for four years straight, then pay for a replacement. The systems have different service intervals, and the ADU’s equipment is usually the more expensive of the two.
- Skipping the fall flashing check because there’s no visible leak. Flashing fails quietly. A missing kick-out or a lifted counter-flashing leg sends water into the wall cavity for a full rain season before it shows up as interior damage.
- Not documenting the 11-month walkthrough. Cracked drywall, door alignment, and window operation at month 11 are exactly the items covered by workmanship warranties. Documentation with dates and photos is what makes a warranty call a warranty call, not a dispute.
- Letting line-set insulation degrade on the mini-split. Irvine’s UV exposure eats through the foam wrap in two to three years. Bare copper line sets are a $400 repair, and continued exposure damages the refrigerant lines themselves.
- Doing your own sub-panel work. Adding a breaker for a patio heater or an EV charger to the ADU’s sub-panel is not a homeowner task. Panel torque, wire sizing, and load calculations require a licensed electrician, and any change to the sub-panel is a genuine shock and fire risk.
- Assuming tenant maintenance covers what it doesn’t. Renting an ADU in Irvine without a written responsibility split is how a functioning water heater becomes a habitability complaint. Put the split in the lease.
- Ignoring dry rot at the siding-to-grade transition. Irvine’s dry rot cycle starts within a year when the weep screed or the paint at the base of the siding isn’t right. That’s a spot to check every April.
When to Call a Professional
Some things you should check yourself: mini-split filters, condensate drains, caulk lines, baseboard cracks, and door alignment. Some things you genuinely should not. Roof and flashing inspection if it requires any roof access. Sub-panel work. Water heater servicing beyond a basic flush. Any slow leak in the wall. Any sign of dry rot beyond a small caulk-sized area. Any heating or cooling failure on a mini-split that a filter clean doesn’t fix. Any structural concern about settling, particularly a crack that has grown since the last time you looked at it. And any second opinion you want on a warranty issue, because most contractors would rather fix a small problem at month 11 than a big one at month 30.
Groundwork Construction Co. of Irvine offers free estimates in Irvine – call (888) 578-4462. Our technicians have up to 12 years of experience, calls are answered by a live person 24/7, and every job is covered by the 730-Day Done Right Promise.
Frequently Asked Questions
Once a year, without exception. Irvine’s water is hard enough that mineral scale accumulates in the heat exchanger at a rate that shortens a tankless heater’s life from roughly 20 years down to 6 or 7 if it goes unserviced. Descale in January or February, before cooling season, and test hot water recovery at the same time. Some tankless units also have a small inlet filter that should be cleaned every six months. Call (888) 578-4462 if you’d rather have it done on a written schedule than remember it yourself.
The roof-to-wall junction where the addition ties into the main house. It’s where water from three planes converges, and where a failed flashing or missing kick-out sends water straight into the wall cavity. Inspect it twice a year: once in spring after the rain season, and once in fall before the next one. Interior stains near the junction, bubbling paint, or a moisture meter reading above 20% in nearby framing all mean it’s time to call.
Usually not. Most home warranties cover the main dwelling’s systems, and an ADU is often treated as a separate structure or excluded entirely unless it was specifically added to the policy. The safer assumption is that the ADU’s roof, water heater, sub-panel, and mini-split are your direct responsibility. Read the policy’s exclusions page before you assume coverage. If health and safety systems in a rental unit are the concern, call (888) 578-4462 for a walkthrough before the next rental inspection.
Size it and date it. A hairline crack (under 1/8 inch) at a drywall corner or a ceiling junction that hasn’t changed since you first noticed it is normal settling and usually cosmetic. A diagonal crack radiating from a window or door corner, a crack wider than 1/8 inch, or one that has visibly grown across two measurements is a signal to get a professional opinion. Photograph the crack with a coin or a ruler next to it for scale, write the date on the photo, and call a contractor if it grows.
Depends on the task. Filter changes, sealant touch-ups, and caulk maintenance are cosmetic and don’t require a permit. Anything that touches the electrical sub-panel, plumbing supply or drain lines, the roof sheathing, or the structural framing usually does. Irvine’s building department is strict on electrical and structural changes to ADUs, and unpermitted work becomes a disclosure and insurance problem when you sell. When in doubt, ask before you start – call (888) 578-4462 and we’ll tell you whether the job needs a permit pulled.
Month 11 after final walkthrough, not later. That’s the sweet spot: the structure has been through a full annual weather cycle, so any real settling has happened, but you’re still inside the workmanship warranty window (and, on our jobs, the 730-Day Done Right Promise). Document drywall cracks, door alignment, window operation, floor transitions, and any prior repairs, all with dates and photos. Send the summary to your contractor in writing with a list of items to look at. If you want an independent walkthrough to compare against your contractor’s, call (888) 578-4462 for a free estimate first.
The Bottom Line
An addition or ADU is a second structure with its own roof, water heater, electrical panel, and mini-split – and the generic home maintenance checklist doesn’t cover any of them properly. Build the calendar this guide lays out: monthly filter and condensate checks on the mini-splits, annual tankless descaling, twice-a-year roofing and flashing inspections with special attention to the tie-in to the main house, a yearly UV-driven exterior inspection on south and west faces, and a documented structural walkthrough at month 11. Do those and your addition protects itself. Skip them and the entry price is high. If you want a professional pair of eyes on the whole schedule once a year, Groundwork Construction Co. of Irvine makes free estimates simple – call (888) 578-4462.
Written by the team at Groundwork Construction Co. of Irvine.
See the difference
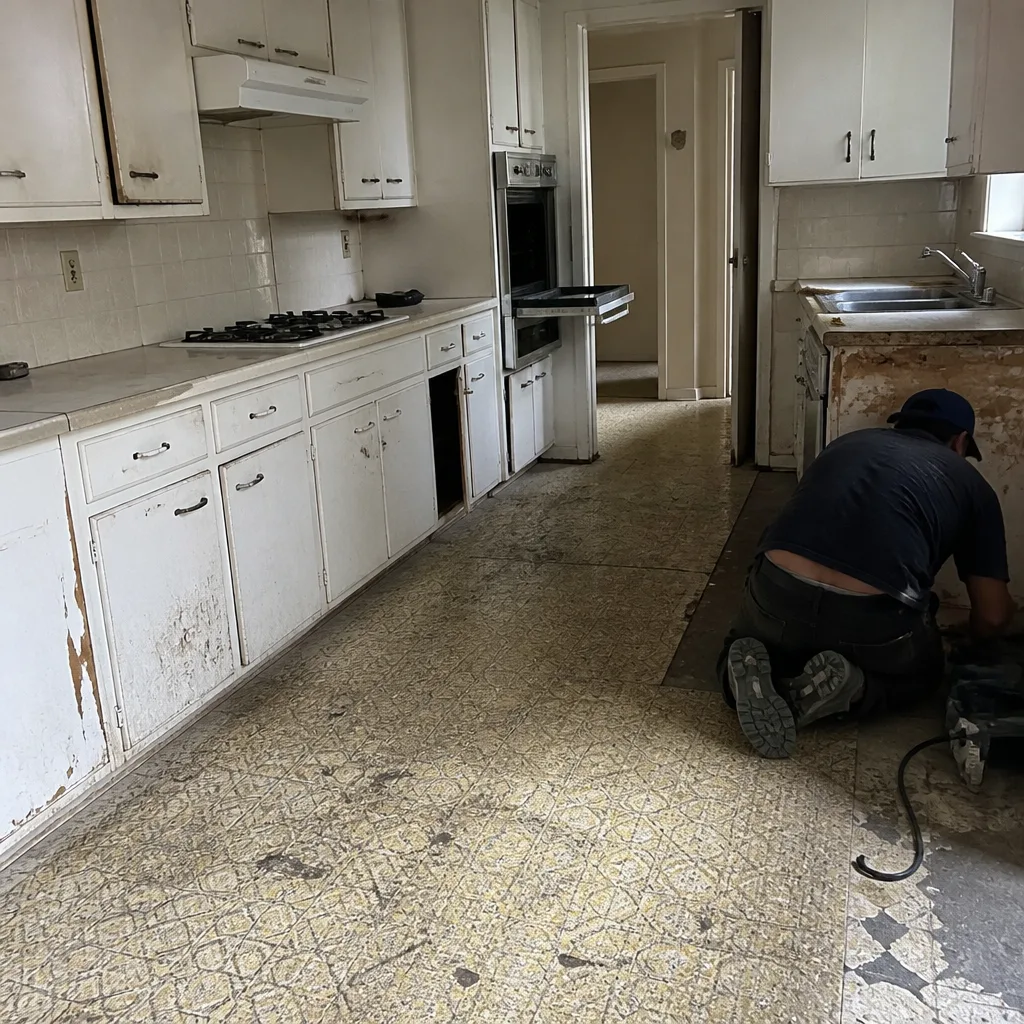 Before
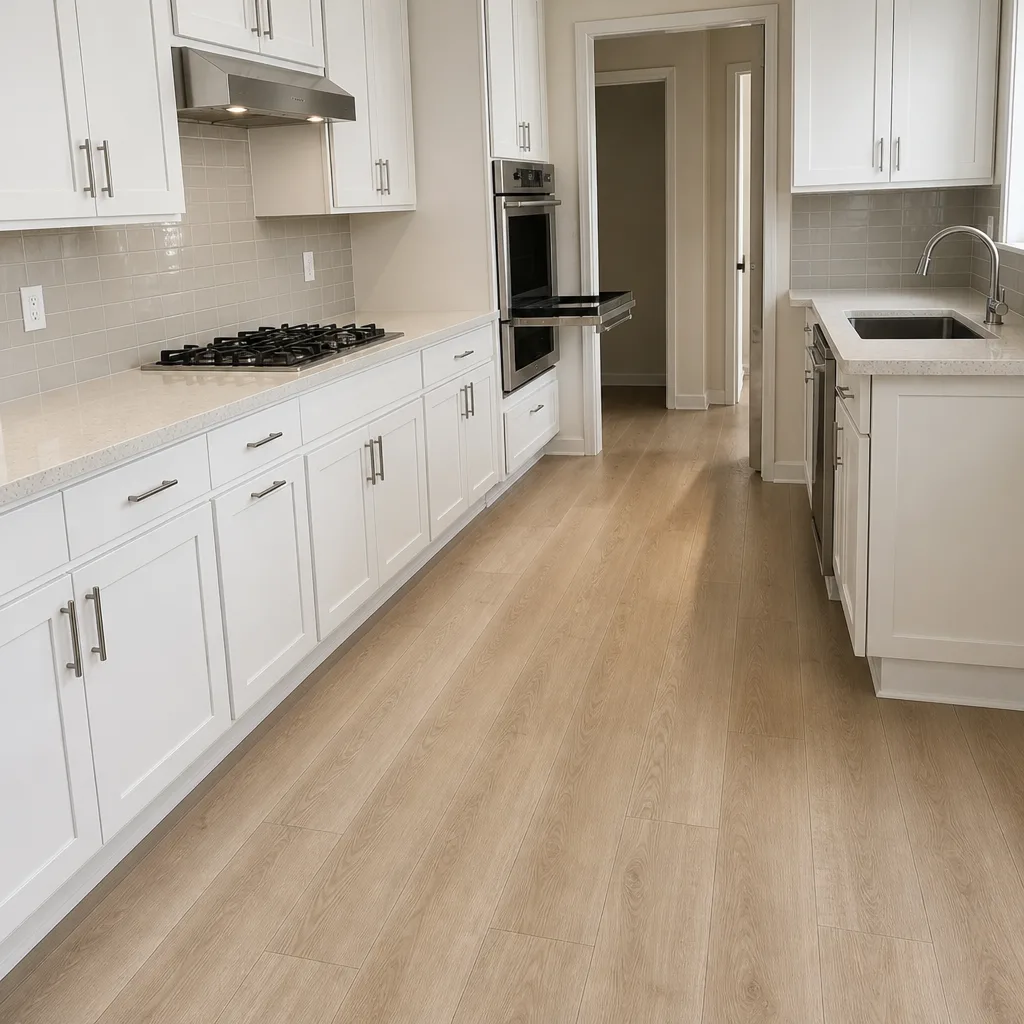 After
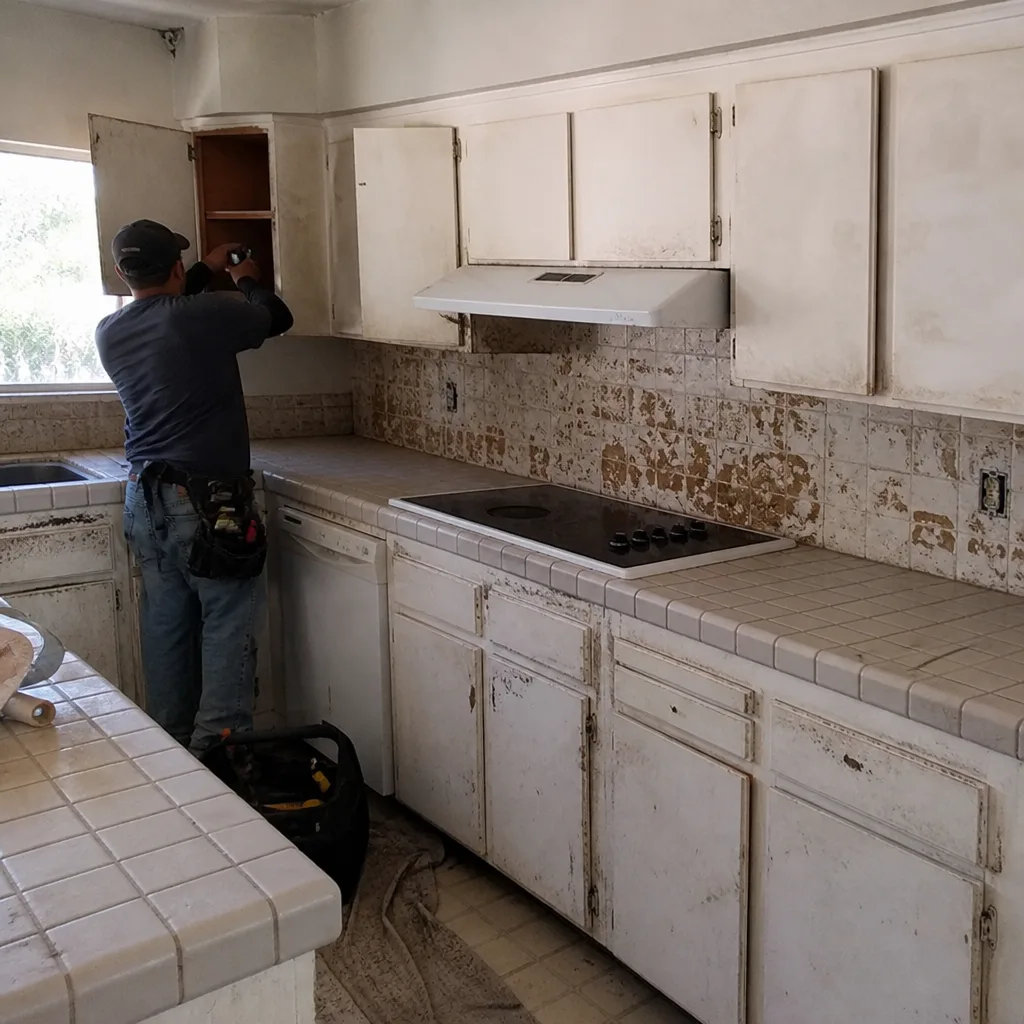 Before
 After
 Before
 After