
Last updated November 17, 2026
 Driveway & pavers
 Kitchen remodeling
 Bathroom remodeling
 Home additions & ADU
 Roofing
 Windows & doors
 Fence
Free written scope consultation - allowances, timeline, and change-order rules on paper before a single trade is scheduled
Driveway & Pavers Maintenance Schedule: What to Do and When
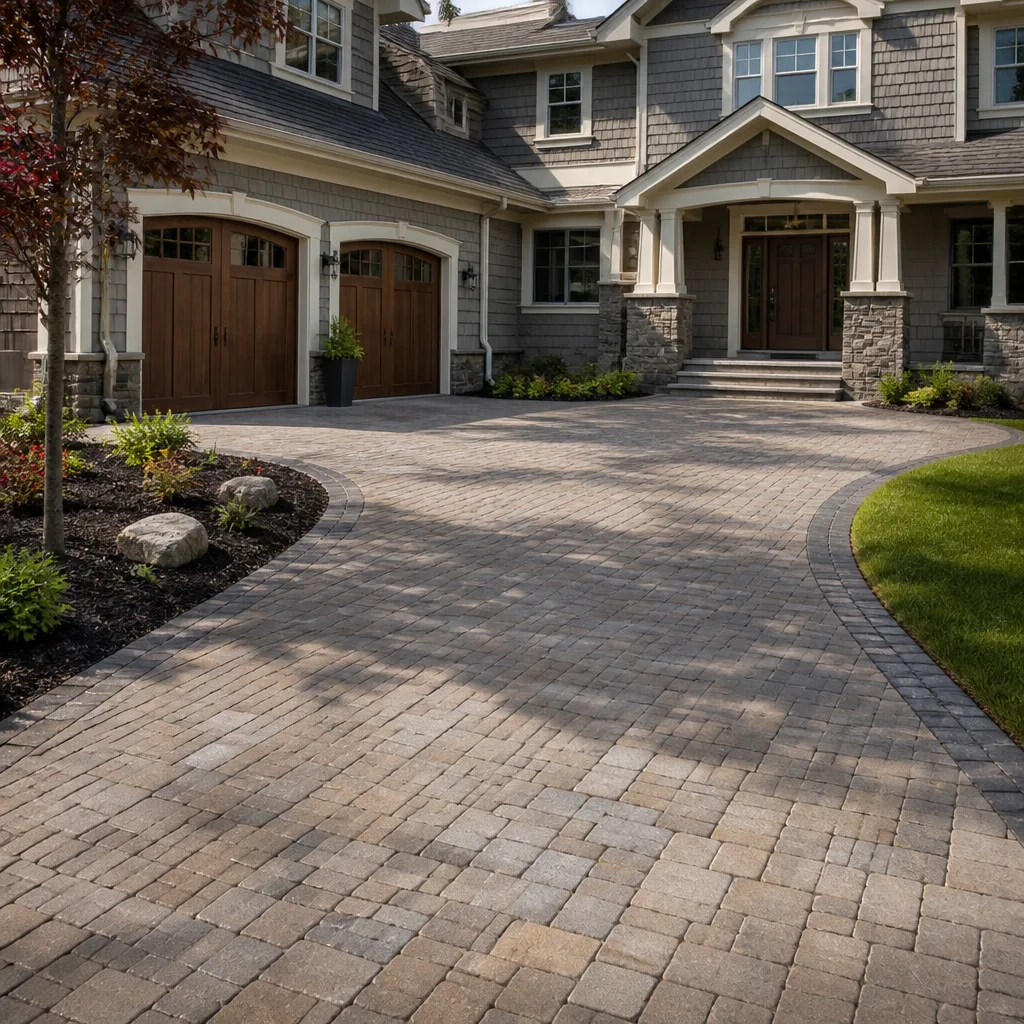
The single most destructive thing Irvine homeowners do to their pavers isn’t neglect. It’s pressure washing too aggressively. That 3,000 PSI wand you rented to blast off a season of dust will strip the polymeric sand out of every joint on the driveway surface, and once those joints open up, the pavers start rocking, settling, and separating at the edges. We’ve walked driveways in Northwood and Turtle Rock where the failure wasn’t the stone at all. It was a weekend cleaning habit. Here’s the month-by-month schedule that prevents that, from a crew that has repaired enough of these to know what actually fails.
Quick Answer
A driveway paver maintenance schedule breaks down into three annual anchors and a handful of small tasks between them: a deep clean and joint inspection in early spring (March), re-sanding of polymeric joints and a full reseal before the summer heat peaks (May), and post-Santa Ana debris clearing plus a surface reseal every 2 to 3 years depending on material. Plan on two to three hours of hands-on work per year, plus one professional reseal every two to three years, and the surface stays stable, sealed, and level for a decade or more.
Styles & brands we work with
- Kitchen remodeling
- Bathroom remodeling
- Home additions & ADU
- Roofing
- Windows & doors
- Driveway & pavers
- Fence
Table of Contents
- Why Irvine’s Climate Sets Its Own Maintenance Calendar
- The Month-by-Month Paver Maintenance Calendar
- Resealing: Correct Intervals by Paver Material and Southern California UV Exposure
- How to Inspect and Reapply Polymeric Sand Without Disturbing Stable Pavers
- Edge Restraint Checks: The Maintenance Task Nobody Talks About
- What to Photograph and Log Every Year to Protect Your Warranty
- Pressure Washing: The Right Pressure, the Right Distance, the Right Nozzle
- Seasonal Hazards: Santa Ana Winds, Summer Heat, and Marine Layer Moisture
Why Irvine’s Climate Sets Its Own Maintenance Calendar
Generic paver maintenance advice gets written for New England or the Pacific Northwest, where the enemy is freeze-thaw cycles and months of rain. Irvine doesn’t have that problem. Irvine has the opposite problem: long dry stretches, intense UV exposure from May through October, an occasional Santa Ana wind event that dumps tree litter and grit onto every horizontal surface, and a marine layer that keeps mornings damp and evenings cool even in August.
That combination changes the schedule in specific ways. The marine layer moisture means polymeric sand doesn’t cure as fast in the morning as it would in Riverside or Palm Desert, so if you’re re-sanding in the spring, you want to do it mid-day when the surface is warm and dry. The UV intensity means sealers break down faster than the manufacturer’s label suggests, especially on south- and west-facing driveways in communities like Quail Hill and Woodbridge where there’s little afternoon shade. And the Santa Ana winds, which typically hit Irvine in October and again in December, deposit a layer of fine grit that works its way into joint sand and accelerates wear if it isn’t cleared.
We’ve seen paver driveways in Irvine fail on a 4-to-6-year timeline when they get zero maintenance, and last 15-plus years when they get the schedule below. Same stone, same base, same installation conditions. The difference is maintenance. If you want the full picture on what a properly installed driveway looks like from the start, our Driveway & Pavers in Irvine page covers base prep, material selection, and installation standards.
The Month-by-Month Paver Maintenance Calendar
This is the core of the guide. Every task below is calibrated to Irvine’s climate. If you print one page and stick it on the garage wall, print this one.
January – February: Baseline Inspection
Walk the driveway slowly with a notepad. Look for rocking pavers, visible sand loss in joints, weed growth at edges, and any place where the surface has begun to dip. Photograph everything from the same angle every year so you have a visual record. Clear any debris that accumulated over the winter. This is the cheapest maintenance month because nothing is urgent yet, and it’s when you catch problems before the spring work season starts.
March: Deep Clean and Joint Inspection
The first real work month. Sweep the entire surface, then use a leaf blower on low to clear grit from joints. Inspect every joint you can see. Any joint that’s more than a quarter-inch deep and empty of sand needs attention. Any paver that rocks underfoot needs to be reset. March is also the month to check edge restraints (more on that below) before the summer heat locks everything in place.
April: Re-Sand Empty Joints
Refill empty joints with polymeric sand. This is detailed in its own section below. April is the sweet spot in Irvine because the marine layer keeps mornings cool enough that the sand doesn’t flash-cure before you’ve swept it in, but the afternoons are warm enough to set it properly.
May: Pre-Summer Seal and Heat Prep
If your sealer is due (see the resealing section for intervals), May is the month. You want the sealer fully cured before the first real heat wave, which in Irvine typically arrives in late June or early July. Apply sealer on a dry day with no rain in the forecast for 48 hours, in the morning before the surface gets hot. Sealing a hot driveway causes the product to dry too fast and leave streaks or a hazy film.
June – August: Light Maintenance Only
Don’t do heavy work during the peak heat months. Spot-sweep weekly, hose off occasional dust, and pull any weeds that appear in joints. If you see a paver lifting, mark it and wait for September. Working on pavers in 95-degree heat risks damaging the surface, and sealers applied in direct summer sun fail.
September: Post-Summer Inspection
Walk the driveway again. Summer is when problems show up: a joint that was full in April may now be empty, a sealer that looked fine in May may be showing wear, a paver near a downspout may have shifted. Log everything and plan fall work.
October – November: Santa Ana Debris Clearing and Fall Work
Santa Ana winds are the big fall event in Irvine. They drop leaves, twigs, palm fronds, and fine grit onto every driveway surface. Clear debris promptly, especially after a wind event, because leaves left in place trap moisture against the pavers and can stain. November is also a good month for any deferred repairs identified in September, plus a spot re-sand if needed.
December: Year-End Log and Photograph
Final walk-through. Photograph the entire driveway from consistent angles. Update the maintenance log with what was done, what product was used, and what needs attention next year. This log is what protects your warranty and simplifies future repair assessments, which is why it’s worth doing even when everything looks fine.
Resealing: Correct Intervals by Paver Material and Southern California UV Exposure
Resealing is where most homeowner guides get vague. “Reseal every few years” doesn’t tell you what product to buy or how often your specific pavers need it. Here’s the breakdown we use in Irvine.
Resealing intervals by material
- Concrete pavers (standard or tumbled): reseal every 2 to 3 years. Irvine’s UV intensity breaks down acrylic sealers faster than the label suggests. West-facing driveways in full afternoon sun may need resealing every 2 years; shaded driveways can stretch to 3.
- Clay or brick pavers: reseal every 2 to 3 years. Clay is more porous than concrete, so it absorbs more sealer and shows wear differently. If you see color fading or a chalky surface, it’s time.
- Travertine and natural stone: reseal every 1 to 2 years. Natural stone in Irvine’s heat takes more UV damage than concrete pavers. Travertine driveways in Turtle Rock and Shady Canyon typically need resealing every 18 months if they’re in direct sun.
- Permeable pavers: do not seal. Sealing defeats the purpose of permeable paving. Clean joints only.
Product specifications for Southern California UV exposure
Not all sealers are created equal for Irvine’s conditions. Look for:
- UV-stabilized acrylic sealers formulated for high-sun climates. Standard acrylics yellow and crack under Irvine’s summer UV.
- Low-VOC water-based formulas. Solvent-based sealers cure too fast in Irvine’s dry heat and leave lap marks.
- Matte or satin finish, not high-gloss. High-gloss sealers show every tire track and dust smudge, and in Irvine’s dust environment they look bad within weeks.
- Breathable formula for clay and natural stone. Non-breathable sealers trap moisture and cause spalling in the marine layer.
If you want to skip the product-selection homework, this is a job our technicians handle as part of a scheduled maintenance visit. The Groundwork Construction Co. of Irvine home page has the full picture of how we approach ongoing paver care alongside installation.
How to Inspect and Reapply Polymeric Sand Without Disturbing Stable Pavers
Polymeric sand is what keeps pavers stable. It fills the joints, locks the pavers together laterally, and stops water from eroding the bedding layer underneath. The problem: most guides tell you to re-sand by dumping sand over the whole driveway and sweeping it in, which is exactly wrong. The correct technique is a two-step process that touches only the joints that need it.
Step 1: Inspect and isolate the joints that need attention
- Walk the driveway after a dry week. Any joint where the sand is more than a quarter-inch below the paver surface needs re-sanding.
- Use a flathead screwdriver or a painter’s 5-in-1 tool to probe each suspect joint. If the sand underneath is firm and set, leave it alone.
- Mark problem joints with a piece of painter’s tape or a small landscaping flag.
- Pull weeds and roots from marked joints with a weeding tool, working along the joint rather than prying the pavers.
Step 2: Apply polymeric sand correctly
- Buy polymeric sand matched to your joint width. Narrow joints (under 1/8 inch) need fine-grade sand; standard joints need standard grade.
- Wait for a dry day with no rain forecast for 24 hours.
- Pour sand only into the marked joints, using a small cup or a joint-sand applicator bottle. Don’t broadcast over the whole driveway.
- Compact the sand into the joint with a hand tamper or a joint-sand tool, working along the joint. This is what most guides skip: compaction is what sets polymeric sand properly.
- Sweep the surface clean so no sand remains on top of the pavers.
- Mist the joints lightly with water, just enough to activate the polymer. Don’t flood the joint, which washes the sand out.
- Stay off the driveway for 24 hours.
The critical rule: never disturb a paver that’s sitting flat and stable. Re-sanding is a joint job, not a surface job. If pavers themselves are rocking or separated, that’s a repair, not maintenance, and it’s time to call us.
Edge Restraint Checks: The Maintenance Task Nobody Talks About
Here’s the task almost no homeowner guide mentions, and it’s the one that prevents the most expensive paver failures: checking the edge restraint. Every paver driveway has a hidden border, usually a spiked plastic or aluminum edge restraint, or a concrete curb, that holds the entire field of pavers in place. When that edge fails, the pavers creep outward, joints open up, and the whole surface starts spreading. In Irvine, we regularly see edge creep on driveways that meet a turf strip or a planting bed, because soil settling under the edge allows it to move.
How to check edge restraint
- Walk the perimeter of the driveway, pressing down on the outermost row of pavers.
- Look along the edge for gaps between the paver and the restraint, or between the restraint and the adjacent soil.
- Check for cracked or lifted restraint stakes, especially where the driveway meets lawn or mulch.
- Look for pavers that have shifted outward by more than a quarter-inch relative to the rest of the field.
- If you find movement, don’t try to re-spike the restraint yourself. A loosened restraint usually means the base underneath has settled, and the fix is re-bedding the edge, which requires pulling the border pavers.
If you have a paver driveway that’s already spreading at the edges, this is one of the repairs we handle on a scheduled visit. Our technicians have up to 12 years of experience with paver base and edge work, and the whole job falls under the 730-Day Done Right Promise: if it’s not done right, we make it right.
What to Photograph and Log Every Year to Protect Your Warranty
An annual maintenance log is the single most underrated thing you can do for your pavers. It protects your contractor warranty (some workmanship warranties require proof of reasonable maintenance), and it makes future repair assessments dramatically simpler, because whoever’s evaluating the driveway has a visual record of what changed and when.
What to photograph
- Four wide shots of the full driveway, one from each corner, on the same date every year.
- Close-ups of any joint that looks different from last year.
- Photos of the edge restraint around the entire perimeter.
- Any crack, dip, or lifting paver, with a coin or ruler next to it for scale.
- Any product labels or containers used for re-sanding or sealing.
What to log
- Date and type of every maintenance task performed.
- Product brands and batch numbers for sand and sealer.
- Any paver movement, cracking, or joint opening noted during inspection.
- Any contractor visit or repair (with date and scope).
- Weather anomalies that might correlate with any change (Santa Ana wind event, heat wave, unusually wet winter).
A one-page log per year is enough. Take the photos with your phone, store them in a labeled folder, and write the log entry in a notes app. Five minutes per year.
Pressure Washing: The Right Pressure, the Right Distance, the Right Nozzle
This is the one most Irvine homeowners get wrong. The opening of this guide called it out, and it’s worth a full section because it’s the mistake that turns a $3,000 maintenance habit into a $15,000 repair.
The numbers matter
- Pressure: never exceed 1,500 PSI on pavers. Most residential pressure washers run 2,500 to 3,500 PSI, so you need to use a lower-pressure setting or a wider nozzle.
- Distance: keep the wand at least 12 inches from the paver surface. Closer than that, and you’ll strip the polymeric sand out of joints in seconds.
- Nozzle: use a 40-degree (white) nozzle. The 15-degree (yellow) and 25-degree (green) nozzles are for concrete slabs, not pavers. A 0-degree (red) nozzle on pavers is a mistake you can’t undo.
- Angle: 45 degrees to the surface, never straight down. Straight-down pressure drives sand out of joints.
If you don’t know your washer’s PSI or don’t have the right nozzle, don’t guess. A garden hose with a stiff brush does more than enough for routine cleaning and never damages the joints. The aggressive wash is almost never necessary for Irvine driveways, which mostly face dust and pollen, not oil or heavy stain.
Seasonal Hazards: Santa Ana Winds, Summer Heat, and Marine Layer Moisture
Irvine’s three seasonal hazards require three different responses. Getting them wrong is what accelerates paver wear even when the rest of the maintenance schedule is followed.
Santa Ana winds (October and December)
The Santa Ana events that hit Irvine deposit fine grit and organic debris across every paved surface. Clear debris within a week of each event, because leaves left on pavers trap moisture and can stain. Use a leaf blower on low, then sweep, then hose. Don’t pressure wash after a Santa Ana event; the grit left behind is fine and doesn’t need aggressive treatment.
Summer heat (June through September)
Intense UV is the enemy in Irvine’s summer. Don’t apply sealer between June and August, because the heat causes it to flash-cure and fail. If you have a paver that’s already showing UV fading, plan your reseal for the following May. If you’re going to be away for a stretch in July or August, consider a light shade cloth over the west-facing portion of the driveway, or at minimum don’t leave anything sitting on the pavers that will trap heat.
Marine layer moisture (year-round, mornings)
Irvine’s marine layer means pavers are damp most mornings. That’s usually fine, but if you’re scheduling maintenance work, do it mid-day. Polymeric sand won’t cure properly on damp pavers, and sealer won’t adhere. Our crews schedule Irvine paver work for late morning and early afternoon for exactly this reason. If you’re near the coast in Corona del Mar or Newport Beach, plan to start even later.
Common Mistakes to Avoid
- Pressure washing at full blast. The reason this guide leads with it: 3,000-plus PSI blasts polymeric sand out of joints in seconds, and re-sanding costs more than the cleaning saved. In Irvine, most driveways don’t need pressure washing at all.
- Broadcasting new sand over the whole driveway. Dumping sand and sweeping it across the surface disturbs stable joints and creates uneven curing. Re-sand only the joints that need it, one at a time.
- Sealing a hot or damp driveway. Irvine’s summer heat and marine layer mornings both cause sealer failure. Check the surface temperature with the back of your hand before applying; if it’s too warm to hold your hand on comfortably, wait.
- Skipping the edge restraint check. Most guides and most homeowners ignore the edge, but that’s where paver driveways fail. A spreading edge in Northwood or Woodbridge is usually a fixable $300 to $600 repair if it’s caught early, and a $3,000-plus job if the edge has crept far enough to disturb the field.
- Using the wrong polymeric sand. Fine-grade sand in a wide joint washes out within a season. Standard-grade sand in a narrow joint doesn’t penetrate. Match the sand to the joint width.
- Ignoring the annual log. Without the log, a warranty claim is a conversation about what might have happened. With the log, it’s a conversation about what happened and when, and repairs are easier to diagnose.
- Waiting for a failure to act. Paver driveways don’t fail suddenly. They fail on a predictable timeline that most homeowners could interrupt with two to three hours of maintenance per year. The whole point of this schedule is to interrupt that timeline before it costs real money.
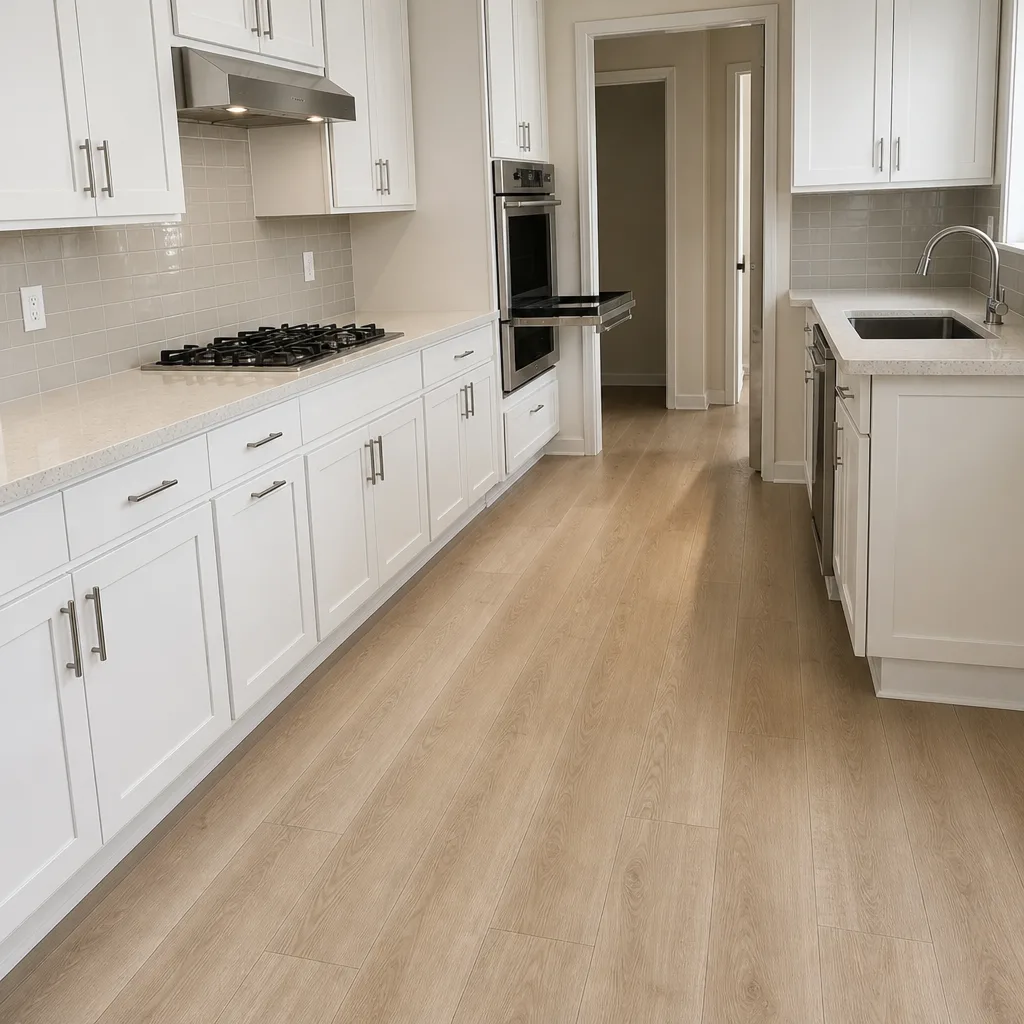
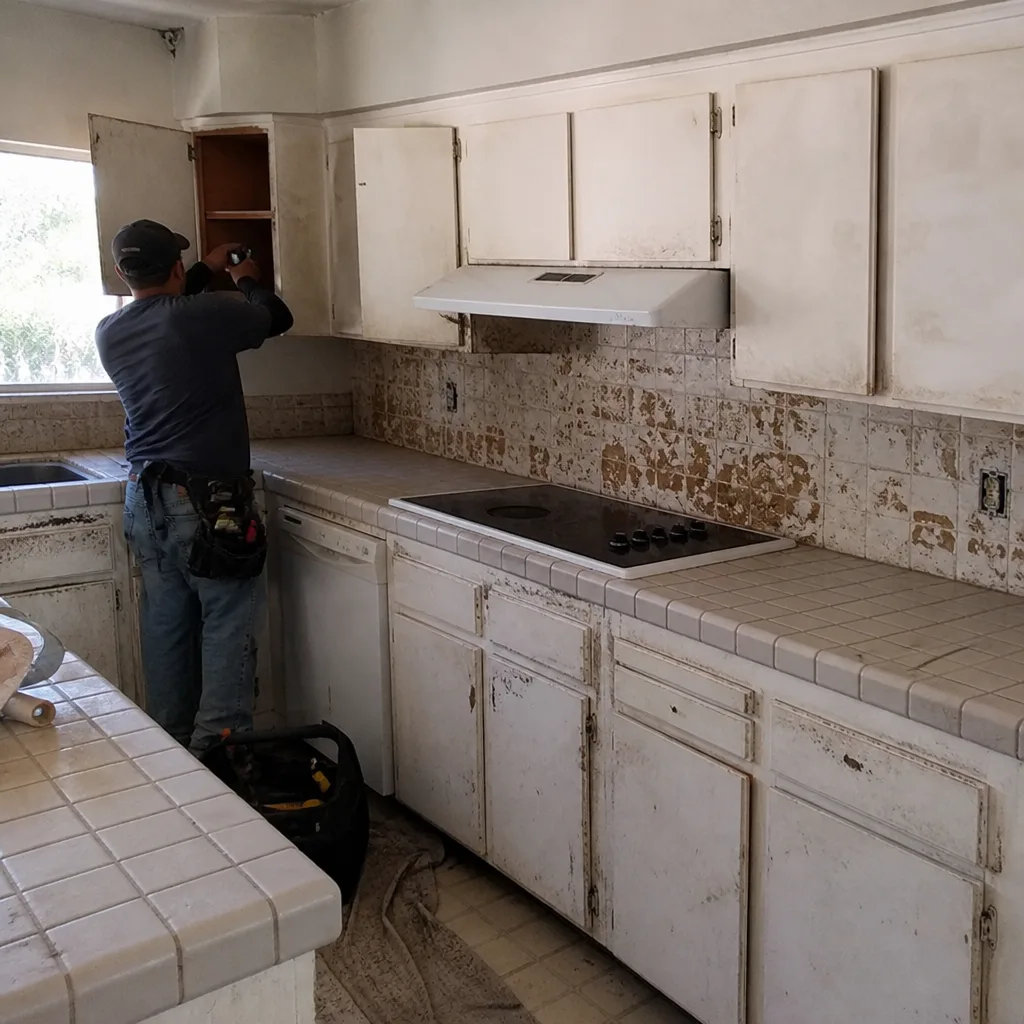
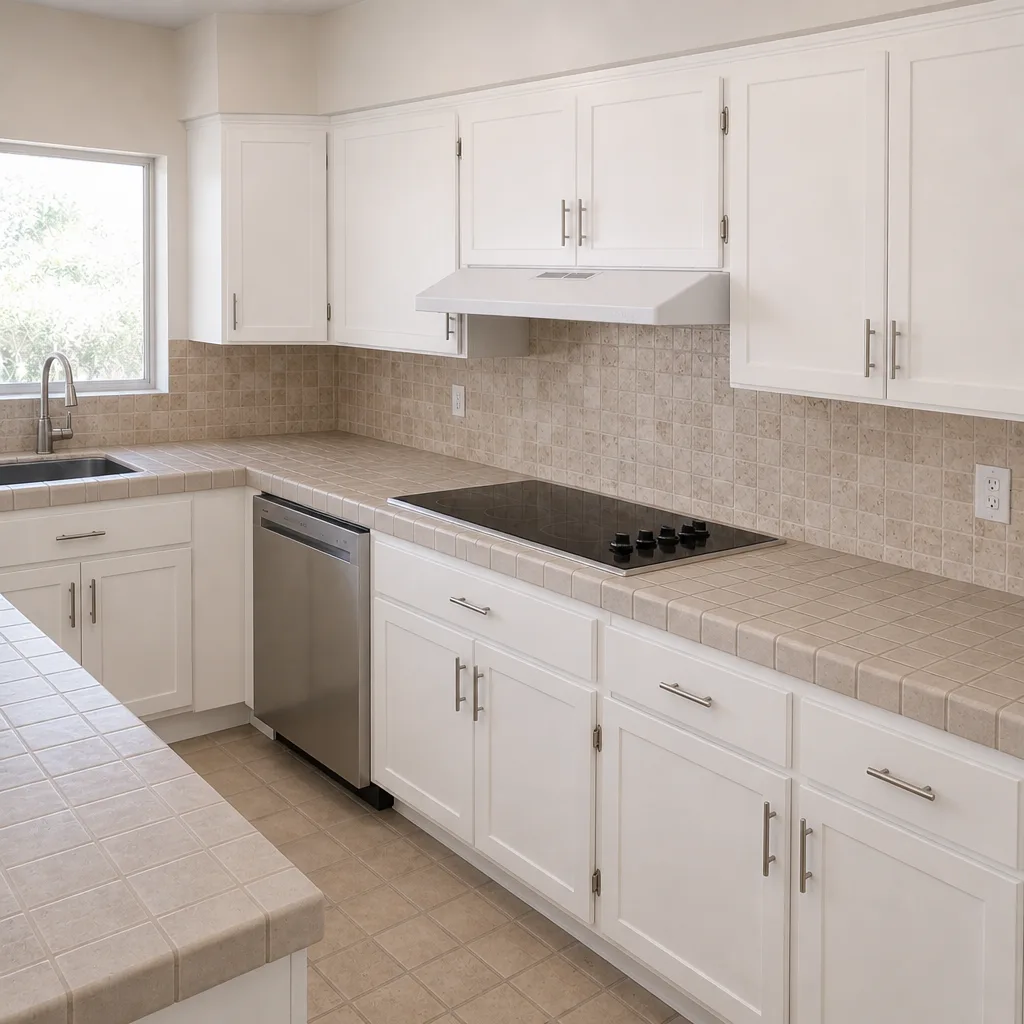
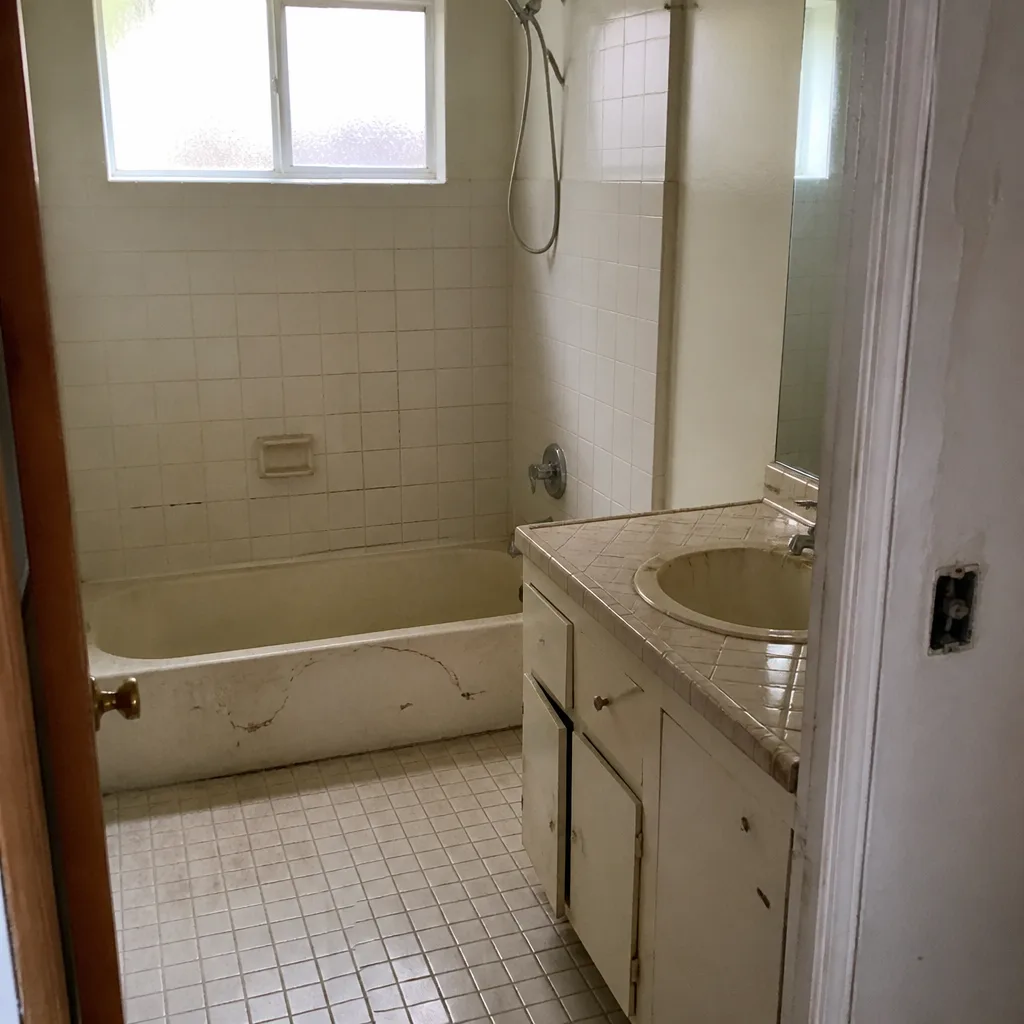
See the difference
 Before
 After
 Before
 After
 Before
 After
When to Call a Professional
Some paver maintenance is genuinely homeowner-friendly: sweeping, weed pulling, spot re-sanding, log-keeping. The rest requires a trained eye and the right tools, and this is the part where we see a lot of Irvine homes in trouble that could have been avoided with one call. Call us if you see pavers that rock underfoot, joints spreading wider than a quarter-inch, edge restraint that has separated from the field, or a sealer that has failed completely and is showing hazing or peeling. Call us if the driveway is more than five years old and you don’t have a maintenance record, and we’ll do a full assessment. Call us before you buy sealer or polymeric sand, if you want the right product the first time.
Groundwork Construction Co. of Irvine offers free estimates in Irvine; call (888) 578-4462. Our technicians have up to 12 years of experience with paver surfaces, and every job is covered by the 730-Day Done Right Promise, so you know the work stands behind itself.
Frequently Asked Questions
Every 2 to 3 years for concrete pavers, every 2 to 3 years for clay and brick, and every 1 to 2 years for travertine and natural stone, with west-facing driveways needing the shorter end of that range because of Irvine’s UV intensity. Call (888) 578-4462 for a free estimate if you’re unsure whether your driveway is due.
Yes, but only at 1,500 PSI or lower, with a 40-degree nozzle, at least 12 inches from the surface, held at a 45-degree angle. Anything more aggressive strips the polymeric sand out of joints. If you don’t know your washer’s PSI, hose and brush is the safer option.
Usually one of three causes: pressure washing too aggressively, a failing edge restraint that allows the field to shift, or normal wear over years of Irvine’s UV and wind exposure. If sand loss is concentrated near the edges, suspect the edge restraint first. Call (888) 578-4462 for a free estimate and we’ll identify the cause.
March through May is the sweet spot for heavy work (deep cleaning, re-sanding, resealing), and September through November is when you want to do repair work and Santa Ana debris clearing. Avoid June through August for anything involving sealer because of the heat.
Yes. Even the best installation benefits from two to three hours of maintenance per year, plus a reseal every 2 to 3 years. The difference between a paver driveway that lasts 6 years and one that lasts 15 is almost always maintenance, not installation quality.
Yes. We handle full paver installation, edge restraint repair, re-sanding, sealer application, and paver resetting. Every job is covered by the 730-Day Done Right Promise. Call (888) 578-4462 for a free estimate.
The Bottom Line
Paver driveways in Irvine fail on a predictable timeline, and almost all of those failures are preventable with two to three hours of maintenance per year. The schedule is straightforward: inspect in January and September, deep clean and check edges in March, re-sand problem joints in April, reseal in May (and again every 2 to 3 years), clear Santa Ana debris in October and November, and log everything in December. Skip the aggressive pressure washing, use the right polymeric sand, and check the edge restraint every year. Whether you’re planning a paver installation, protecting an existing driveway, or considering a broader exterior project like a Fence Installation in Irvine or a Home Additions & ADU in Irvine, we approach every project from foundation to finish line.
If you want a paver professional to take a look, we’ll come out and give you a straight answer. Call Groundwork Construction Co. of Irvine at (888) 578-4462 for a free estimate. Calls are answered by a live person, 24/7, so you won’t hit voicemail no matter when you call.
Written by the team at Groundwork Construction Co. of Irvine.