
Last updated November 17, 2026
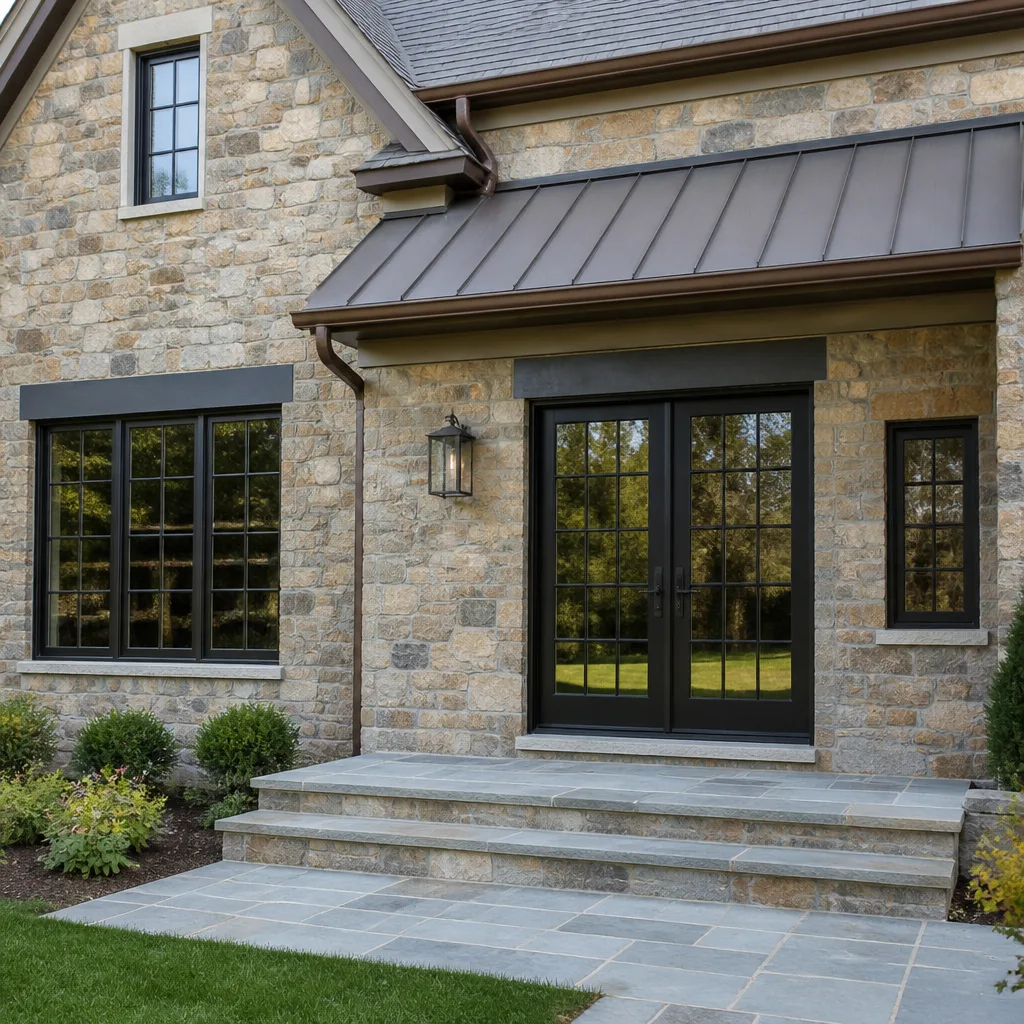 Windows & doors
 Kitchen remodeling
 Bathroom remodeling
 Home additions & ADU
 Roofing
 Driveway & pavers
 Fence
Free written scope consultation - allowances, timeline, and change-order rules on paper before a single trade is scheduled
DIY vs Professional Windows & Doors: What’s Safe to Do Yourself
An improperly flashed exterior door is one of the most common sources of wall cavity moisture damage in California homes, and the repair that follows averages $8,000 to $22,000. Insurance rarely touches it, because the damage builds quietly over years and reads as a maintenance failure rather than a sudden event. That single fact captures the whole question this guide answers: which parts of window and door work a homeowner can genuinely handle, and which parts have consequences that far outweigh the savings. We’ll walk through the California rules on self-performed work, the flashing details most DIY videos skip, how to spot structural framing before you open a wall, and the Irvine permit reality for window swaps. By the end you’ll know exactly where the line sits for your project.
Quick Answer
Interior hardware – handles, locksets, hinges, weatherstripping, interior door slab swaps on existing frames – is genuinely safe to do yourself. Exterior window and door unit replacement is not, in most cases: it involves structural framing at the opening, code-required flashing and water management, and often a permit. California law allows homeowners to pull permits and do the work on their own primary residence, but it doesn’t protect you from the moisture and structural consequences of getting the details wrong – and those are the expensive ones.
Styles & brands we work with
- Kitchen remodeling
- Bathroom remodeling
- Home additions & ADU
- Roofing
- Windows & doors
- Driveway & pavers
- Fence
Table of Contents
- Where the DIY Line Actually Sits
- What California Law Lets You Do Yourself
- The Flashing Steps DIY Videos Skip
- How to Tell if Your Opening Has Structural Elements
- Interior vs. Exterior Work: A Real Difference in Risk
- The Permit Reality for Windows in Irvine
- Projects That Are Genuinely Safe to DIY
- Common Mistakes to Avoid
- When to Call a Professional
Where the DIY Line Actually Sits
Replacing a door handle is a Saturday project. Replacing the door unit it’s attached to is a different category of work entirely. That gap – between swapping a component and installing a system – is where homeowners consistently get out over their skis, usually without realizing it until the first hard rain.
A window or exterior door unit is not just a hole with a pane or panel in it. It’s a weatherproofing assembly. It has to shed water, manage air pressure differences, allow for expansion and contraction across seasons, and stay anchored to framing that may or may not be strong enough for a heavier replacement unit. The unit itself might be perfectly installed and still fail, because the failure comes from the layers around it – the sill pan, the flashing tape, the sealant sequencing, the drainage plane integration.
Here’s the practical split, as we see it on Irvine jobs:
- Safe to DIY: interior door slab swaps on existing frames, interior hardware, weatherstripping, door sweeps, caulking around interior trim, window coverings and blinds, minor interior trim touch-ups, tightening or adjusting existing hardware.
- Gray zone: replacing a window sash on a double-hung unit, swapping an interior door frame, replacing a screen door, installing interior shutters or casing. Doable, but mistakes are visible and sometimes expensive.
- Not safe to DIY: exterior window unit replacement, exterior door unit replacement, any job requiring the header or framing at the opening to change, jobs on second-story or above-grade openings, jobs where the existing flashing is unknown or compromised.
The great majority of the risk sits in that third bucket. That’s why the decisions on this page matter so much in a place like Irvine, where a warm, dry-looking climate hides how much damage a leaking sill can quietly do over a few wet seasons.
What California Law Lets You Do Yourself
California homeowners can legally pull permits and perform construction work on their own primary residence, including window and door replacements – with a few important caveats. The homeowner exemption in the Business and Professions Code applies only when the owner does the work themselves, lives in the home, and doesn’t intend to sell it within a year of the work. The moment you hire anyone else, that person must be a licensed contractor.
The details that trip homeowners up:
- The exemption doesn’t cover rental or investment property. If it’s not your primary residence, you can’t self-perform and you can’t hire unlicensed help.
- You’re responsible for code compliance yourself. The building department will inspect the work you did, but nobody is walking you through the code steps beforehand. The inspection is pass or fail – the correction is on you.
- Unlicensed helpers expose you to liability. If an unlicensed worker gets hurt on your property, your homeowner’s insurance is in the position of covering the injury, and many policies exclude injuries to paid workers. This is a common surprise in Irvine, where remodel activity is heavy.
- Unpermitted work can complicate a future sale. Most Irvine buyers’ agents will flag work that shows up in a home inspection but not on the permit record. Depending on what was done, the sale can stall or the price can take a hit.
- Manufacturer warranties often won’t apply to self-installed units. We’ve seen homeowners unknowingly void the warranty on an Andersen or Therma-Tru unit the moment they open the box themselves, because the warranty terms assume installation by a qualified installer.
That last point tends to land hardest. The unit may cost $800 to $2,400 on its own, and the manufacturer warranty is a meaningful part of what you’re buying. Skipping a licensed installer can quietly wipe it out.
The Flashing Steps DIY Videos Skip
The reason flashing gets skipped in DIY tutorials is simple: it happens behind the wall, so it doesn’t photograph well. The steps that matter most are the ones a viewer can’t see, so they’re the ones the video moves past in seconds. In practice, those steps are what determine whether the window or door holds up for 20 years or leaks in year three.
Here’s what a proper exterior installation includes, roughly in order:
- Sill pan or sill flashing. Water that gets behind the unit has to exit somewhere. A sloped sill pan at the bottom of the rough opening lets it drain out. No pan, no exit – water sits and rots the framing.
- Rough opening prep. The rough opening itself has to be clean, straight, and sized within the manufacturer’s tolerance. Gaps over a certain width can’t just be stuffed with insulation – they have to be addressed.
- Flashing tape sequencing, bottom to top. Flashing is layered like shingles: bottom first, then sides, then top. Get the sequence wrong and water finds the seam. This is one of the most-missed details on any DIY install.
- Integration with the weather-resistive barrier. The house wrap or WRB around the opening has to lap over the flashing in a specific order. The installer needs to actually understand the drainage plane of the wall, not just cut and paste.
- Backer rod and sealant, in the right places. Sealant alone fails over time. Backer rod behind the sealant allows movement without tearing. Sealant at the wrong layers can trap water instead of letting it exit.
- Head flashing and drip cap. Water coming down the wall has to divert around the top of the opening rather than run into the seam.
- Interior air sealing. On the inside, air sealing matters for energy performance and moisture control. Getting the interior tight while leaving the exterior to drain is the whole trick.
In our experience on Irvine rehabs, the door installs that leak aren’t usually the ones with obvious visual mistakes – they’re the ones where everything looked right but a sill pan was skipped or the flashing order was off. It doesn’t show up until the first hard rain season, and by then the drywall and framing are already wet.
This is also why the brand of unit matters somewhat less than the install. A properly flashed ES Windows or ECO Window Systems unit outlasts a badly installed premium product every time. The unit is the easy part. The water management is the job.
How to Tell if Your Opening Has Structural Elements
Above every window and door there’s a header – a horizontal beam that carries the load of everything above the opening. On either side of the opening there are king studs (full-height framing members) and trimmer studs that support the header. Enlarging an opening, converting a window to a door, or going from a standard size to a bigger unit means the header, and often the studs, have to change. That’s structural work, and it’s where the DIY window replacement category stops being a window replacement and becomes a framing project.
Signs your opening may be structural (or that you can’t tell from the surface):
- The existing unit is non-standard in some way – not a size you can order pre-hung from a big-box store without special order.
- There’s any cracking in the drywall around the opening, or doors that stick seasonally, suggesting movement.
- The wall above the opening carries a second story, a roofline, or another wall – the load path matters.
- The wall is a shear wall, which is common on the exterior walls of Irvine homes built to modern seismic codes. Cutting into a shear wall requires engineering, not just carpentry.
- The opening is on a wall that has been previously modified, so the framing isn’t what the original plans show.
If any of those apply, stop. This isn’t a judgement call a homeowner should make visually. An engineer or a licensed contractor can read the structure and price the framing scope honestly. In Irvine, we’ve seen HOA restrictions layer on top of this in neighborhoods like Woodbridge and Northwood, where exterior changes to windows can trigger additional approvals beyond the permit itself.
None of this is meant to alarm. It’s meant to give you a clear line. If the opening size and framing are staying exactly as they are, you’re in the simpler category. If anything is changing, you’re in structural territory.
Interior vs. Exterior Work: A Real Difference in Risk
Replacing interior hardware is genuinely low-risk. Replacing an exterior unit almost never is. The difference isn’t about difficulty – it’s about what happens when something goes wrong. An interior mistake is visible and correctable in an afternoon. An exterior mistake can push water into a wall cavity for a year before it becomes visible, and by then the repair is $8,000 to $22,000.
Interior work that’s genuinely safe to DIY:
- Replacing interior door slabs on existing frames (with the frame in good shape).
- Swapping hinges, handles, deadbolts, and locksets on interior doors.
- Installing bi-fold and sliding closet doors.
- Replacing or adjusting interior door sweeps, magnetic catches, and stops.
- Adding interior trim, casing, or shoe molding.
- Replacing interior window blinds or shades – truly zero-risk.
Interior work that’s riskier than it looks:
- Replacing an interior door frame (jambs) – easy to misalign, and the trim and drywall repair can eat the savings.
- Changing an interior wall opening size – same structural concerns as exterior.
- New interior windows or transoms that require cutting into walls.
Exterior work that’s genuinely safe to DIY:
- Replacing a screen door or storm door on an existing frame.
- Sanding and refinishing a door slab without removing it.
- Replacing weatherstripping and door sweeps on an existing exterior door.
- Adding or replacing a storm window.
- Caulking existing exterior trim – with the note that caulk covers a symptom, it doesn’t fix a flashing failure.
Exterior work that isn’t safe to DIY:
- Installing a new exterior window or door unit.
- Converting a window opening to a door opening.
- Any second-story or above-grade exterior opening.
- Any job where you’re not confident the existing flashing is intact.
- Any job that requires more than basic tools to lift or position the unit safely.
The Permit Reality for Windows in Irvine
In Irvine, window replacement permits come down to one phrase: “like for like.” A like-for-like replacement means the new unit matches the existing unit in size, location, operation, and configuration, with no change to the rough opening and no structural alteration. When a project is a genuine like-for-like swap, most jurisdictions don’t require a permit for the individual unit – but very few homeowners, and fewer DIY installers, correctly determine whether their project actually qualifies.
Common reasons a window replacement is not like-for-like in Irvine:
- Different size. Even a 1/2-inch change in the rough opening technically changes the framing.
- Different operation. Changing a fixed window to an operable one, or a single-hung to a casement, changes the unit type.
- Different configuration. Changing from one large window to two smaller ones, or vice versa.
- Egress window replacement. Bedroom windows have specific egress requirements, and the new unit has to meet them.
- Window-to-door conversions. Anytime you change the opening type – that’s a permit.
- Historic or HOA overlay. Some Irvine neighborhoods carry additional design review requirements on top of the building permit.
Filing the permit itself isn’t the hard part. The hard part is knowing whether you’re in the permit category in the first place, because the answer changes everything about the project. We’ve walked into Irvine homes where a previous owner had done a window swap years earlier without a permit, and the correction ended up costing more than the original job. That’s the risk homeowners aren’t always warned about.
If you’re not sure whether your project qualifies as like-for-like, get a professional opinion before you buy the unit. A quick assessment up front costs almost nothing compared to correcting an unpermitted install later.
Projects That Are Genuinely Safe to DIY
We want to be clear about what’s actually achievable at home. There’s a lot of window and door work a capable homeowner can do well, and we’re not trying to push every job to a contractor. Here’s what we’d genuinely tell a friend they can take on themselves:
- Replacing door handles and locksets. Standard 2-3/8″ or 2-3/4″ backset, one screwdriver, done in 20 minutes.
- Weatherstripping a door. Fresh weatherstripping on an exterior door costs $20 to $60 in materials, takes about an hour, and cuts the energy bill. Safe, effective, and reversible.
- Door sweeps and thresholds. Replacing a worn-out sweep seals the gap at the bottom of the door. Same idea – cheap, effective, low-risk.
- Interior door slab swap on an existing frame. Pre-hung slabs are more forgiving than most people expect, provided the frame is plumb and level. If the existing frame is out of square, get that fixed first.
- Interior trim and casing. Cosmetic, reversible, and the only “damage” from a bad job is a paint touch-up.
- Screen door or storm door. These hang on the existing frame and are genuinely a homeowner-level project. A helping hand is useful for lifting.
- Caulking exterior trim. It won’t fix an active leak, but keeping the exterior paint and sealant in good shape does extend the life of the trim and seals minor gaps.
The pattern is consistent: small replacement tasks using existing openings and existing hardware. What makes each of those safe is that the structural, flashing, and drainage work is already done and staying intact. When you start moving those underlying systems, the calculus changes.
If you’re evaluating a broader exterior project in Irvine, it’s worth looking at Groundwork Construction Co. of Irvine home so you understand the full scope of work we handle – it’ll help you frame which adjacent tasks are related to your window project and which are separate.
Types of Window and Door Projects and Where They Land
A quick reference for how different project types typically fall, as we see them in Irvine homes:
- Replace a single interior door slab – DIY friendly. Frame stays, hardware stays or gets swapped at the same time.
- Replace an exterior door unit in an existing opening – professional. Flashing, sill pan, sealant sequencing, and often a permit.
- Replace a single window unit in an existing rough opening – professional. Same flashing and code concerns as a door, plus egress and energy code considerations.
- Replace all windows in a home – professional. Multiple openings means multiple flashing assemblies and increased risk of a single failure point making an entire job look bad.
- Add a new window or door opening – professional, plus permit, plus engineering assessment in many cases.
- Convert a window into a door – professional, plus permit, plus structural review for the header and threshold.
- Replace a screen door – DIY.
- Replace a storm door – DIY.
- Refinish or paint an existing door – DIY.
- Replace weatherstripping and door sweeps – DIY.
If you’re considering a broader exterior project alongside your windows – a patio, a walkway, or a full exterior upgrade – it’s worth reading about Driveway & Pavers in Irvine and Fence Installation in Irvine, because these projects sometimes overlap with window and door work at the perimeter of the home.
See the difference
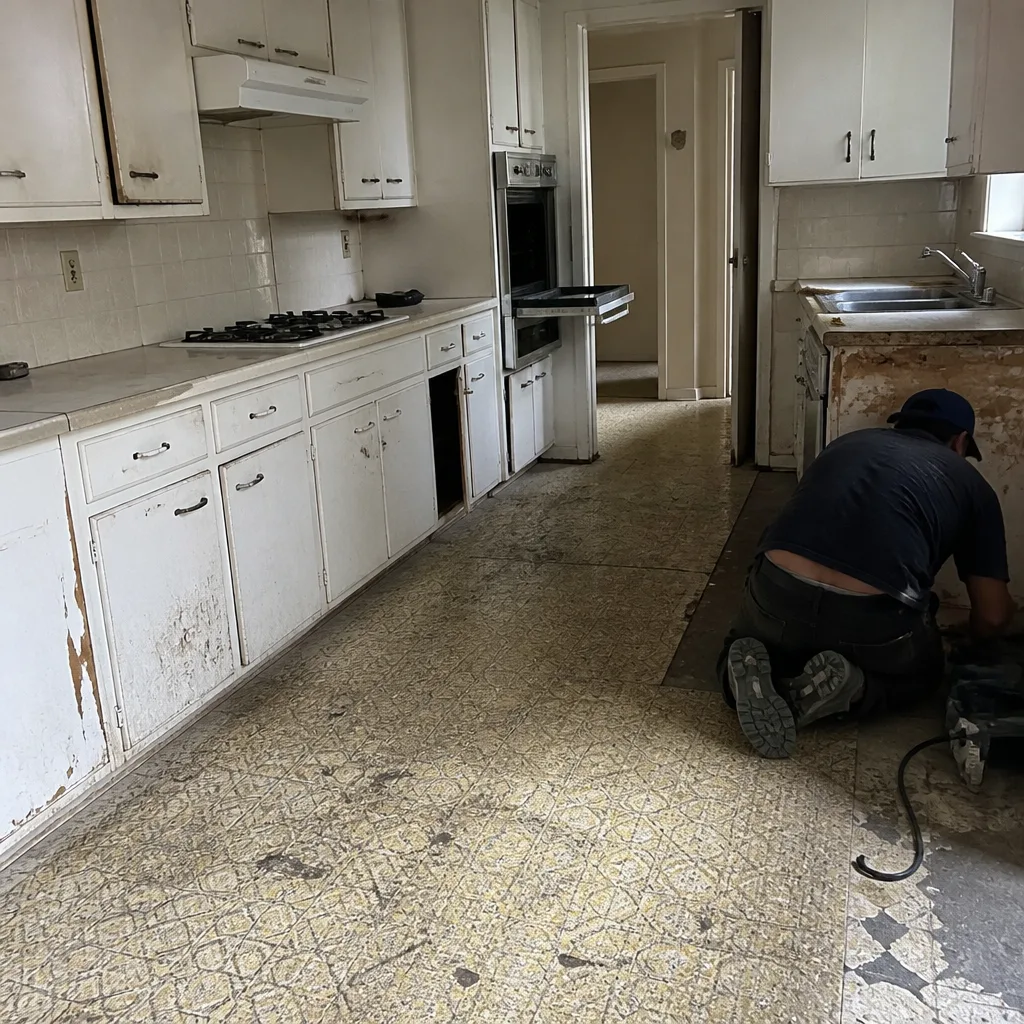 Before
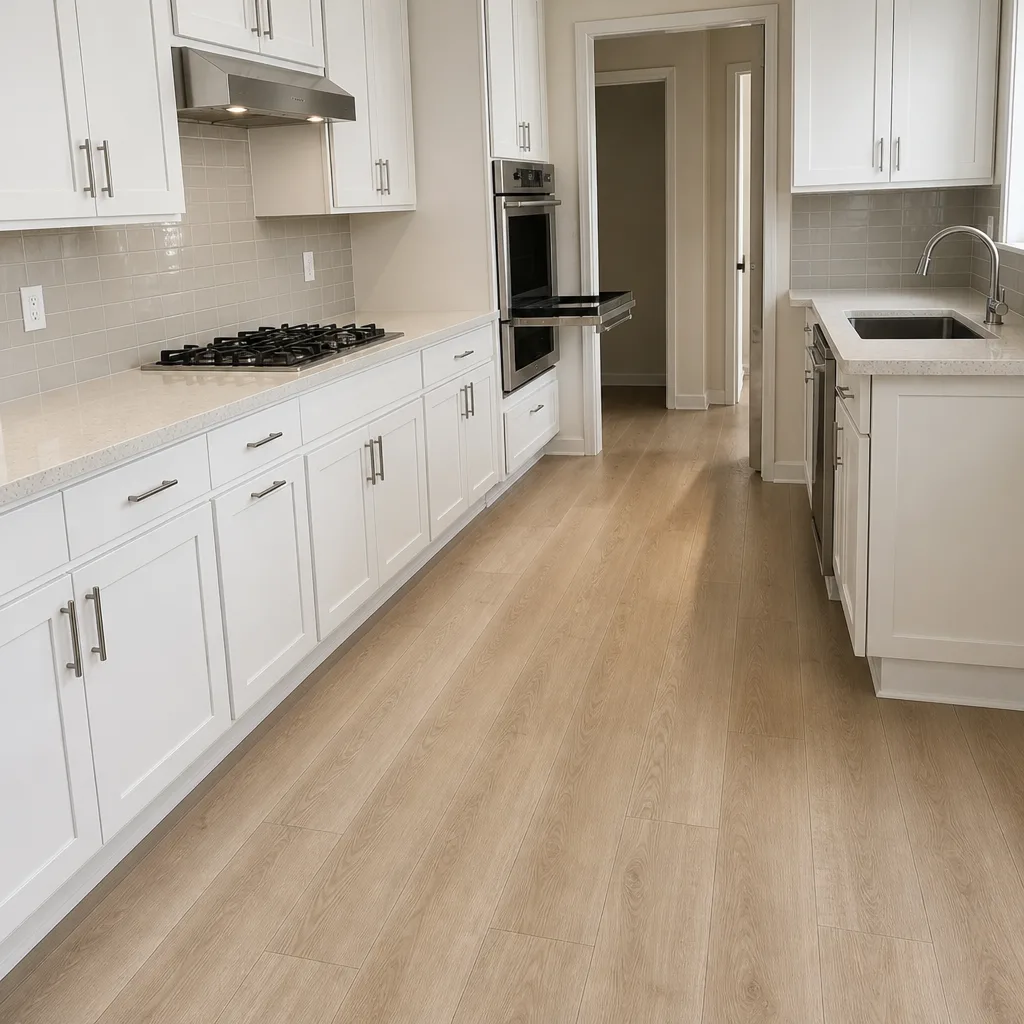 After
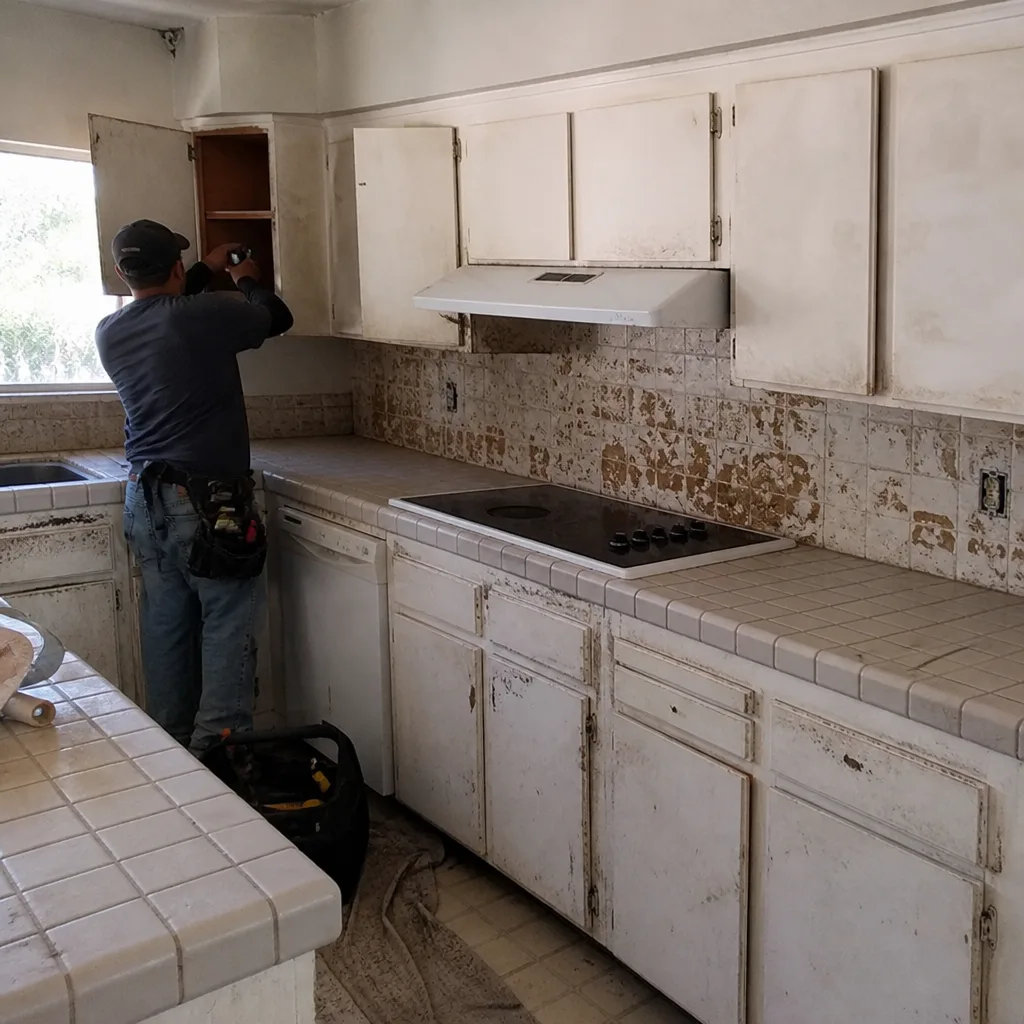 Before
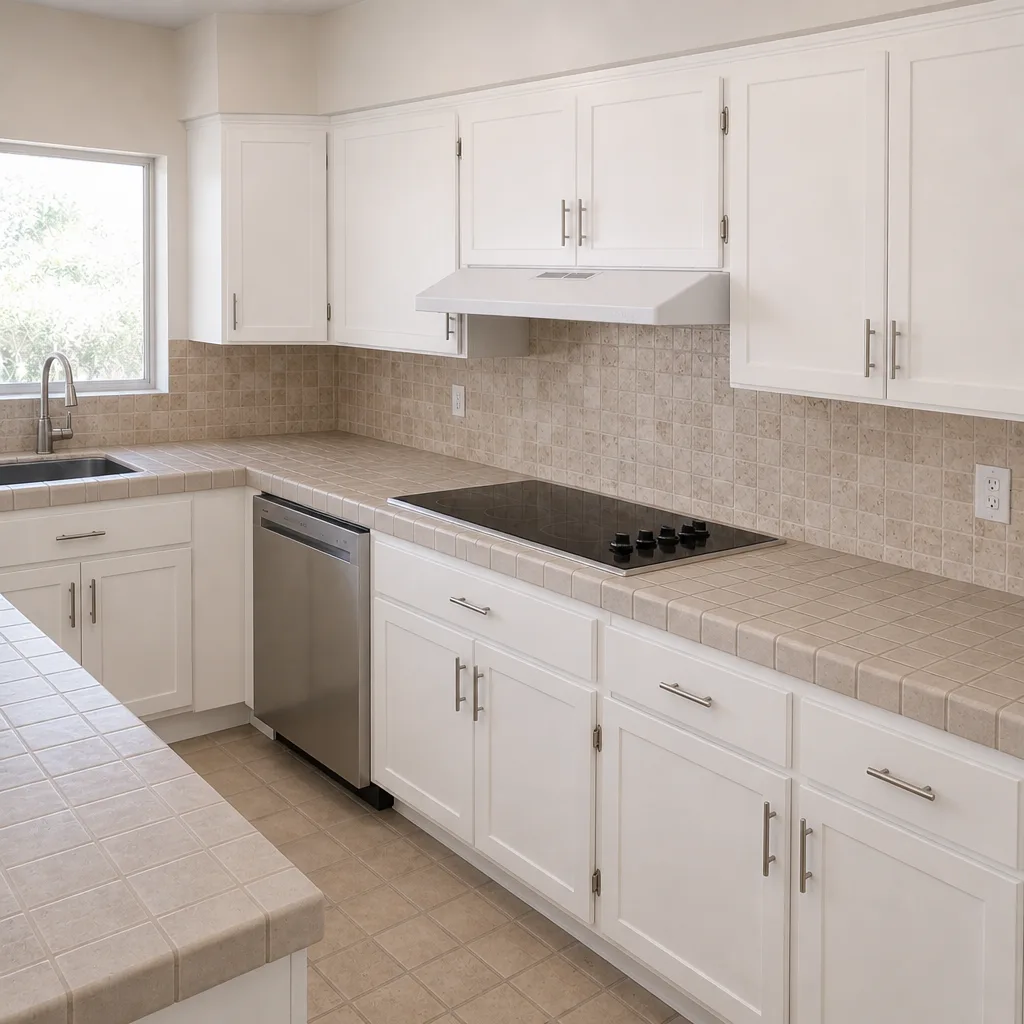 After
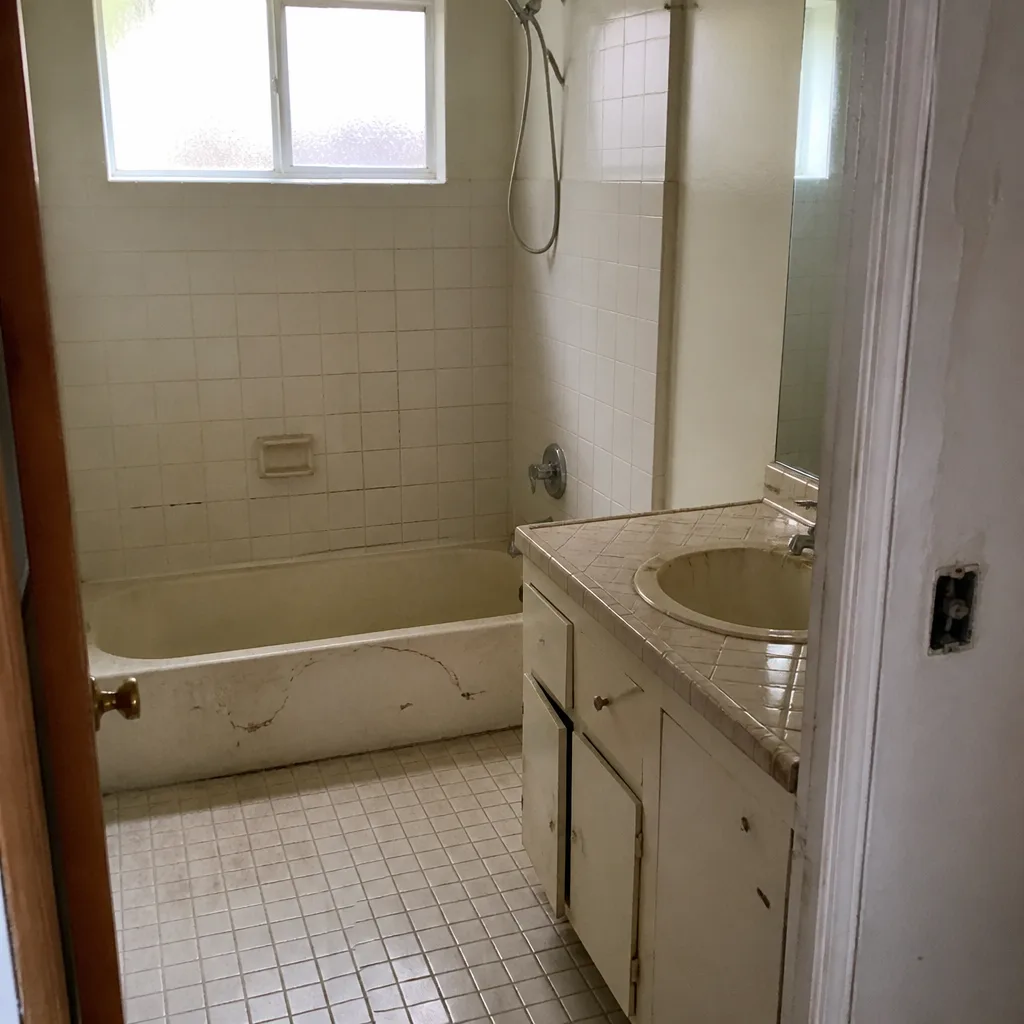 Before
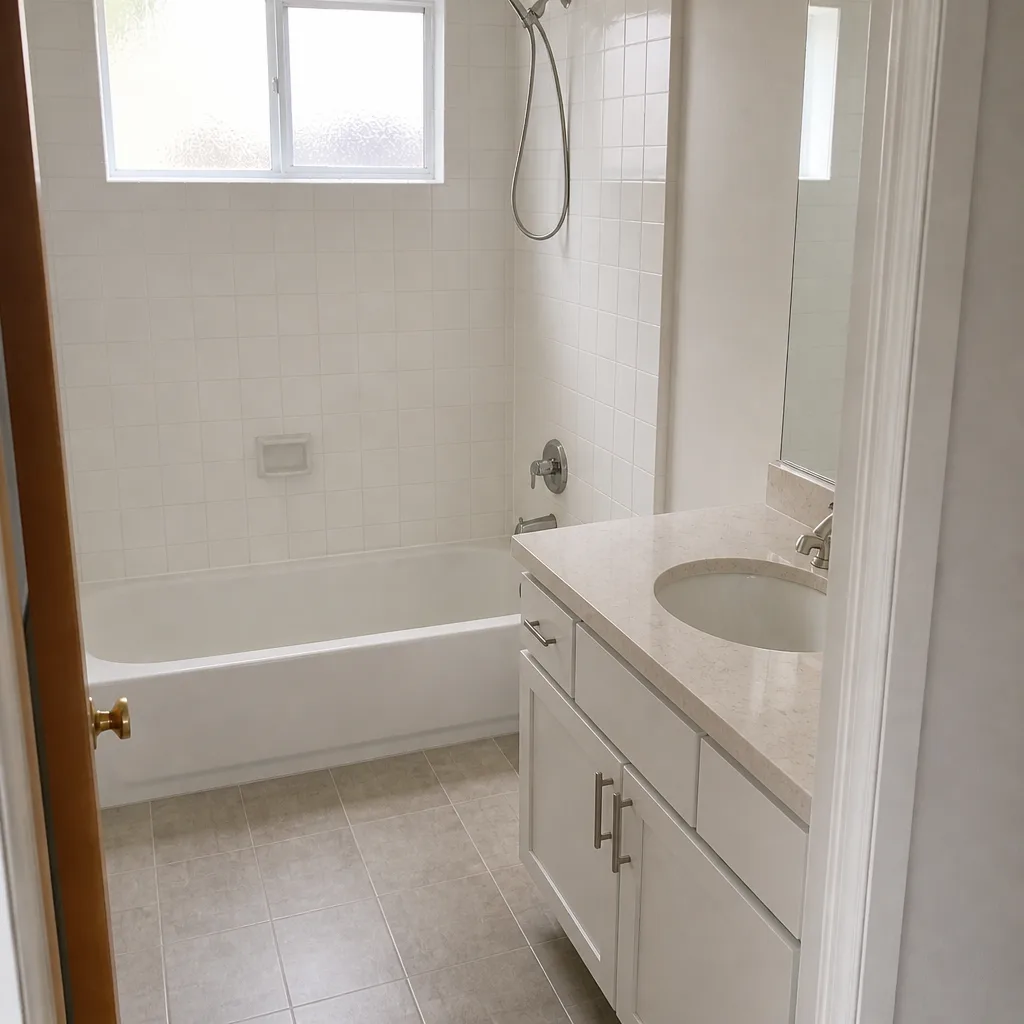 After
What a Professional Window or Door Replacement Actually Includes
The reason professional installation costs more than the DIY route isn’t just labor. It’s the whole assembly – the parts that aren’t visible from either side of the wall, and the coordination required to get them right.
- Measure and assess. Actual rough opening measurement (not the visible unit measurement), framing check, structural check, and code assessment for the specific opening.
- Permit determination and filing. Deciding whether the work is like-for-like, drafting the permit document if needed, and coordinating inspection.
- Material and product selection. Choosing a unit that meets the home’s energy and egress requirements – some Irvine homes benefit from specific glazing options depending on sun exposure and orientation.
- Removal of existing unit. Careful extraction of the existing unit without damaging the rough opening or adjacent framing.
- Rough opening prep. Clean, square, sized appropriately, with sill pan or sill flashing installed.
- Unit setting. Setting the unit plumb, level, and square within manufacturer tolerance so the operation stays smooth for the life of the door or window.
- Flashing and weatherproofing. The full flashing sequence – sill, sides, head, drip cap – integrated with the house’s weather-resistive barrier.
- Interior and exterior trim. Casing installed cleanly on both sides, with consistent reveal.
- Insulation and sealing. Backer rod, sealant, and interior air sealing to spec.
- Inspection and walkthrough. Final inspection if permitted work (in Irvine, this means scheduling with the city building department), plus a homeowner walkthrough to confirm operation, seal, and finish.
That’s the actual scope. When a professional bid feels “high” relative to a big-box estimate, this is the work that closes the gap. Most of it is invisible once the job is complete, and it’s the reason the warranty on the install is worth something.
For any homeowner weighing a larger window and door project alongside other structural work, the conversation is often better framed at the scale of the whole home. That’s part of why we think about it this way at Home Additions & ADU in Irvine – adjacent projects often share a permit, a schedule, and the same structural assessment.
Common Mistakes to Avoid
- Trusting the measurement on the old unit label. The number on the old unit does not necessarily match the rough opening, especially on homes that have been modified. Measure the opening itself before you order anything.
- Skipping the sill pan. It’s the single most common flashing omission we see in DIY installs. The unit will look fine and leak water into the wall for years. In Irvine, dry-season installs hide this problem until the first real storm.
- Filling the rough opening with spray foam instead of insulation and backer rod. Expanding foam can push the frame out of square and jam the operation. It also doesn’t manage water movement.
- Assuming any window replacement qualifies as “like for like” without confirming. Many Irvine homeowners have been told a full window refresh didn’t need permits, when at least some of the openings required them. Confirm before you buy.
- Hiring an unlicensed installer to save money. The savings evaporate the moment something goes wrong. Manufacturer warranties generally don’t apply, and unpermitted work can hit you at resale.
- Choosing the cheapest unit to offset the cost of installation. In our experience, on Irvine homes, the unit is not where the difference between a 20-year window and a 15-year window lives – the installation is. A mid-tier unit installed correctly beats a premium unit installed badly.
- Ignoring the trim and interior repair budget. Even a clean professional install will require some interior touch-up – paint, trim, drywall repair. Bake $200 to $600 into the budget for a single door, more for a multi-window job.
What happens when you call
- 1
A real person answersNo phone trees – you reach a local pro.
- 2
You get an upfront price rangeHonest numbers before anyone is dispatched.
- 3
A background-checked tech heads outLicensed & insured, dispatched right away.
- 4
You approve before work beginsNothing starts until you say go.
What Does Window and Door Replacement Cost in Irvine?
Real numbers help homeowners decide much more than general categories do. Here’s what we see on Irvine jobs in the current market. As a range, actual costs will vary with the specific units, structural work, and interior touch-up.
- Interior door slab, DIY installed: $80 to $400 for the slab, depending on type and finish.
- Interior door slab, professionally installed: $250 to $650 per door including labor.
- Exterior door unit replacement, single door, professionally installed: $1,800 to $4,200 depending on unit grade (steel, fiberglass, or premium like Therma-Tru) and whether structural framing is involved.
- Exterior window unit, single, professionally installed: $700 to $2,200 per opening, depending on size, unit type, and glazing.
- Full home window replacement, professionally installed: $9,000 to $32,000 depending on unit count, unit grade, and any structural corrections.
- Window-to-door conversion: $4,500 to $11,000 including structural, permit, and finish work.
- Flashing repair caused by a failed DIY install: $1,500 to $4,500 on the exterior side, before any interior repair.
- Wall cavity moisture damage caused by improper flashing: $8,000 to $22,000, and typically not covered by homeowner’s insurance.
Irvine’s permit fees and inspection scheduling are handled by the city directly, and are typically modest compared to the labor and materials. The bigger expense is any corrective work required after an inspection failure, which is where the DIY savings often disappear. Upfront pricing from a licensed contractor shows the full scope before you commit, and it’s the number that matters more than the sticker price of the unit.
For a professional assessment of window or door work in Irvine, an on-site estimate is the most honest starting point. Live person, 24/7 – no voicemail, no delays – and the estimate is free.
When to Call a Professional
Call a licensed professional whenever the work involves moving water, cutting into a structural opening, or touching anything above the first floor. If you’re unsure about whether the existing flashing is intact, that uncertainty itself is a reason to call. If the project requires a permit – because the unit is changing in size, operation, or location – a licensed contractor will manage the permit, the inspection, and the corrections. If the unit was damaged in a storm or is showing signs of active moisture inside the wall, that’s a professional assessment situation too.
Fifteen years into watching homeowners make this call, the pattern is consistent: the jobs that work well as DIY are the ones where the underlying structure is already done. The jobs that go badly are almost always the ones where the homeowner couldn’t see the assembly that mattered. That’s not a judgement on skill – it’s a statement about what window and door work involves once you go beyond the surface.
Groundwork Construction Co. of Irvine offers free estimates in Irvine – call (888) 578-4462. Every job is covered by our 730-Day Done Right Promise. If it’s not done right, we make it right. Live person, 24/7, background-checked technicians, upfront pricing before work starts.
Frequently Asked Questions
Yes, California law lets homeowners pull permits and perform construction work on their own primary residence, including window replacement. The homeowner exemption doesn’t cover rental or investment property, doesn’t remove the requirement to comply with all building codes, and doesn’t limit your liability if something goes wrong. The practical risk is that most window projects require flashing and water management work that’s expensive to correct if done wrong.
It depends on whether the replacement qualifies as “like for like” – same size, same location, same operation, no structural change. Genuine like-for-like replacements often don’t require a permit, but many projects don’t actually qualify, especially if the unit is changing size or operation. Call (888) 578-4462 to confirm your specific project before ordering units.
Generally $1,800 to $4,200 per door, depending on the unit grade and whether any structural or framing correction is required. Fiberglass and steel units sit in the lower half of that range; premium fiberglass and premium entry systems sit in the upper half. Interior trim and paint touch-up often add $200 to $600. Call (888) 578-4462 for a specific quote on your door.
Not with an honest contractor. Upfront pricing means the number you sign is the number you pay, and corrections that come up are addressed within the scope you agreed to. That’s the standard we hold ourselves to at Groundwork Construction Co. of Irvine. If a contractor’s price is “subject to what we find when we open the wall,” that’s a real risk for the homeowner – get the number in writing before you commit.
A single exterior window takes four to six hours with a professional crew, including flashing and interior trim. A full-home window job typically runs one to three days depending on unit count and access. Door unit replacements usually take four to eight hours per door. Weather, inspection scheduling, and any structural correction can extend the schedule, but the timing should be laid out clearly in the estimate.
Because most DIY installations skip the parts of the job that aren’t visible – flashing sequencing, sill pans, weather-resistive barrier integration, and proper interior air sealing. The savings look real until the first rain season, when the cost of correcting a failed install ($1,500 to $4,500 for exterior flashing repair, plus any interior repair) can erase everything the homeowner saved. The full professional scope is what makes the cost difference, not just labor.
The Bottom Line
Interior hardware and weatherstripping are genuinely safe to do yourself. Exterior window and door replacement is not, in most cases, because the parts that determine success – the flashing, sill pan, drainage plane, and structural framing at the opening – are the parts a homeowner can’t see afterward. In California, the homeowner exemption lets you do the work but doesn’t protect you from its consequences, and in Irvine the like-for-like question alone is worth confirming before you spend money on units. The jobs that go well are almost always the ones where a licensed contractor handled the parts a camera can’t reach. That’s not a sales pitch – it’s the pattern we’ve watched on enough Irvine homes to know where the line actually sits. When you’re ready to price a project, the numbers above give you the honest range. Live person, 24/7, upfront pricing, no surprises.
Call (888) 578-4462 for a free estimate on your Irvine window or door project. Every job is covered by the 730-Day Done Right Promise, 0% financing for 18 months is available, and there’s $1,000 off projects over $10,000. Calls are answered by a live person, 24/7, and every technician on every job is background-checked, uniformed, and arrives with the tools and materials for the scope we’ve quoted.
Written by the team at Groundwork Construction Co. of Irvine.